It’s really no secret that I am terrible at doing makeup. Considering I spend most of my days learning tips and tricks from the best makeup artists in the business and getting the lowdown on the new formulas and products set to make application easier, it’s pretty shocking how subpar my makeup skills are.
And while, over the years, I have become confident in my ability to apply a base, place my blusher and contour the hell out of my face, the one area I still need serious help with is my eyes. As every makeup artist loves to remind me, my eyes turn downwards and are slightly hooded, thus making following any sort of one-rule-fits-all eye-makeup tutorials incredibly difficult.
And it is at this time of the year (i.e., party season) when a smoky-eye look reigns supreme that I find myself getting most frustrated. I spend far too many hours of my evenings agonising over eye makeup. Achieving a high-impact smoky eye without my patience wearing thin is, I have learned, too much to ask. So this year, I decided to put an end to my smoky-eye incompetence and seek some one-to-one professional help.
Before party season really kicks off next week, I gave my go-to makeup artist extraordinaire, Mira Parmar, a call so that she could talk me through every step. These are the tips she gave me on how to nail an easy smoky eye every time.
This is a step that I can categorically say I have neverdone before applying my eye makeup. It turns out that prepping your eyelids is a thing.As in, people actually do it. Who knew?
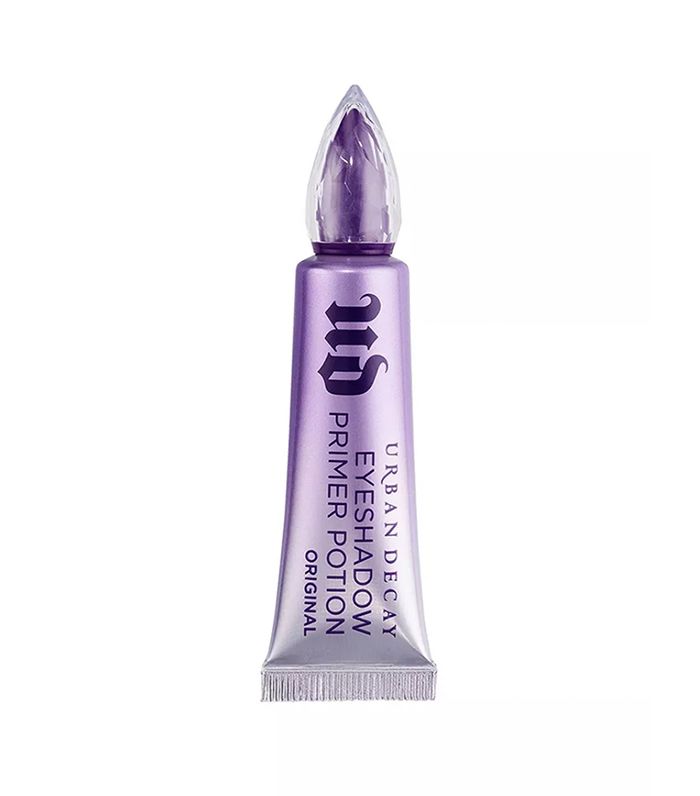
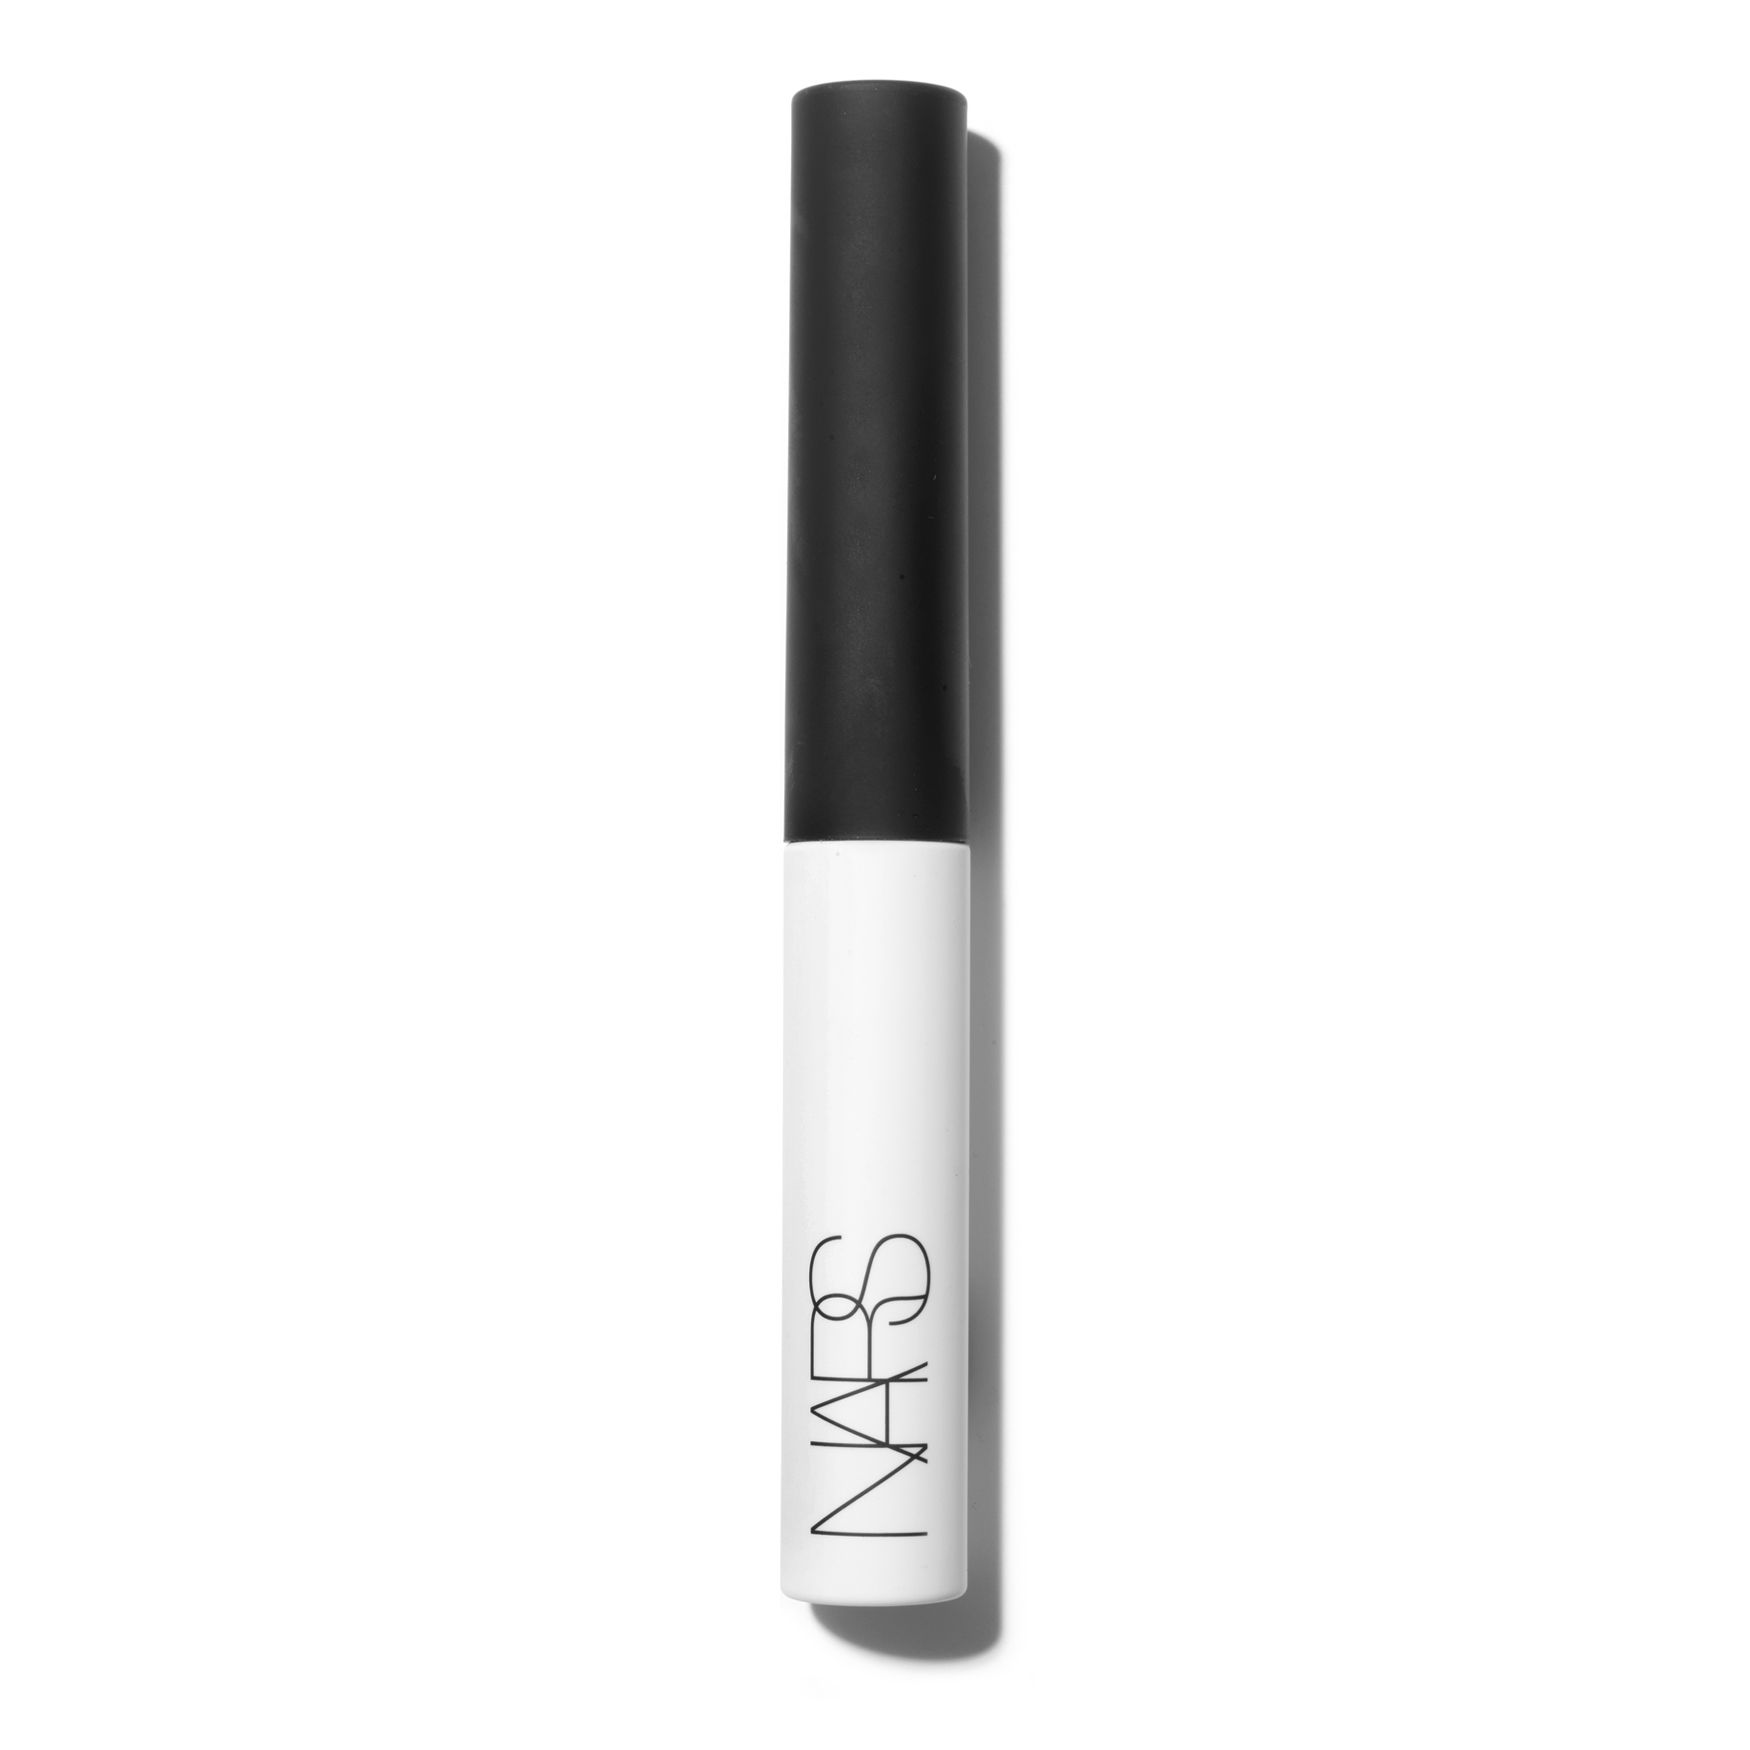
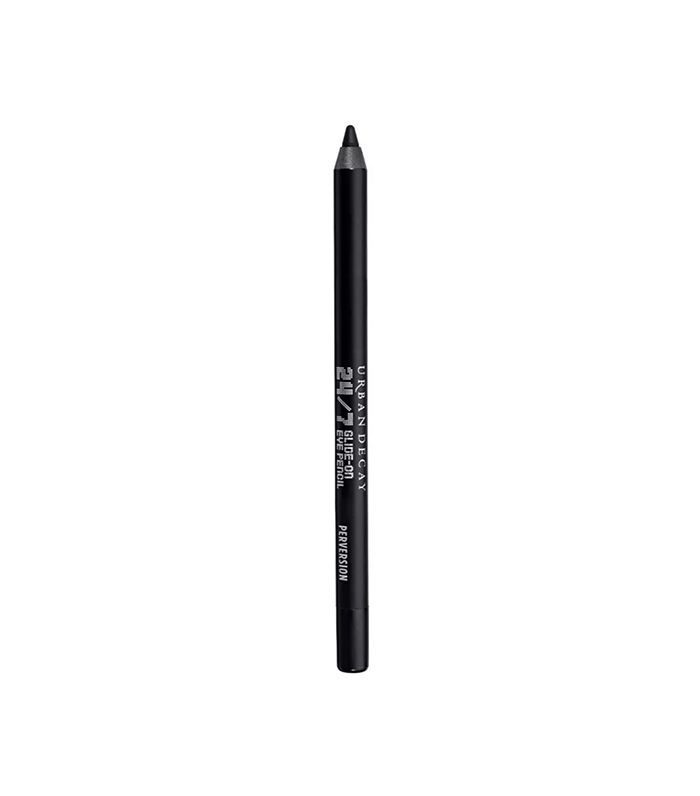
According to Parmar, creating a clean, smooth base for your shadow to go onto can make all of the difference in blending and the overall finish. “Make sure your eyelids are clean, and prep them with a concealer or lid primer. I like the Urban Decay one,” she says.
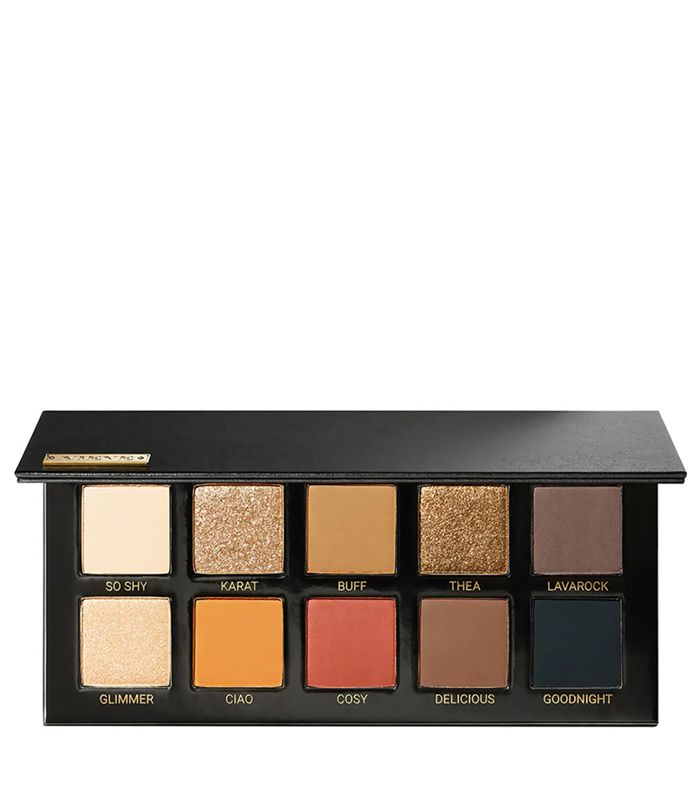
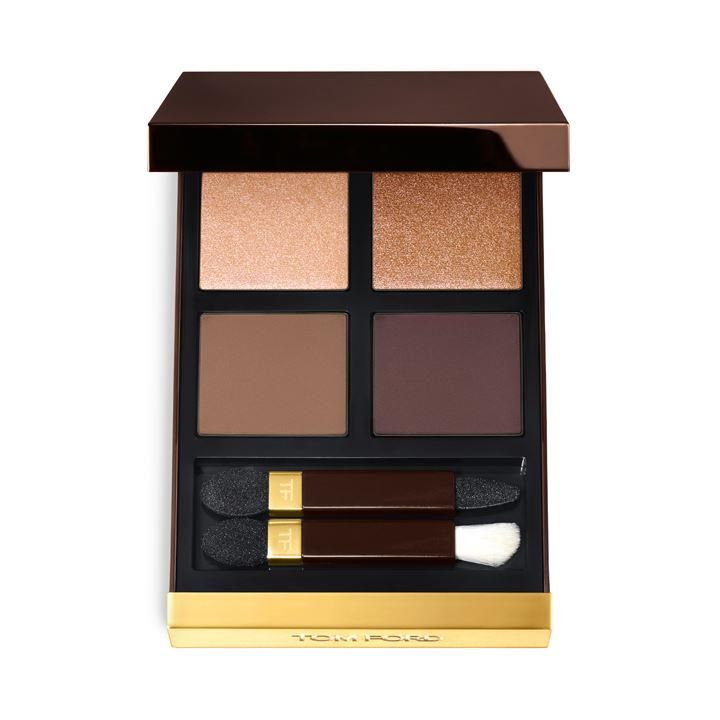
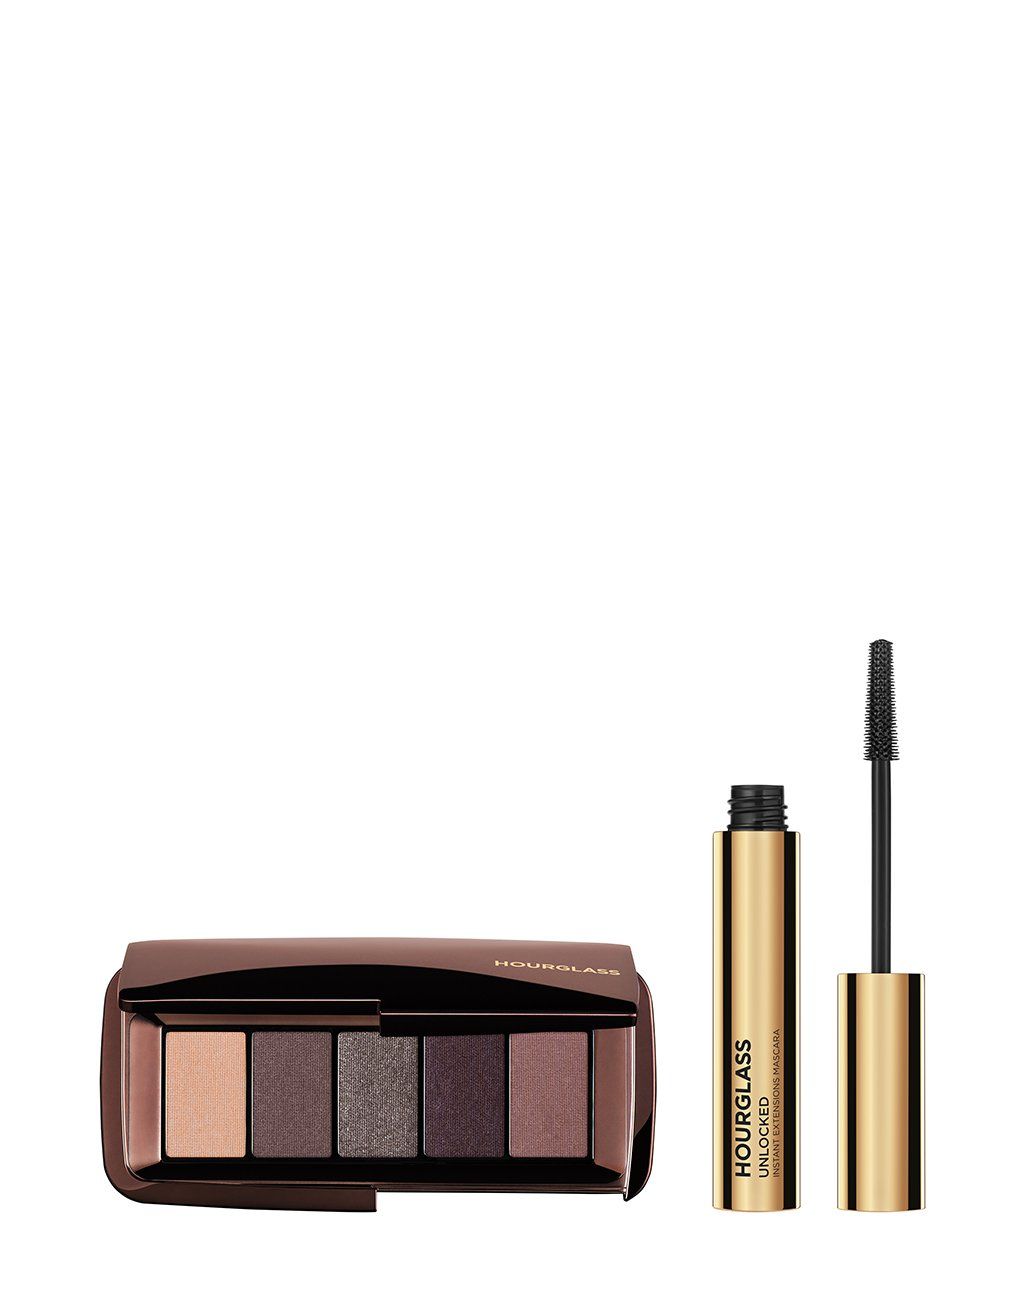
I must admit I own a shameful number of eye shadow palettes for someone who has no idea what they’re doing. With all of the choice, I struggled to know where to start. “You can use any shadows or palette to create a smoky eye as long as there is a mix of lighter and darker shades. Just find a palette you love,” Parmar advises.
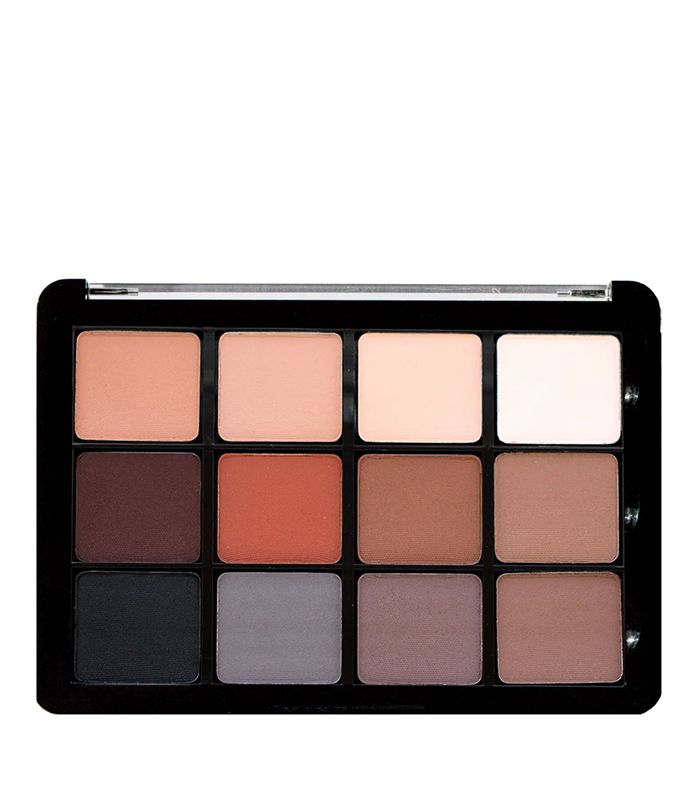
Wanting to make sure I got it right, I asked her for her top palettes of choice and opted for Vieve The Essential Palette.
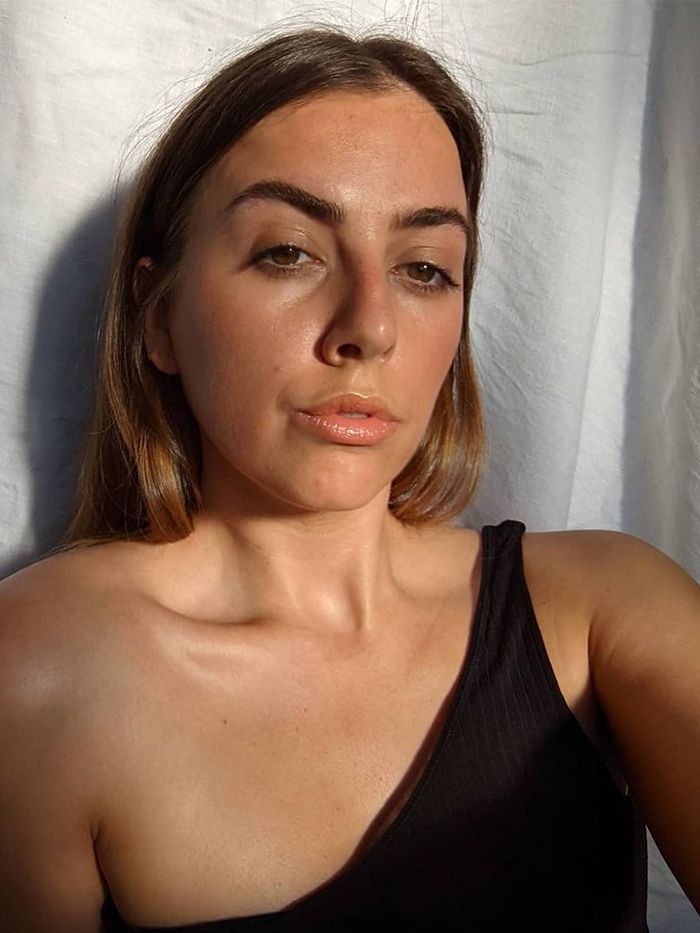
“Once you have chosen your shades, use a medium to light colour all over the eyelids,” she says. The truth is I probably went a little bit too dark for my usual style but also felt as though I might as well go the whole hog.
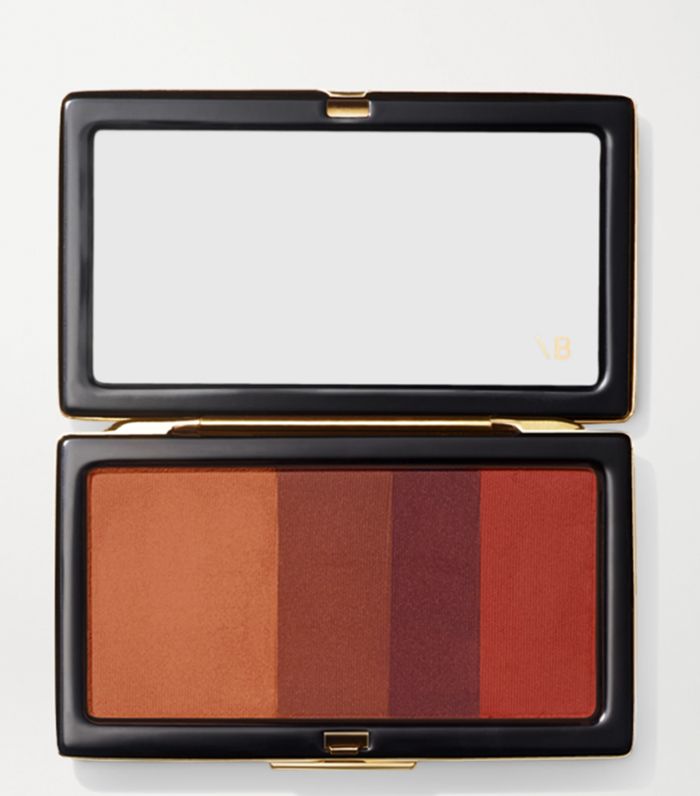
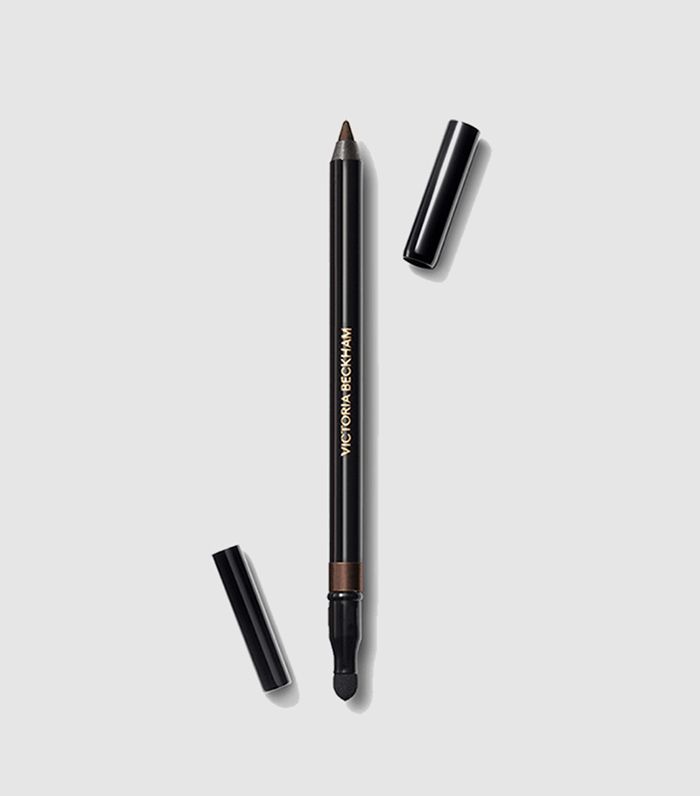
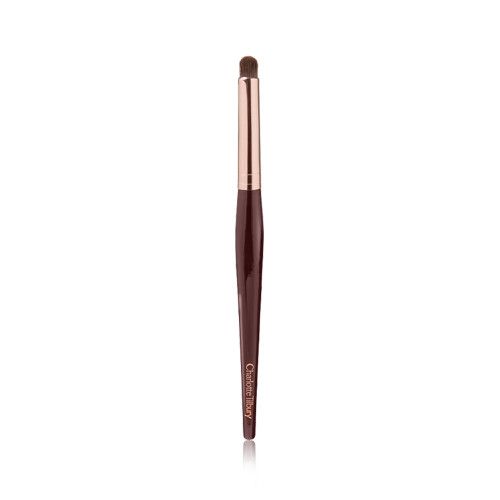
I look totally ridiculous here, but Parmar assured me that it’s important not to get hung up on the way things look at this stage, which, I assure you, is difficult considering she also refers to this part as the most important. “The key to an amazing smoky-eye look is a great pencil. Find a pencil that’s not too soft and not too hard—it needs to be easy to smudge,” advises Parmar. Once your shadow is in place, it’s time to go in with your kohl liner. She says that you can opt for any black or brown shade of your choice, but I opted for very deep brown seeing as my shadow shade was already relatively dark. “Use the kohl pencil to line the upper and lower lash lines roughly. It doesn’t have to be neat, as we’re going to smoke it all out and intensify the look next.” In terms of my tool of choice, I once again turned to Parmar’s advice and went for one from Victoria Beckham Beauty.
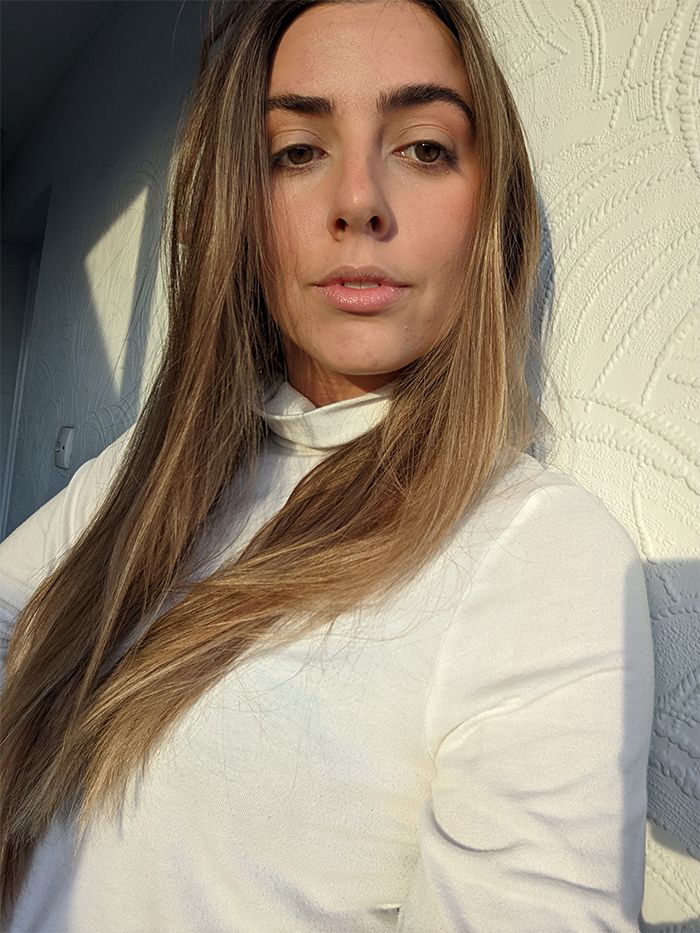
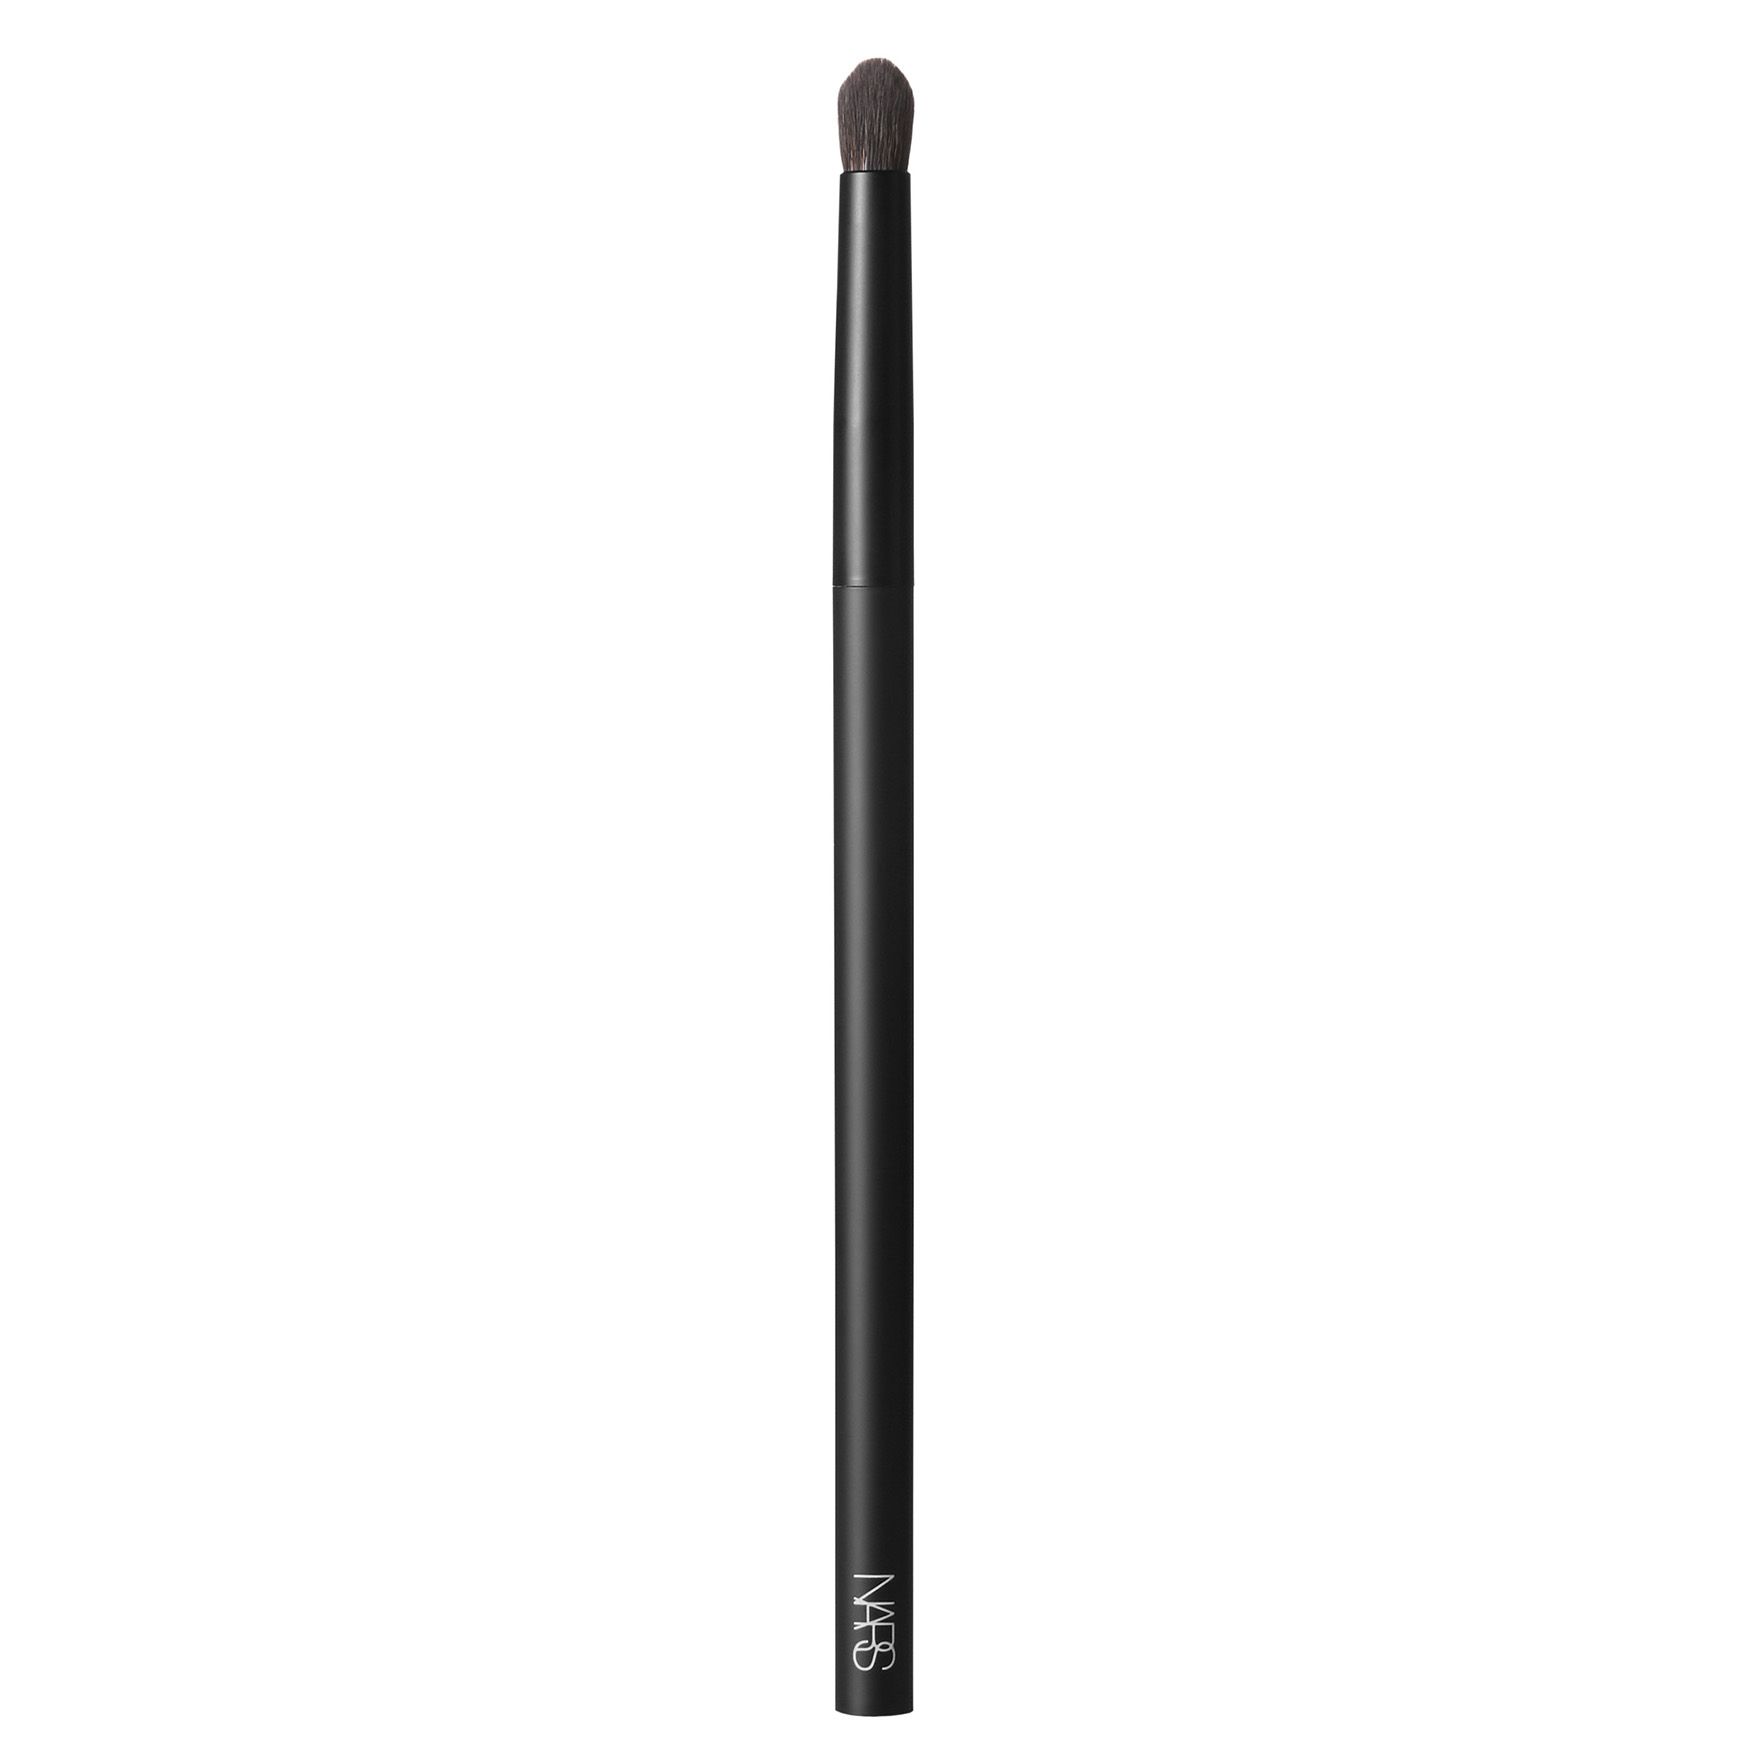
As you can probably tell, I struggled with this next bit. “Use a smudging brush to smudge out the liner outwards and upwards. You want to lift the eye,” says Parmar. I struggle with this for a couple of reasons. First of all, I’m just not very precise or finely artistic with my method. Second, as previously mentioned, my eyes naturally slant downwards, so trying to lift them with a liner illusion simply doesn’t seem to work on me as well as it does on others. Regardless, I persevered. “Keep layering liner and smudging out to intensify the darkness of the eyes,” she adds.
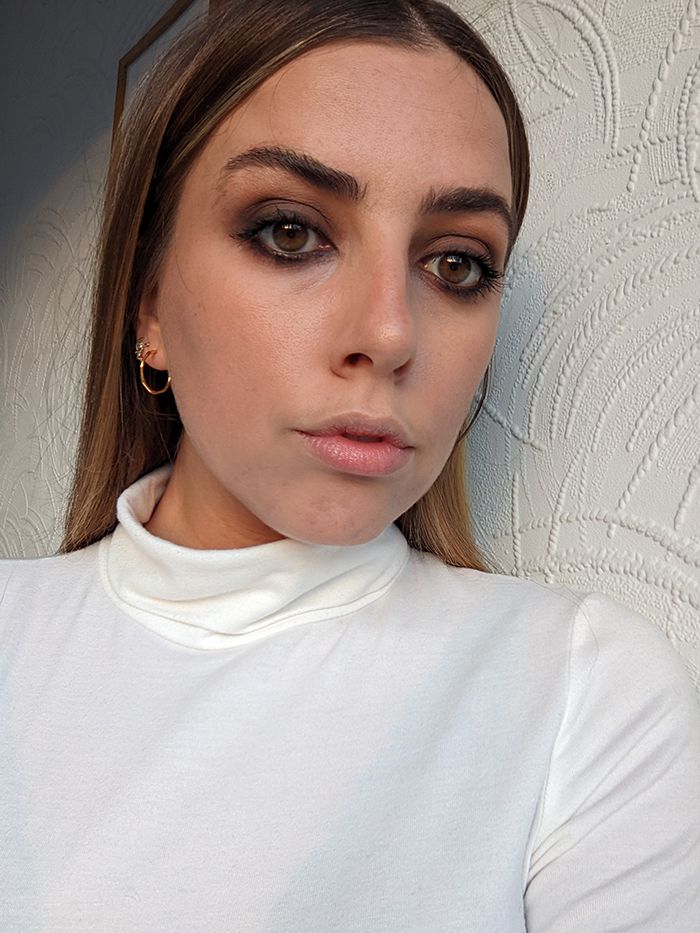
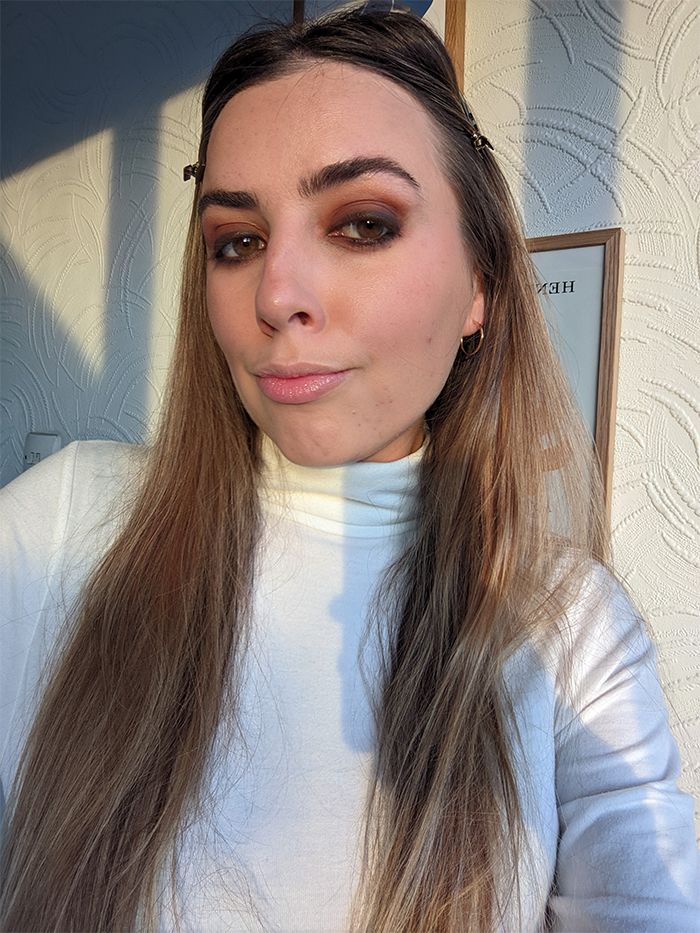
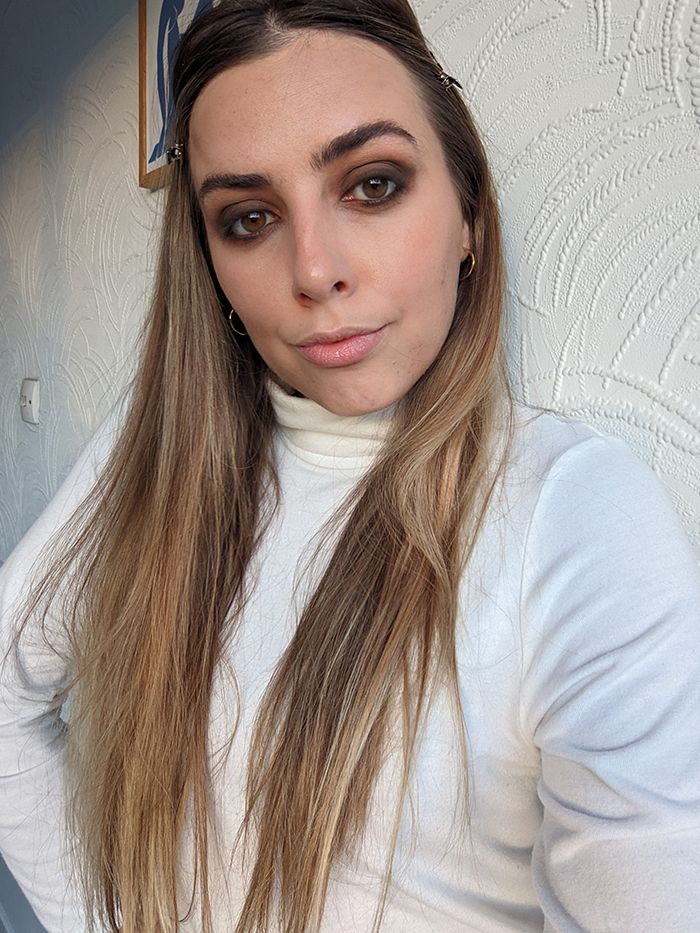
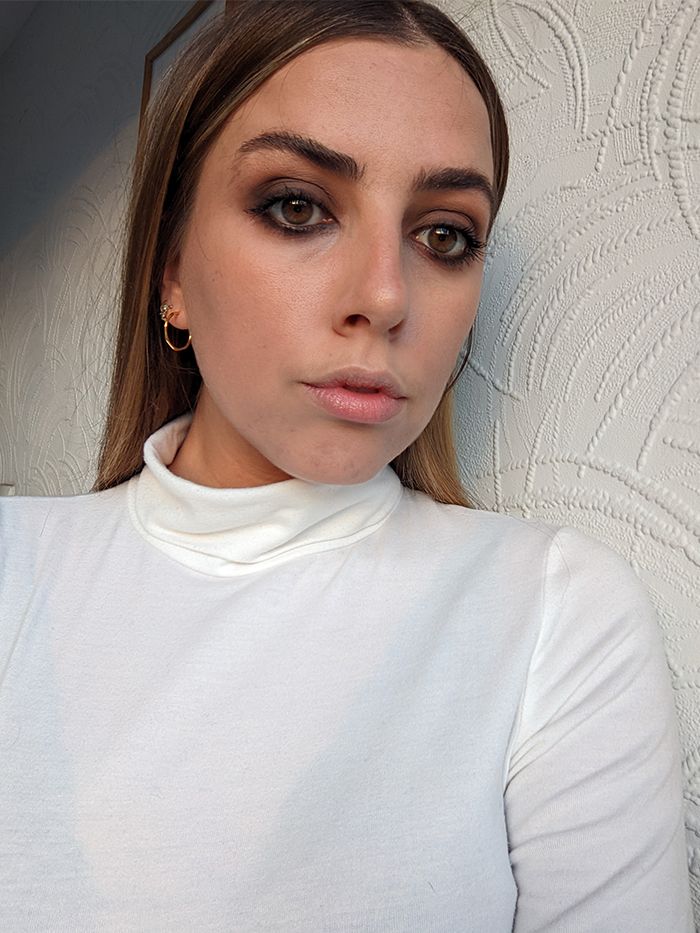
This is the step that usually involves me going wrong somehow, but actually, with Parmar’s guidance, I’m not that mad with the results. “Choose a darker colour to create a > shape on the outer edge of the eye. This will create that smokiness we’re after,” she says. In typical “me” fashion, I decided to run before I could walk and dipped straight into a charcoal-black shadow. I was going whole hog, don’t forget. In hindsight, I probably possessed a little too much optimism. Turns out black is an incredibly hard colour to blend, and it shows every little bump and smudge if it’s not done properly. After applying my shadow, I spent approximately two minutes blending out the edges of each eye with a clean brush. By the end, I was actually really impressed.
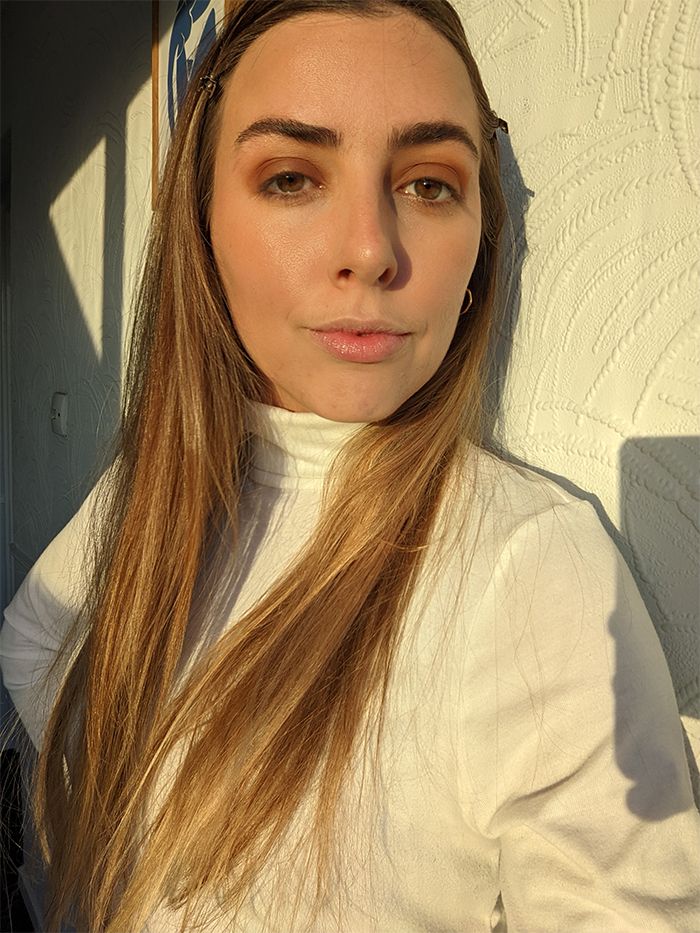
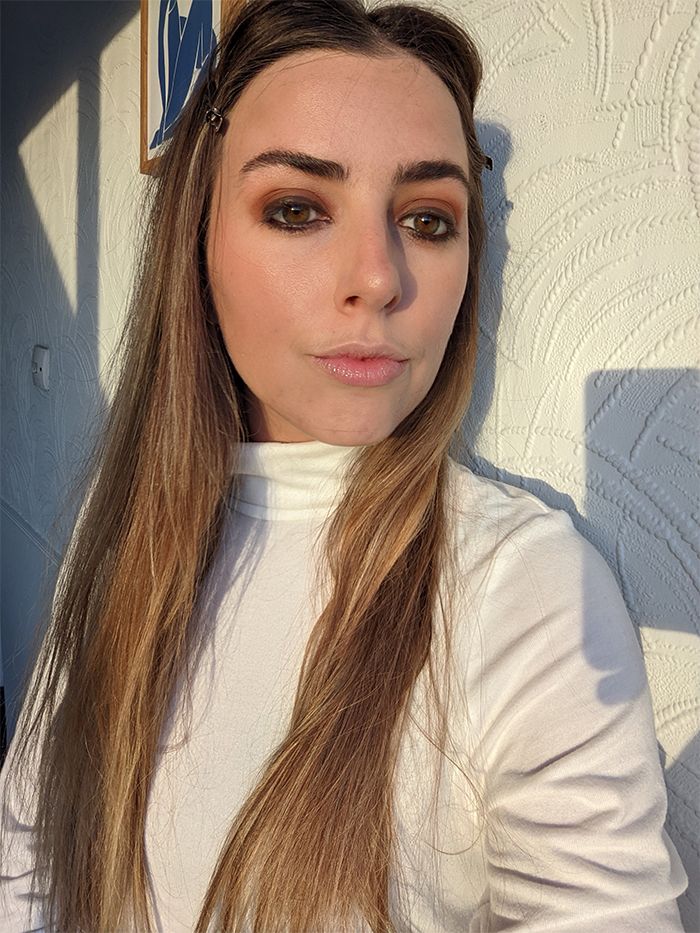
With a few coatings of high-impact mascara, my smoky-eye look was complete. And do you know what? I am genuinely very proud of myself. I know it’s not particularly British of me to admit, but I think my eye makeup looks great. It look a couple of minutes longer than I would ideally like, but the whole thing was still done in less than 10 minutes (and that includes taking a selfie at each stage). And the best bit is I feel like I can apply this technique to whatever eye shadow I please. Whether I fancy a lighter, brighter look for the daytime or a shimmery finish for festivities, I’ve now got my go-to eye-makeup routine on lock.
Next up, winter’s eight biggest makeup trends, according to celebrity makeup artists.


