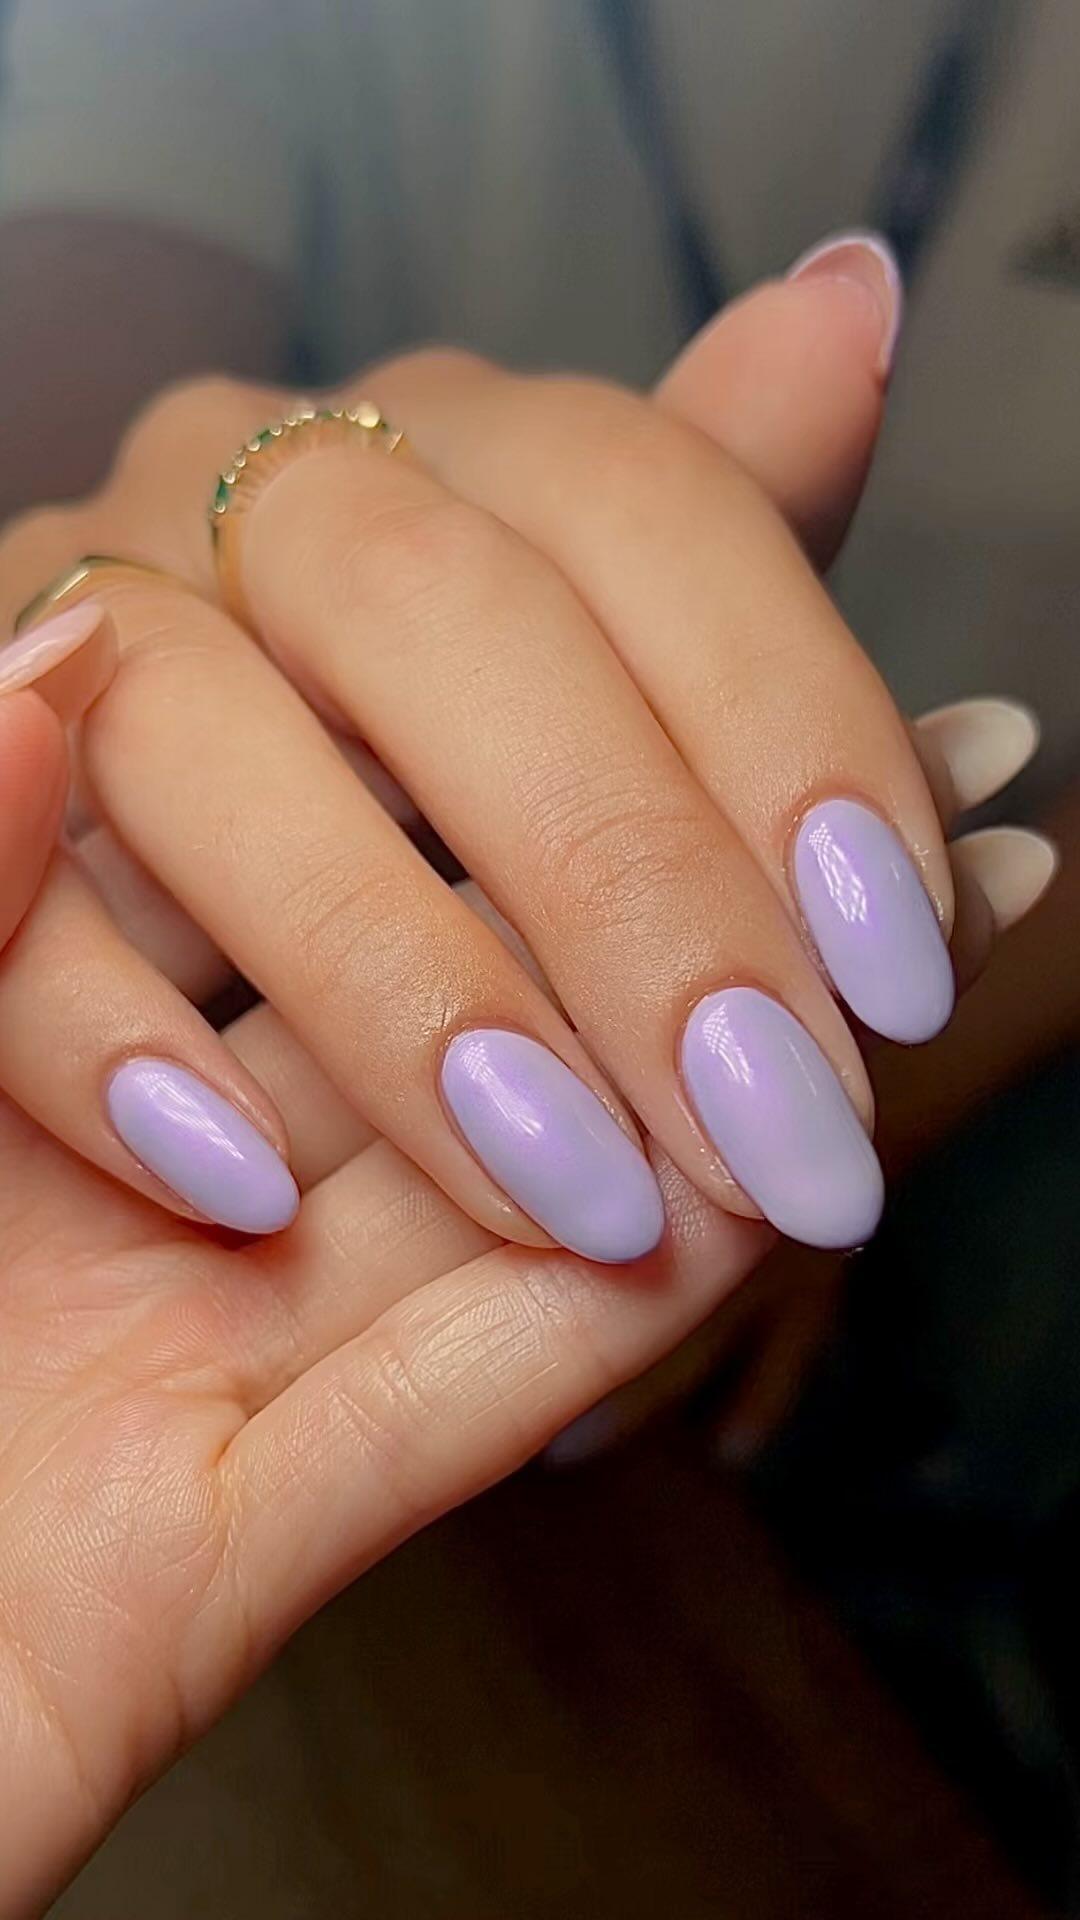
Trust us—we know the feeling all too well. You’ve had a gel manicure, your colourful nails look amazing for two to three weeks, and you’re sworn off regular nail polish for the rest of your life. Gel manicures really do go above and beyond, so it’s easy to see why so many more people are turning to gels. “Unlike regular polish that air-dries, gel polish hardens when cured under UV/LED light,” explains nail artist and session manicurist Millie Horton. “This makes it much more durable and less easy to remove than regular polish, so the main benefit of gel polish for clients is that it is much harder wearing than standard nail varnish.” If you want to embrace the latest nail art trends, then a gel manicure is definitely the route to go down. “For us techs, it gives us significantly more scope when it comes to nail art, we can layer designs and be creative without worrying about drying time,” adds Horton. “It’s also easier to achieve a crisp and professional finish using gel polish.”
But what about when it comes to gel nail polish removal? It can be all too tempting to pick your polish off when you notice it start to lift around the edges, but according to Horton, this should be avoided at all costs. “When we say ‘don’t pick off your gel polish’, we mean ‘peeling off your gel manicure yourself can result in small layers of your natural nail peeling off with it’,” she explains. “The common misconception that gel manicures are more damaging to your nails than standard polish often comes from clients choosing to pick or peel off their mani rather than having a proper removal – which can cause unnecessary trauma to the natural nail.”
The truth is that gel nail upkeep is actually quite tough, and Horton (along with the majority of nail professionals) advises seeing a professional for your gel nail polish removal as the best option. “It’s easy to damage your natural nails during the removal process and a professional will know how to remove the product in the least damaging way,” she explains. “Going back to the technician or studio that applied your manicure is another great tip – as they know which products were used in your manicure and the safest, most effective way of removing them.”
However, if you’re reading this article then chances are you’re about to experiment with some DIY nail polish removal. Whether you couldn’t help but start picking or your nail tech is all booked up, fear not—sometimes a DIY approach is the only option, and we’ve all been there. Fortunately for you, Horton is on her hand with her expert advice for attempting gel nail polish removal at home. Keep scrolling for a step-by-step guide on how to remove gel polish yourself without ruining your nails.
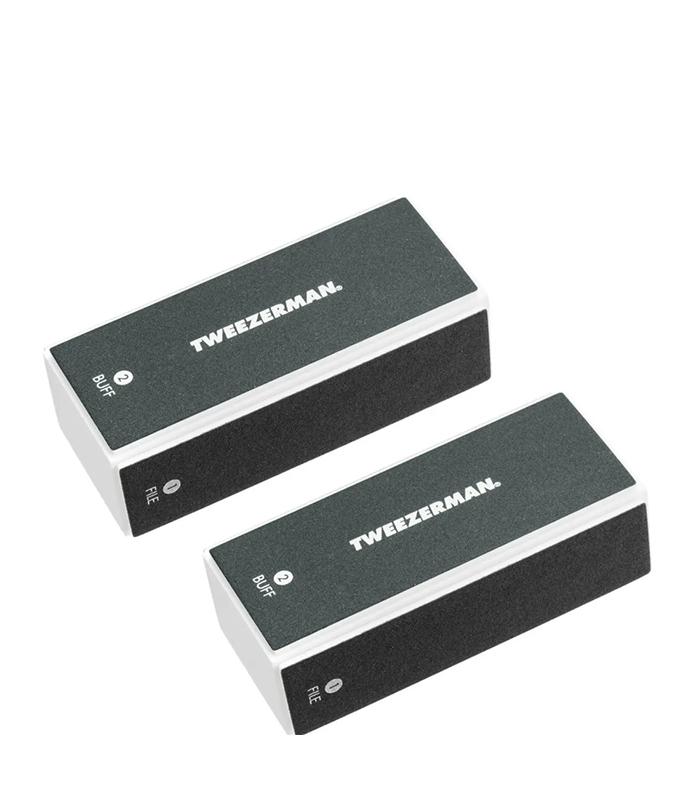
First of all, depending on the type of gel you have on your nails (it’s always worth checking with your tech beforehand), you will usually have to file off the top, glossy layer of the polish before you start soaking in remover. The key is to gently buff off the shiny layer to weaken the bond, without hitting the nail itself. This step might not sound all that important, but according to Horton it will massively speed up the soaking process.
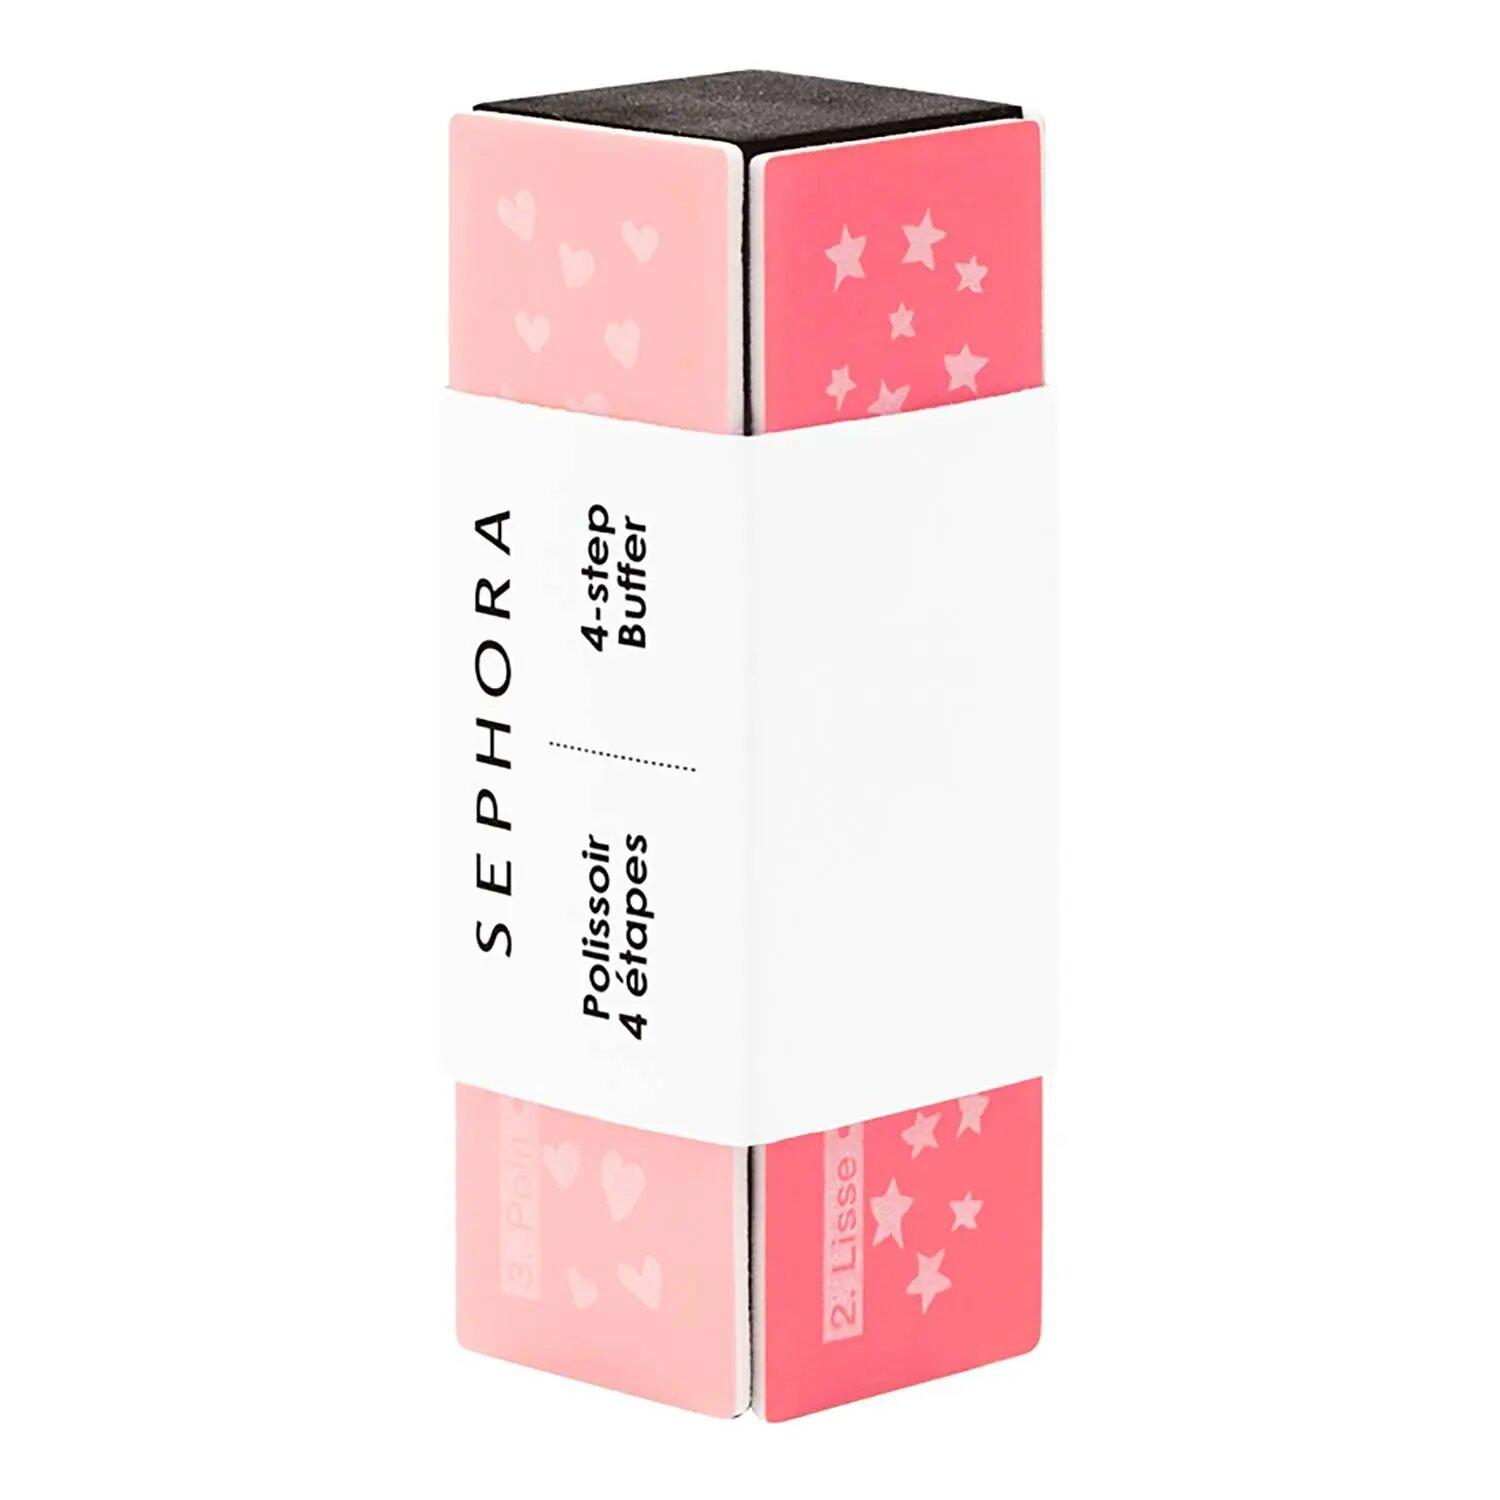
These handy nail buffers file, buff, smooth and shine nails for a pretty, preened finish.
Nail artists swear by this kind-to-nails file and buffer, so you can expect salon-grade results.
If you want a file and buffer that looks cute and colourful on your dressing table, look no further than this multi-use block from Sephora Collection.
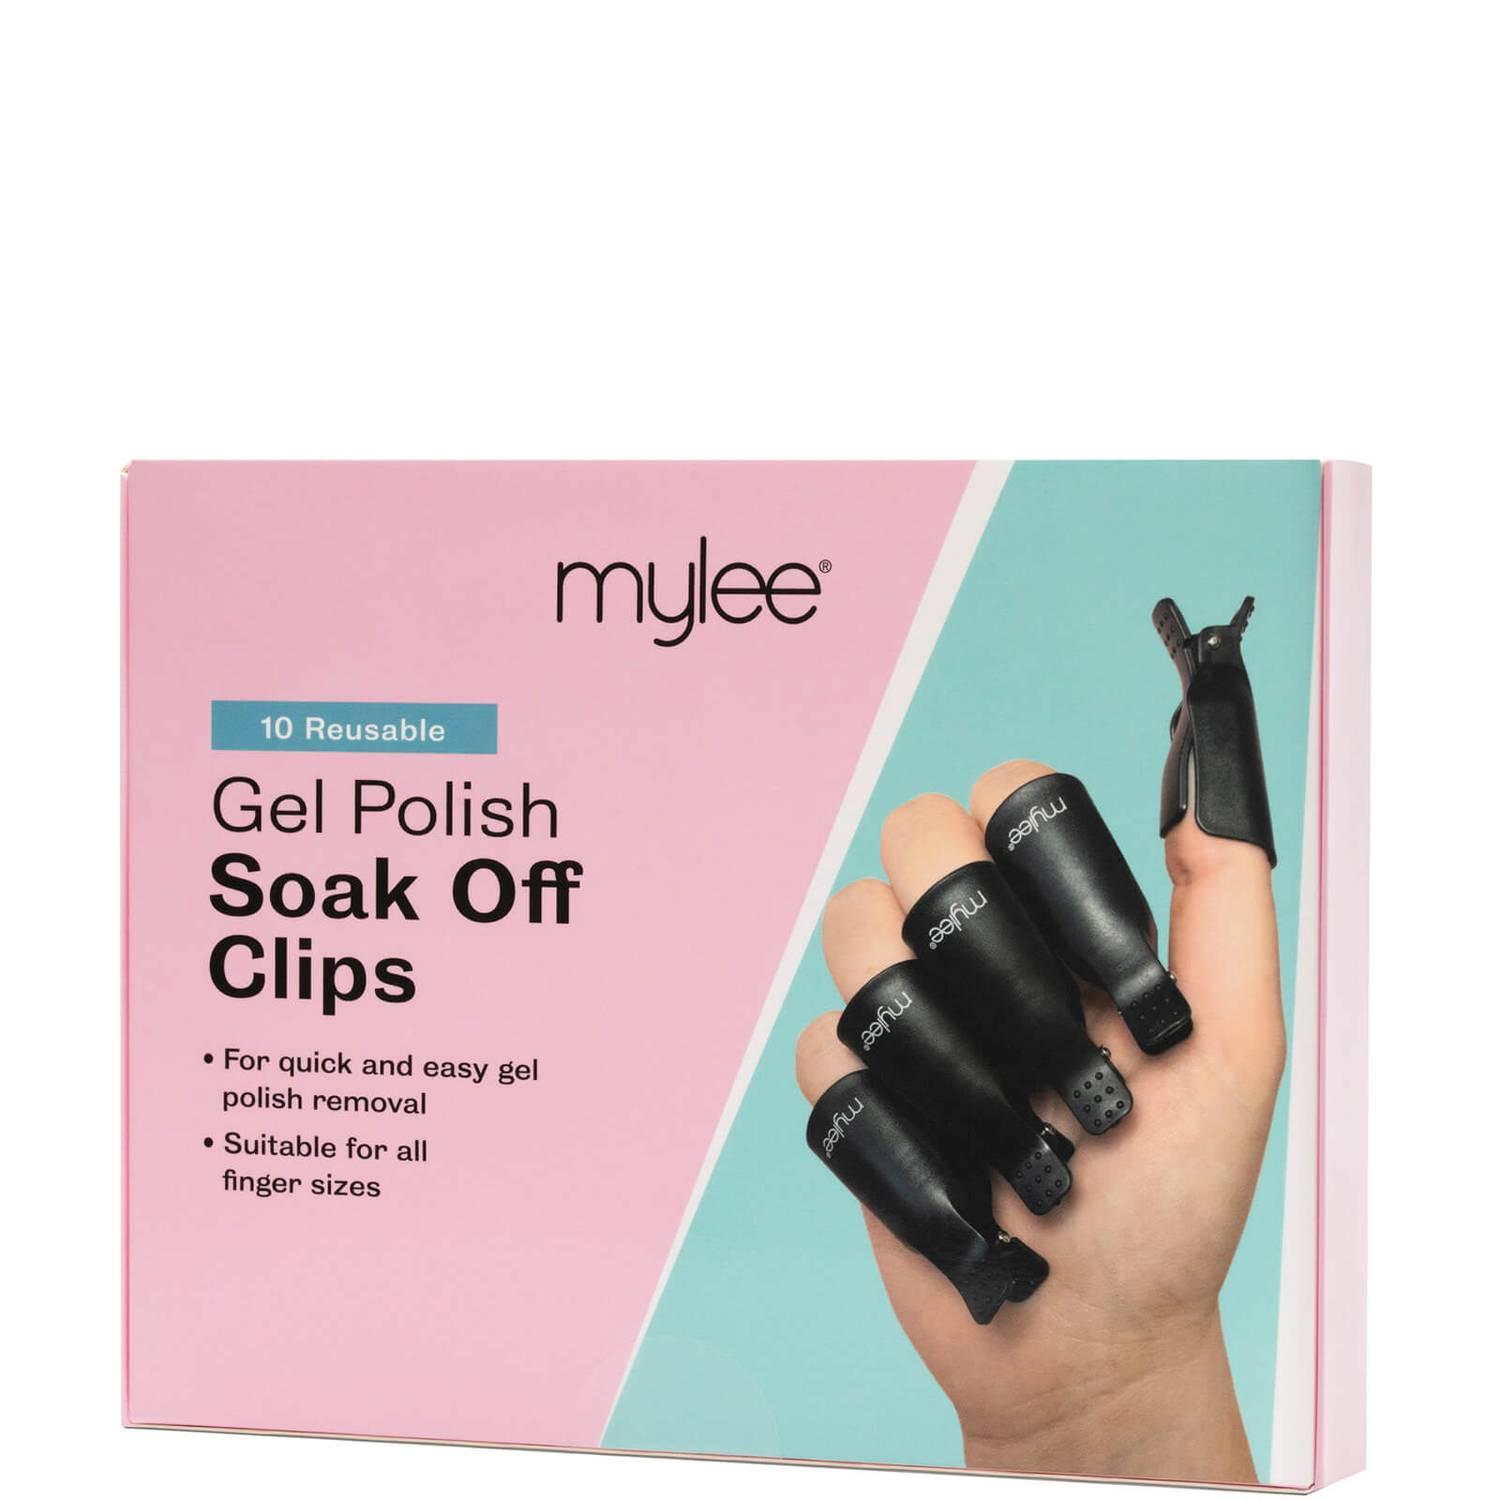
Next up comes the important bit. Unlike normal nail varnish, gel formulas require removers that come with a bit of extra oomph. Horton advises first saturating a cotton pad in an acetone-based or gel-appropriate remover and placing it on the nail. Then, wrap tin foil around the nail and cotton pad to hold it in place before repeating this on all fingers. If it all sounds a little too tricky, pre-made-up wraps and nail clips are available to buy. All you have to do is saturate the pad, clip it in place, and you’re ready to wrap. The key to getting this right is patience. Different formulas require different wait times, but Horton says that 10 minutes is usually long enough before you check on them. Once the colour has visibly lifted and bubbled, you should be good to go, but it may be necessary to repeat this step.
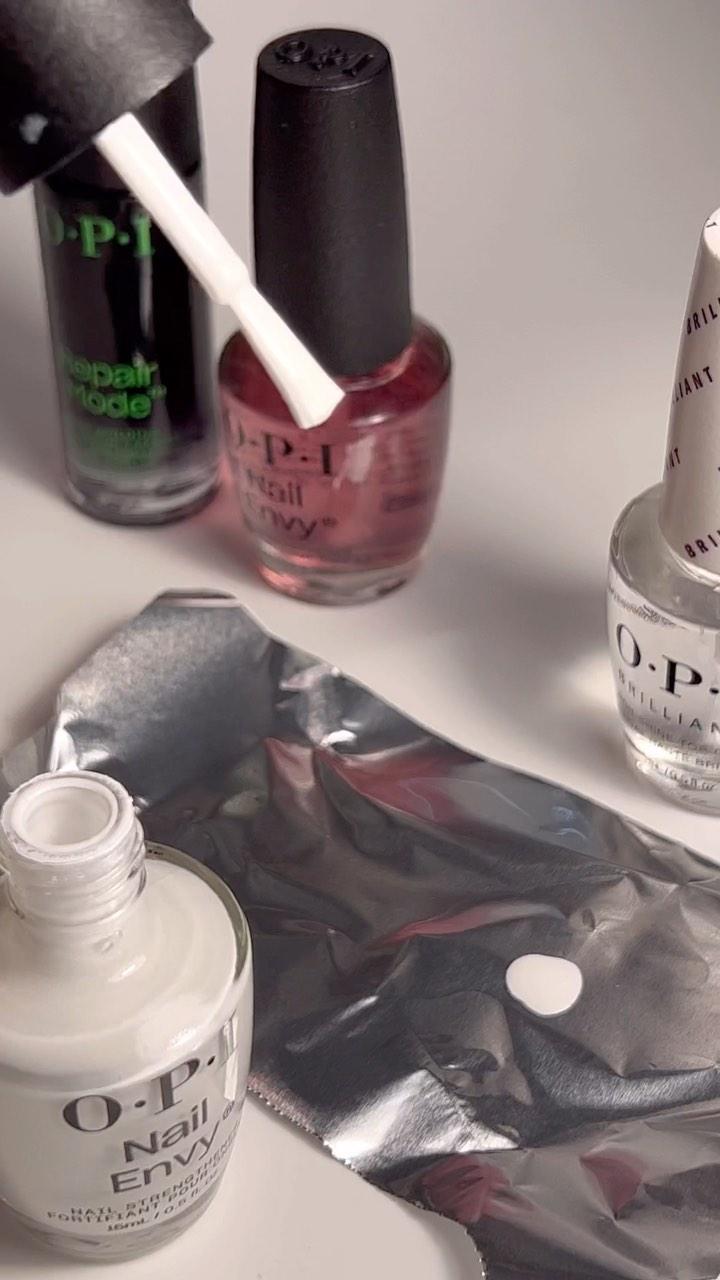
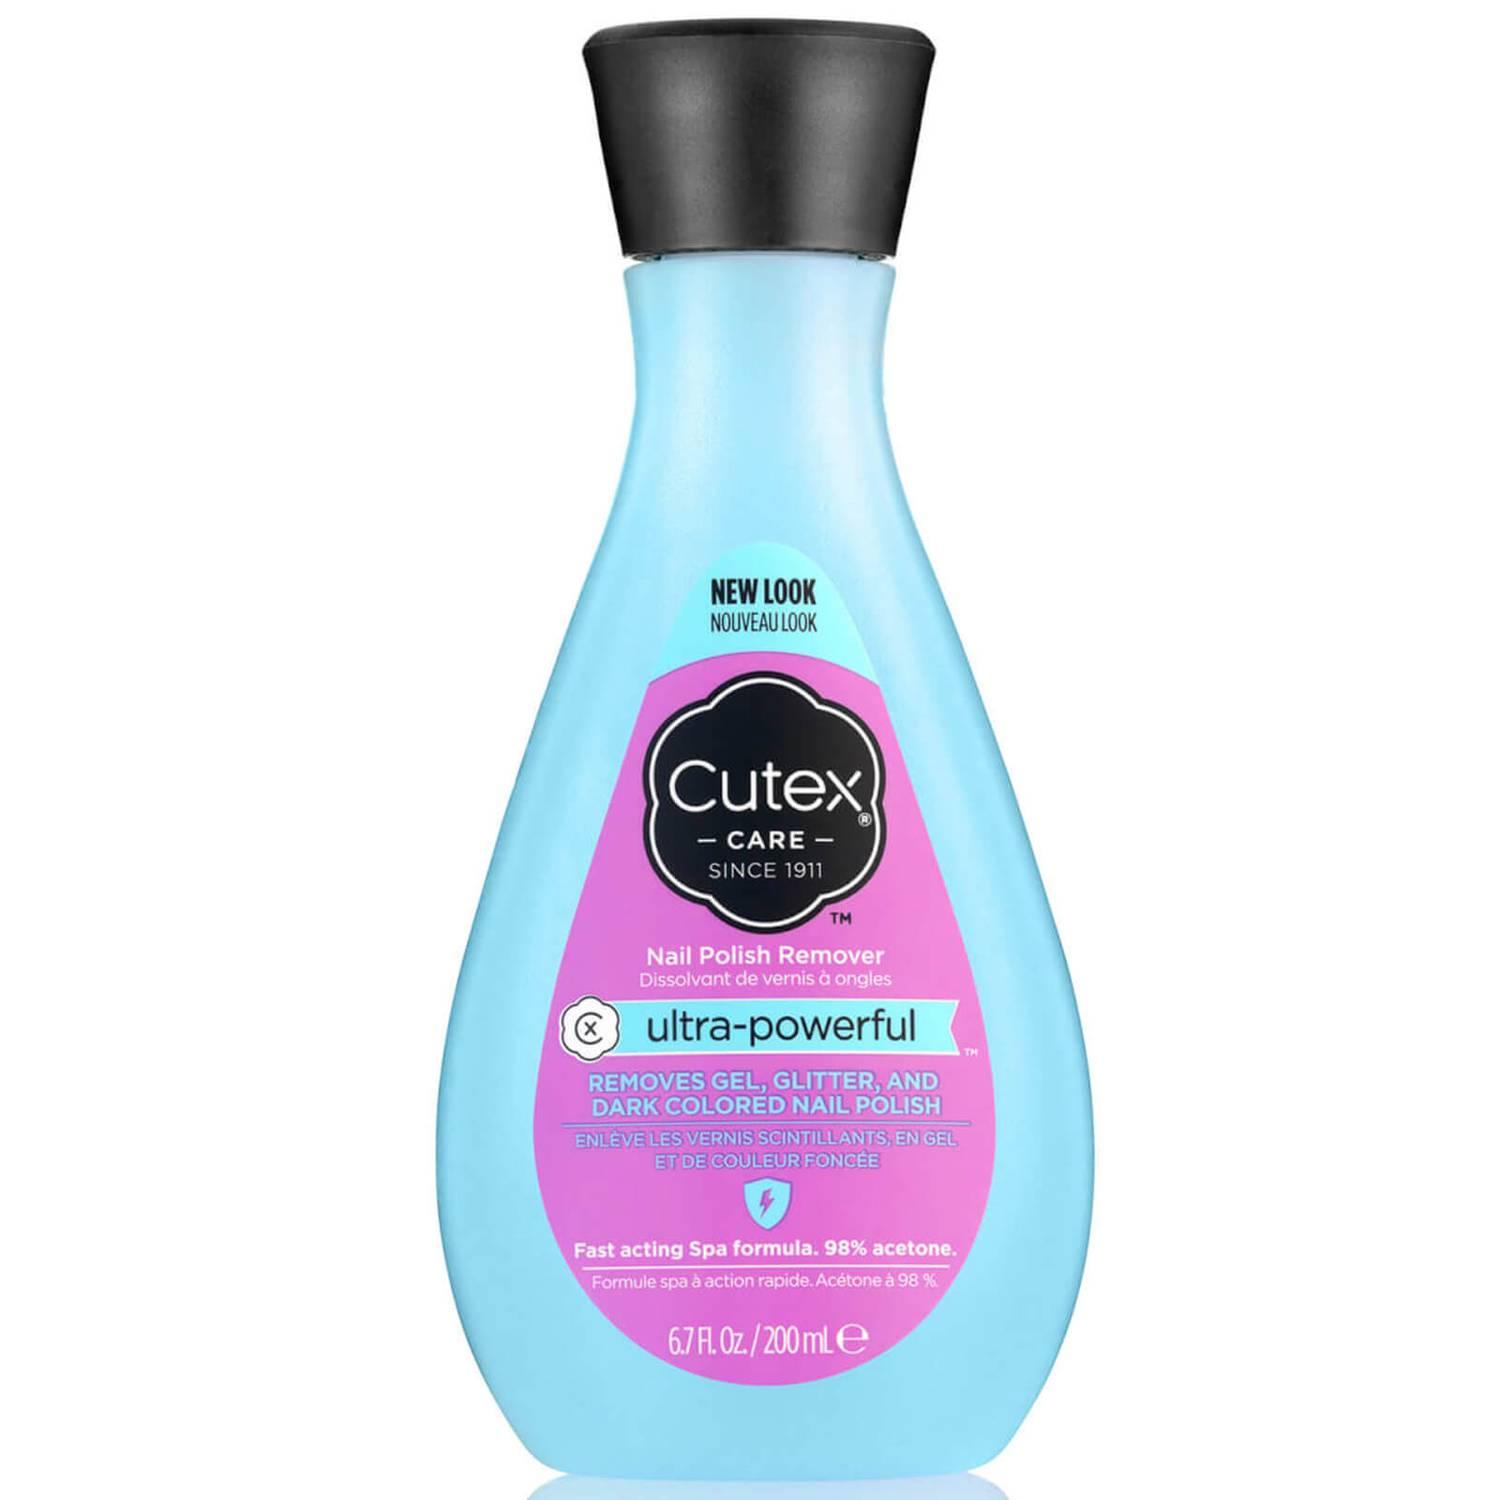
You can always find a bottle of this professional-approved polish remover on any reputable nail bar.
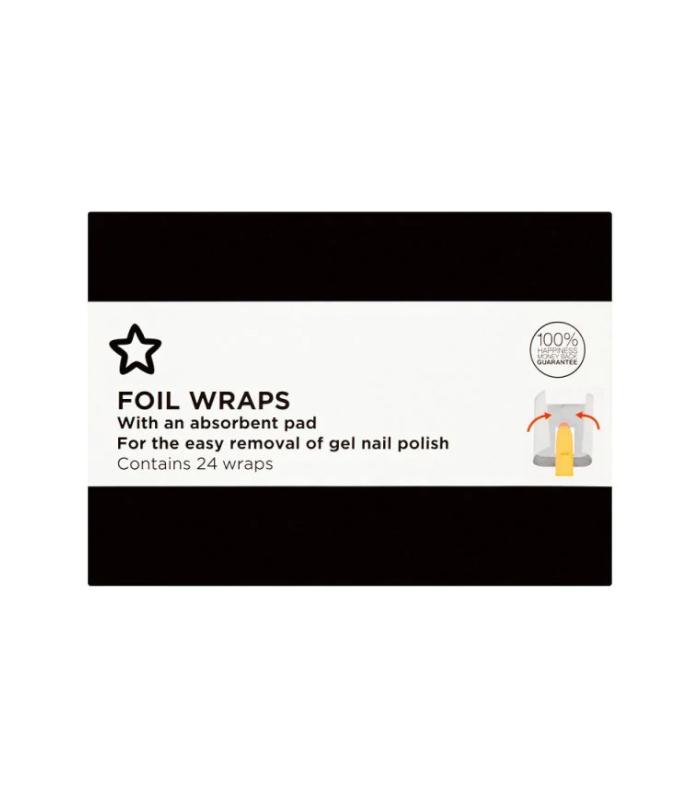
These foil wraps save a lot of time tearing up kitchen foil. Plus, you can just apply your remover to the included absorbent pad.
These clips will help to ensure your foil wraps remain firmly in place.
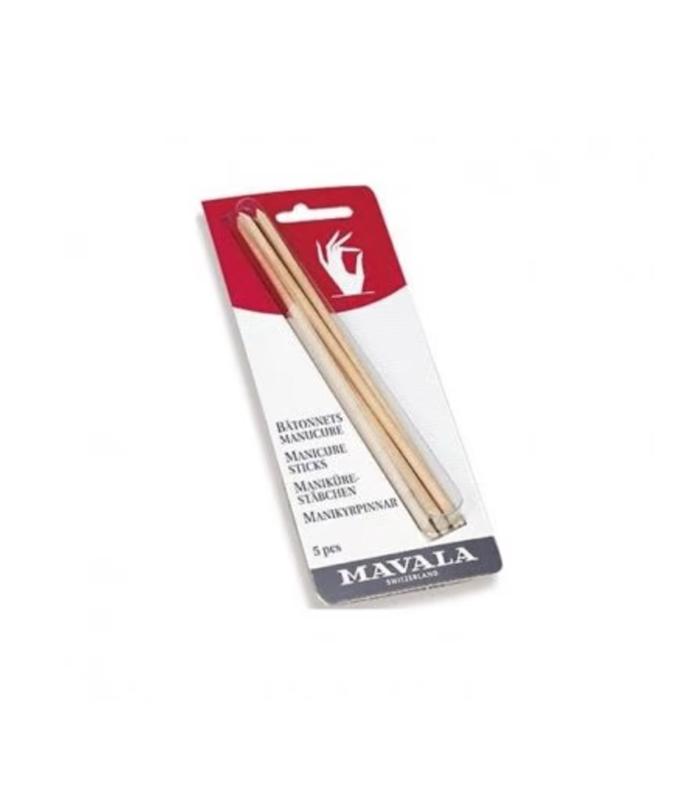
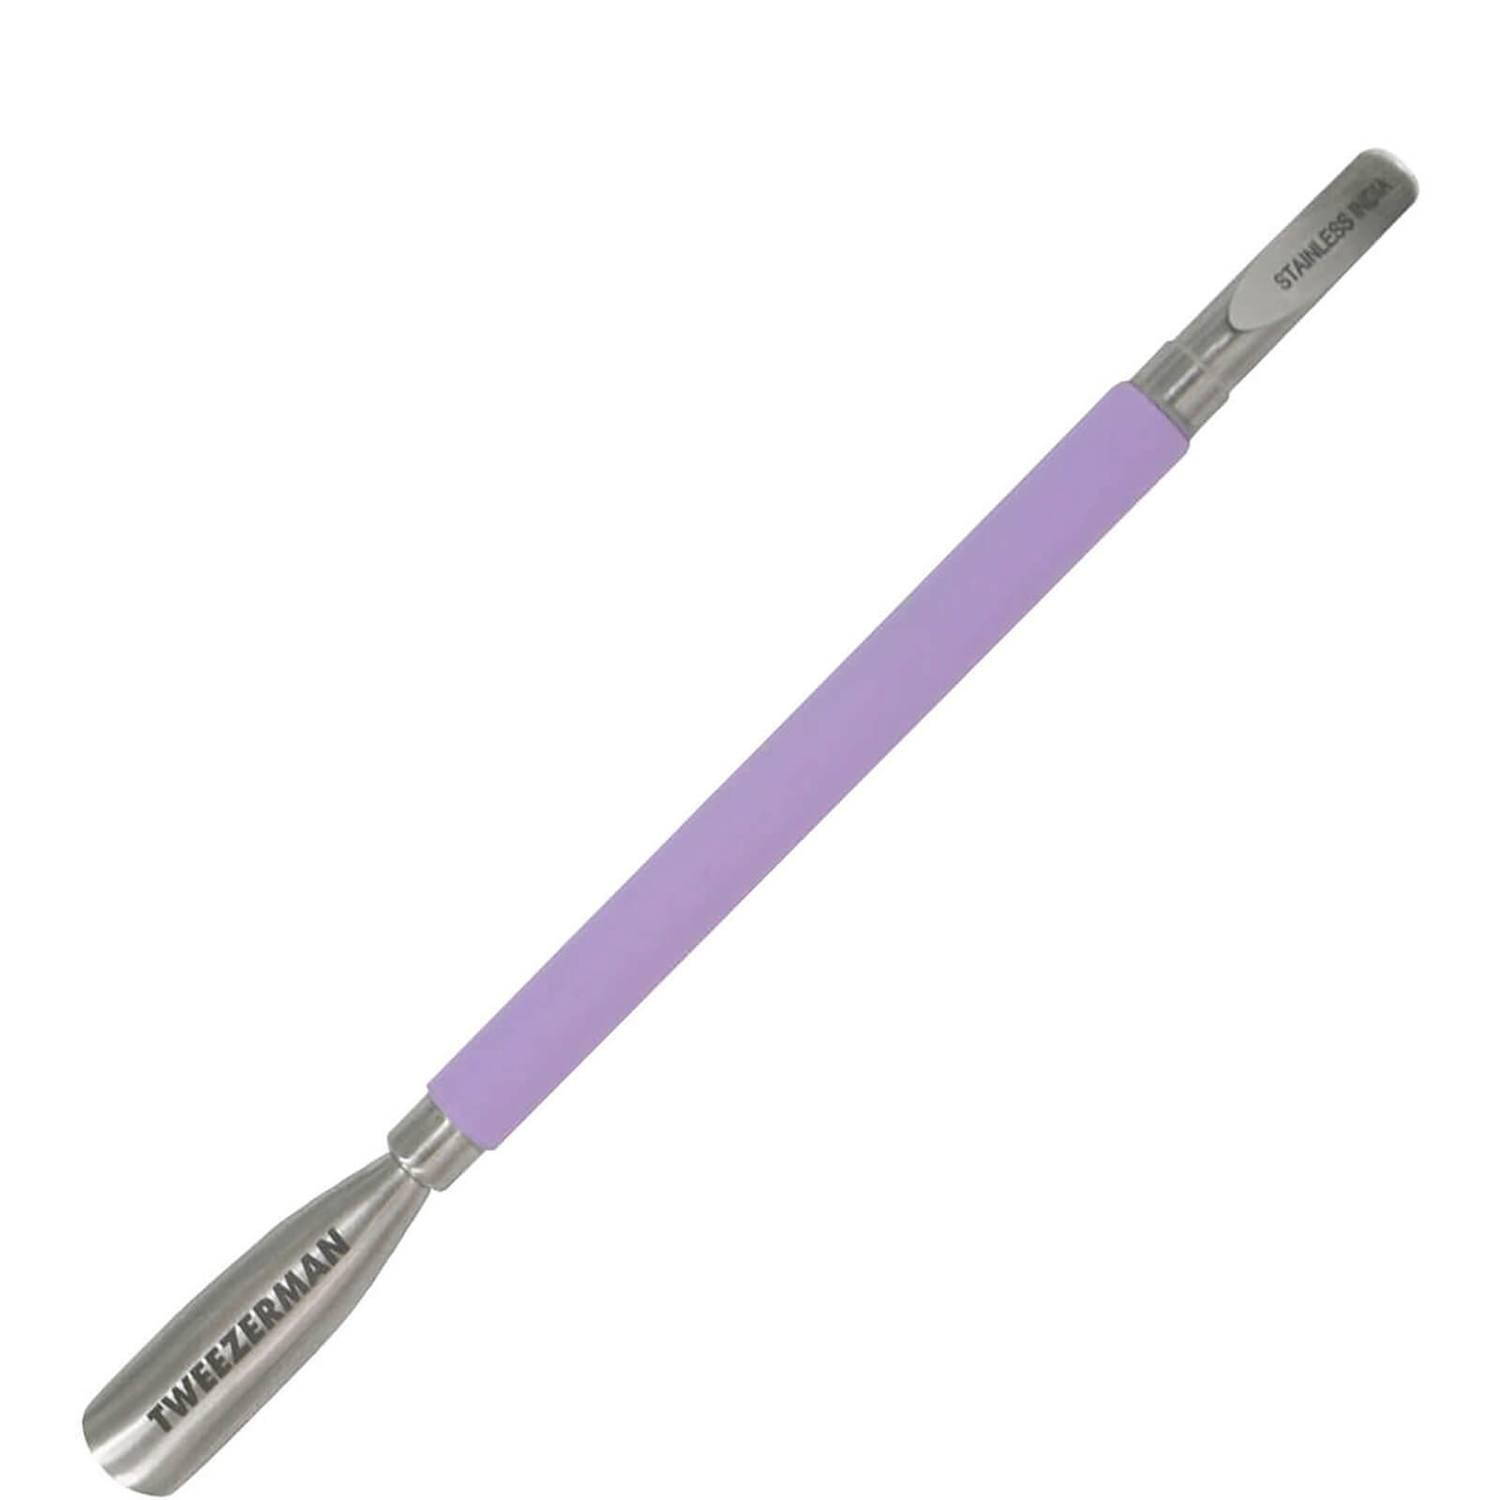
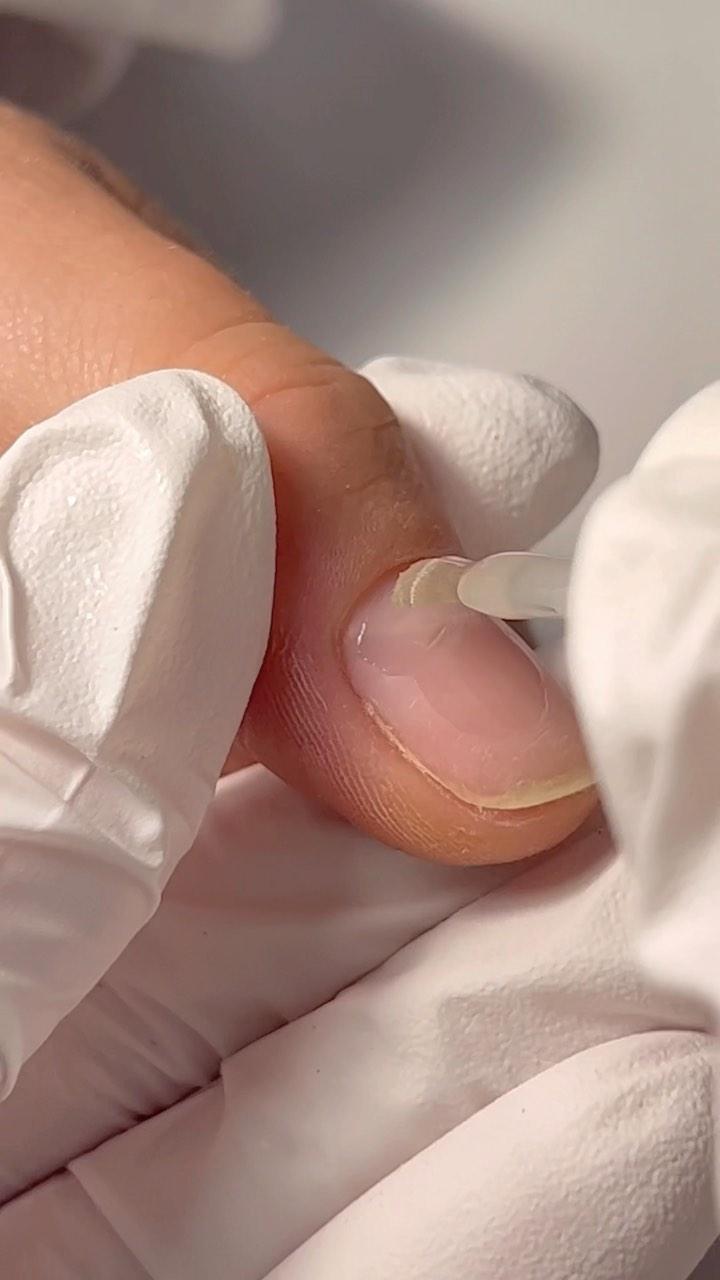
Once you have removed the wraps, you should be able to tell what areas require more attention. If certain areas still have big chunks of colour left, it’s always best to rewrap the nail and wait for a little longer. However, for smaller areas where the bond is visibly weakened, you can slide it off with a cuticle pusher or an orangewood stick.
Wooden cuticle sticks are gentle on the nail and help prevent damage during the removal stage.
You’ll get a lot of use out of these cheap but handy little sticks.
This stuff is really clever. If you don’t want to spend ages picking and pushing, just apply to nails and watch on as your gel starts lifting away in a matter of seconds.
As with any nail treatment, it’s essential to nourish your nails and cuticles once finished. “Buffing over your nail to smooth the nail plate gives a lovely finish to the natural nail,” explains Horton. “Oil your cuticles and moisturise your hands after removal and keep up with this regularly to keep your nails and hands healthy,” she adds. “Regular oiling of your cuticles can also help your gel manicures look fresher for longer!”
This nail-and-cuticle oil contains a nourishing and hydrating blend of jojoba, rice-bran and sweet-almond oils to soften cuticles and keep nails looking healthy.
This multiuse reparative balm can be used all over your face and body, but it makes for a great hand cream if you find the gel removal process to be drying.
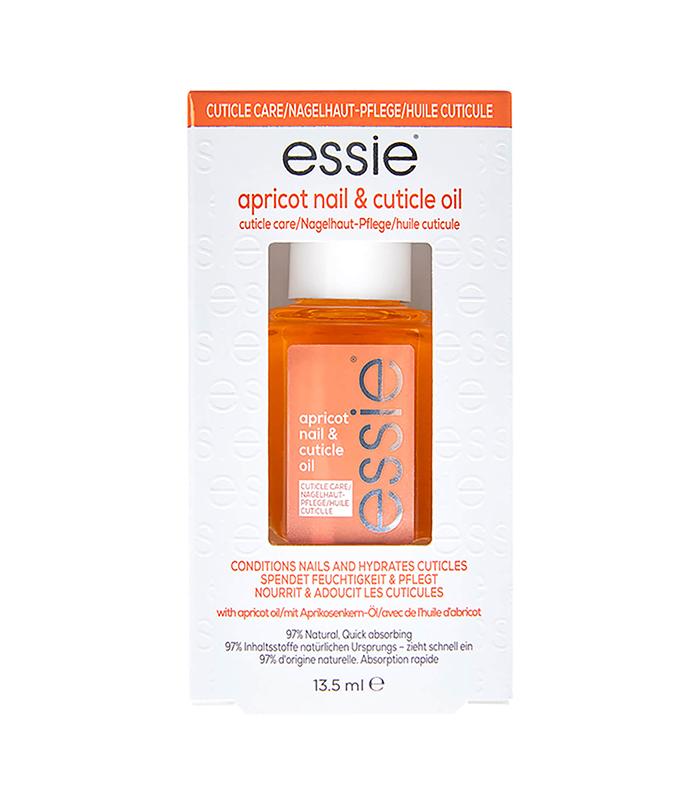
For a more affordable nail-nourishing alternative, this apricot oil from Essie is ideal.
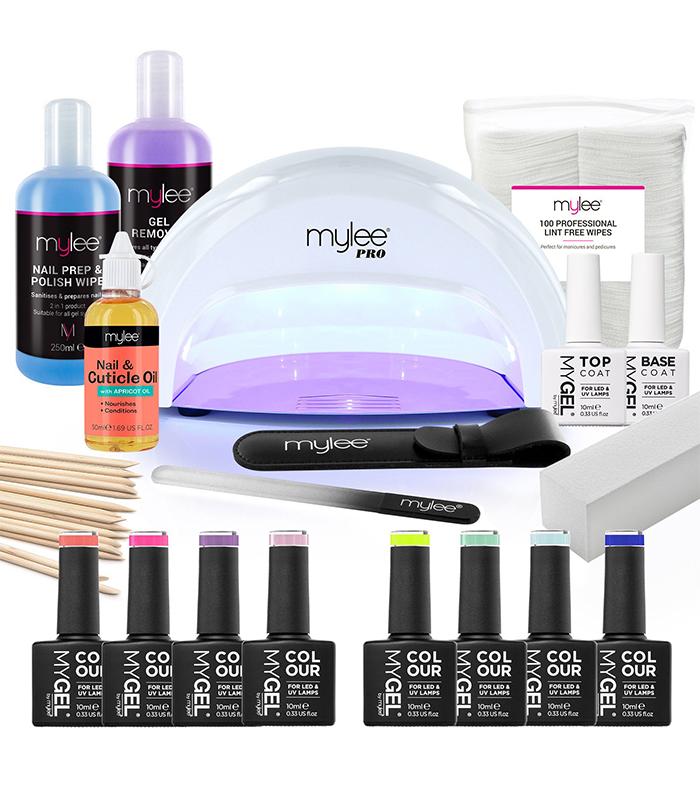
Nail artists and technicians love this full gel manicure kit from Mylee.
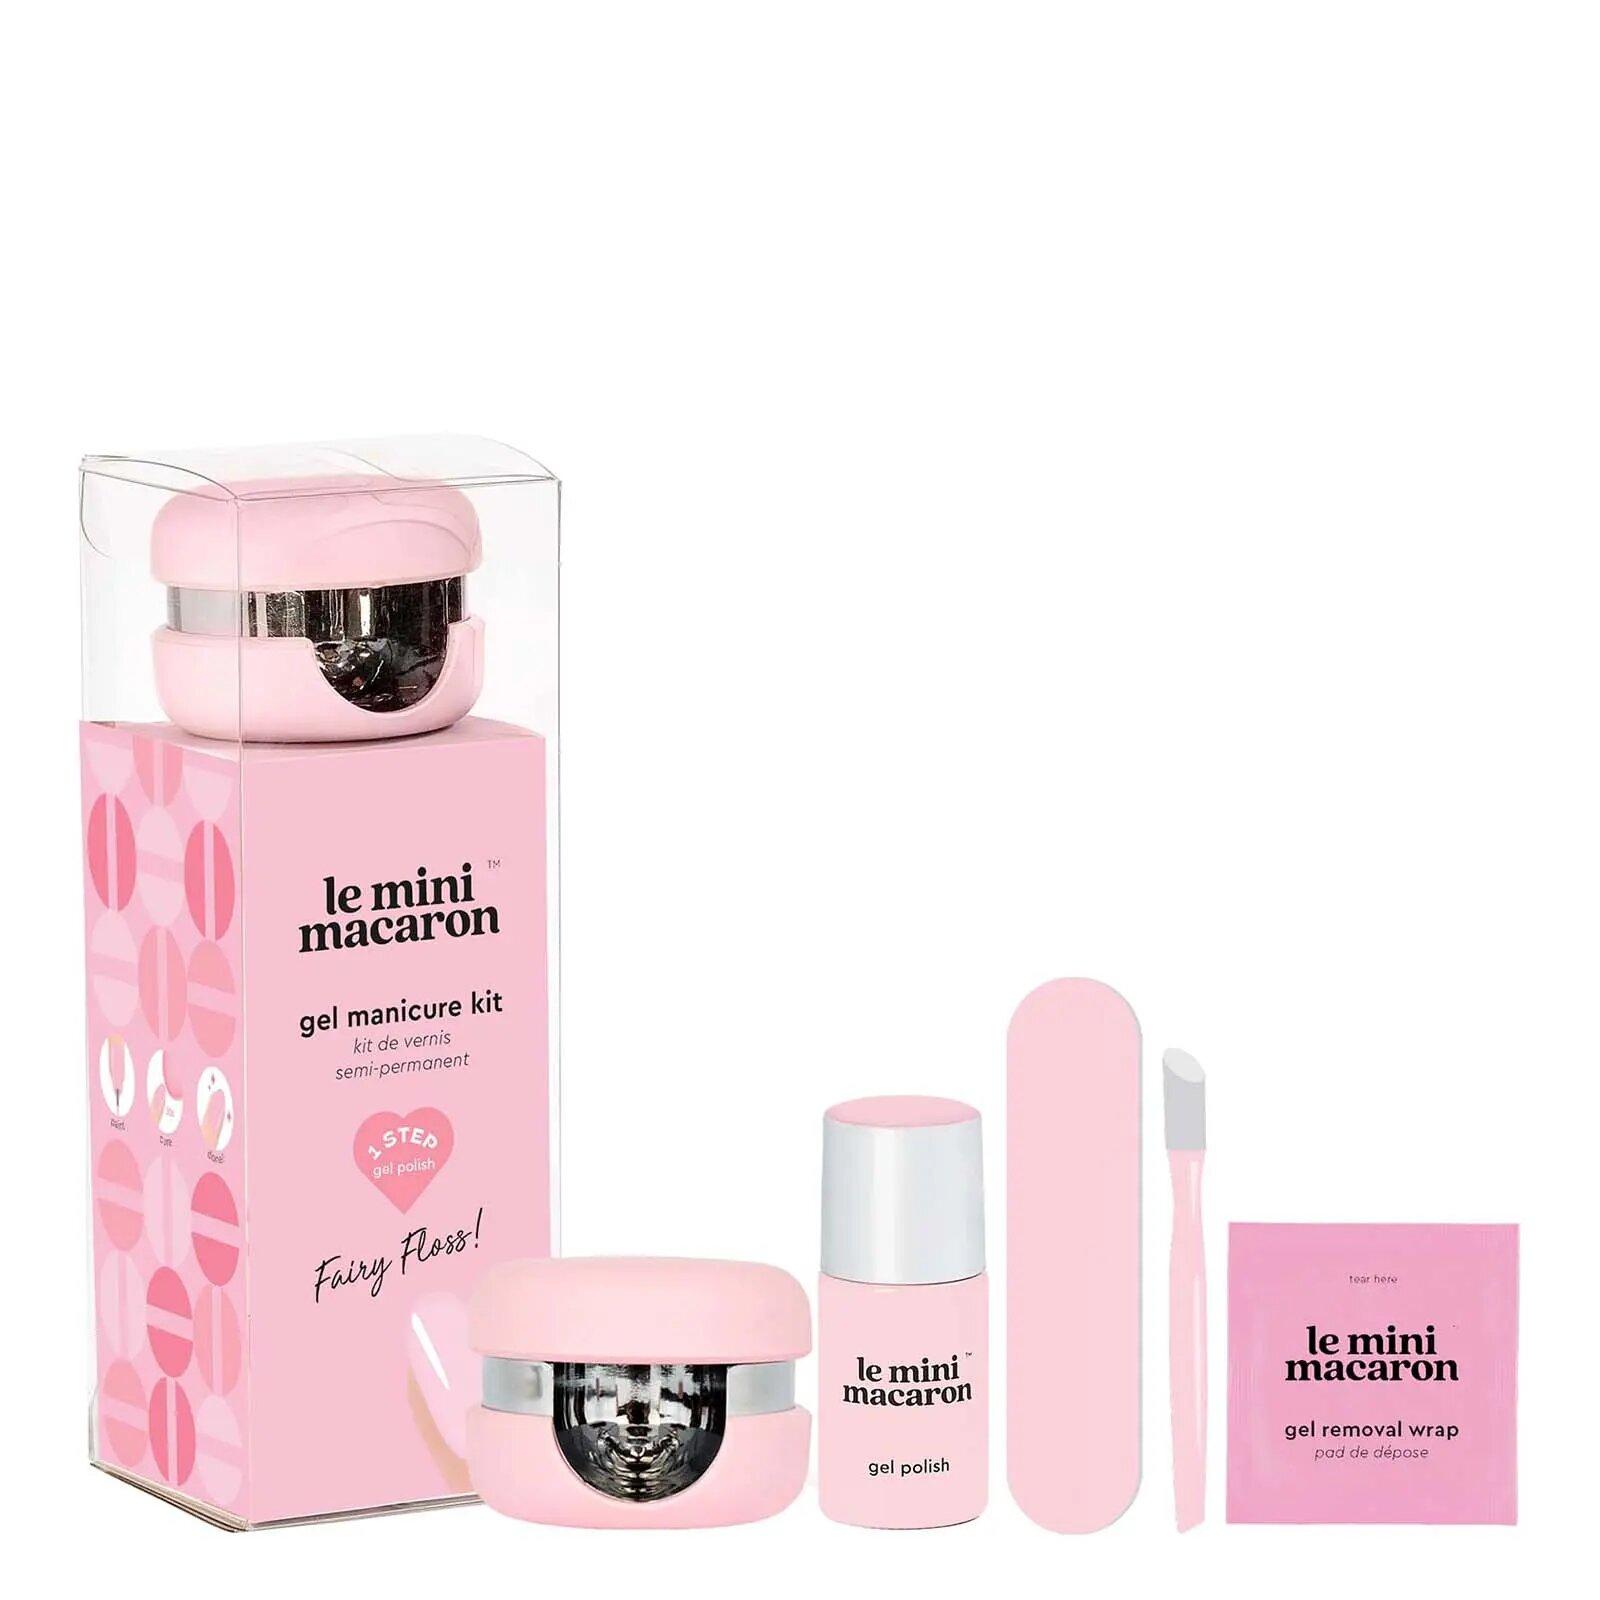
This super-tiny gel kit can be popped in your travel bag so that you can get your gel mani fix on the go.
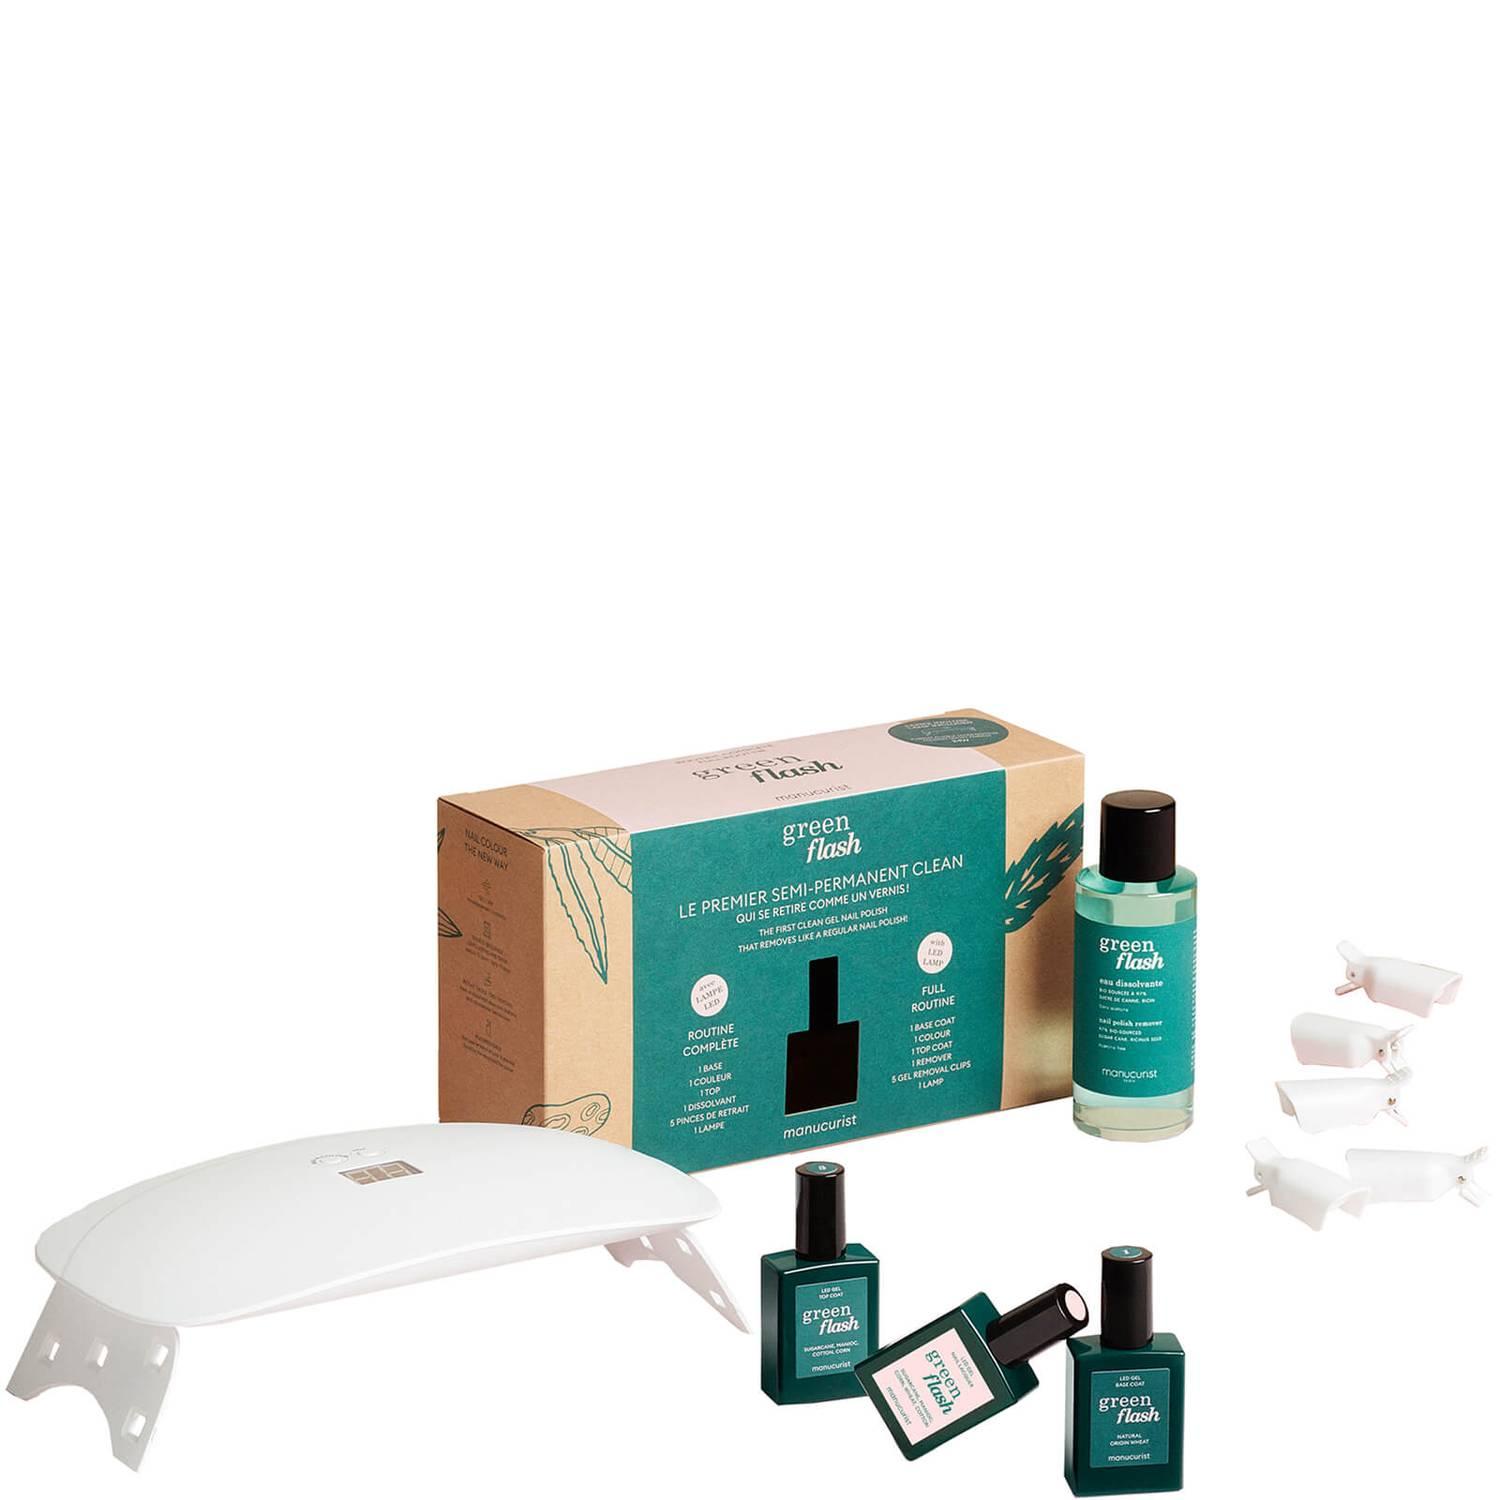
These clever polishes give gel-like results but can be removed with a simple acetone-free nail polish remover. It’s all very clever.


