Nothing compares to the feeling of emerging from the salon with freshly painted nails. They may be small, but there’s something about having elegantly manicured talons that makes you feel more confident (not to mention significantly fancier). The only downside? The expense—particularly when you bring nail art into the equation.
While the steady hand, creative flair and keen eye of your nail-art technician is undoubtedly worth every penny, keeping regular salon appointments can be costly. Which is why it’s worth practising some looks at home which will appease your nail-art craving between appointments.
Nail art is known for being difficult to master, and that’s certainly true of some designs. There are, however, some options that’ll look as if they’ve been created by an expert hand when, in reality, you were able to whip them up from the comfort of your own home.
Whether you prefer pared-back nail art or have a penchant for ultra-bright hues, with a little outside-the-box thinking, we’ve whittled down seven easy nail-art designs for you to experiment with in your downtime.
Effort rating: 1/5
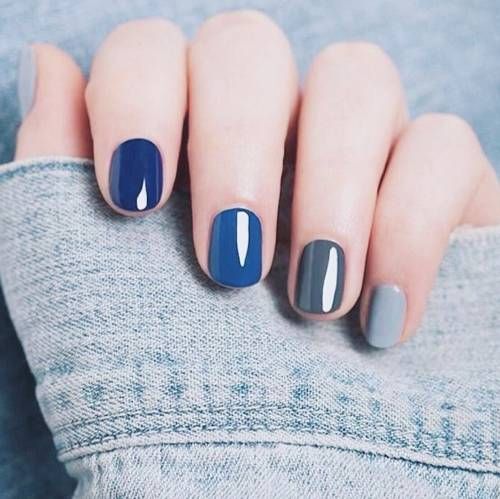
What you’ll need: Five varying shades of your favourite nail colour, going from light to dark.
What makes it easy: Ombré nails have been one of the most popular easy nail-art looks of the last year, mainly because it involves next-to-no effort on your part but looks incredibly stylish all the same. Starting on either your pinky or our thumb, paint your nail in the lightest shade of your chosen nail colour. Then, on the next finger, paint it a shade slightly darker than the last. Do this until you reach the last finger, and you’ll have created a gorgeous ombré effect.
Effort rating: 2/5
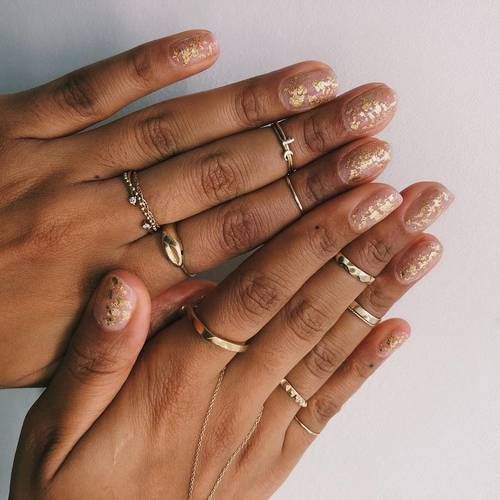
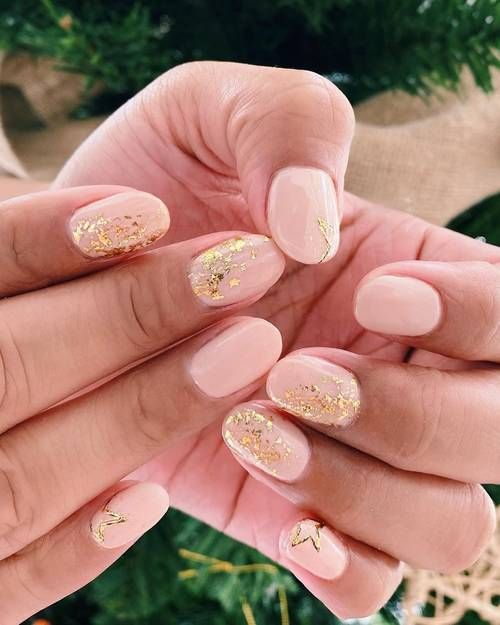
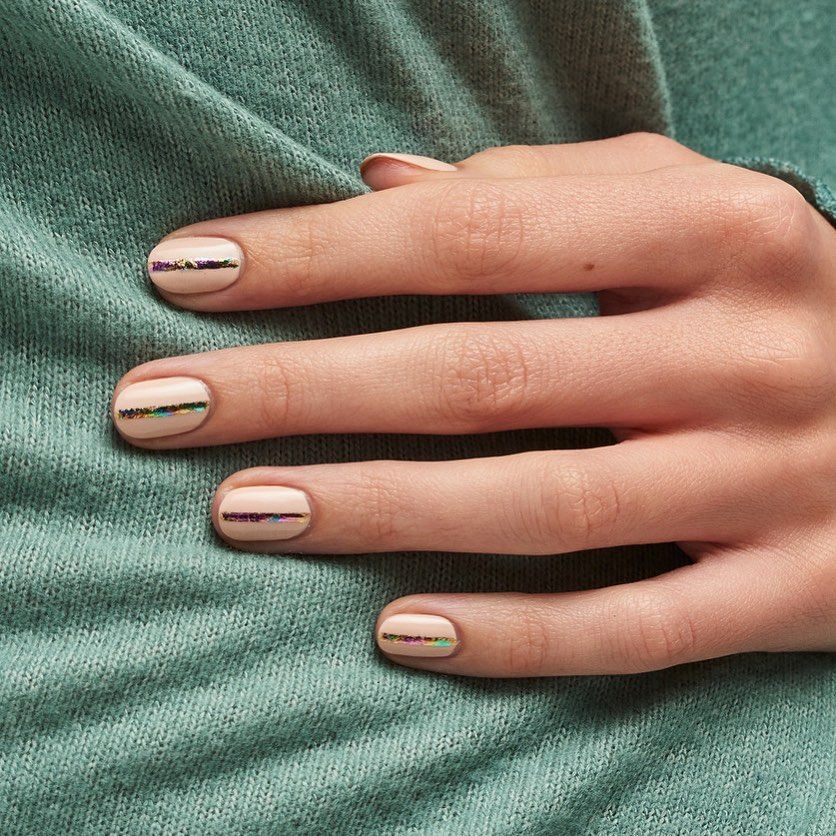
What you’ll need: A clear base polish, foil flecks, tweezers and a glossy top coat.
What makes it easy: As we begin easing ourselves into autumn, a new, easy nail-art trend has emerged—foil nails. Perfect for adding a glittering touch to your daily ensembles, without looking too OTT, slick a clear base coat across your nails. Once tacky, apply your desired amount of foil (we love this frugal set from Amazon), using your tweezers to position and press each fleck to the nail gently. Once you’ve positioned your foil accordingly cover the entirety of your nail with a glossy topcoat. Should you want to add portions of colour like @paintboxnails, you can do so before the foil application.
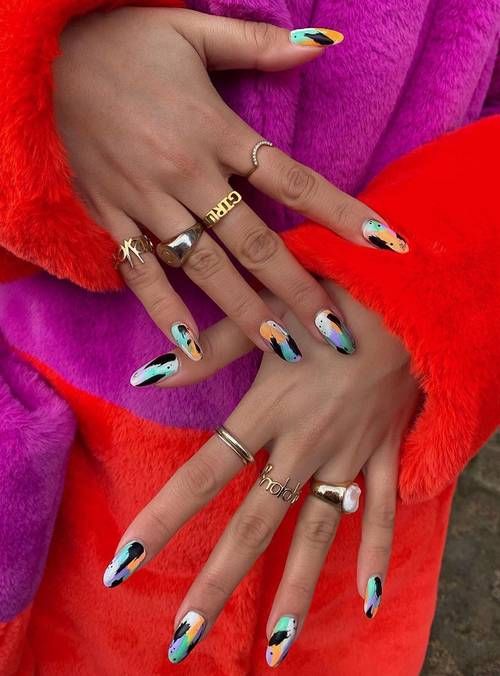
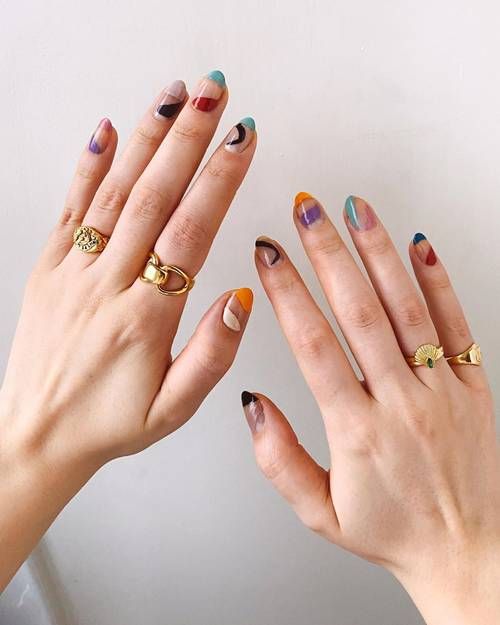
Effort rating: 1/5
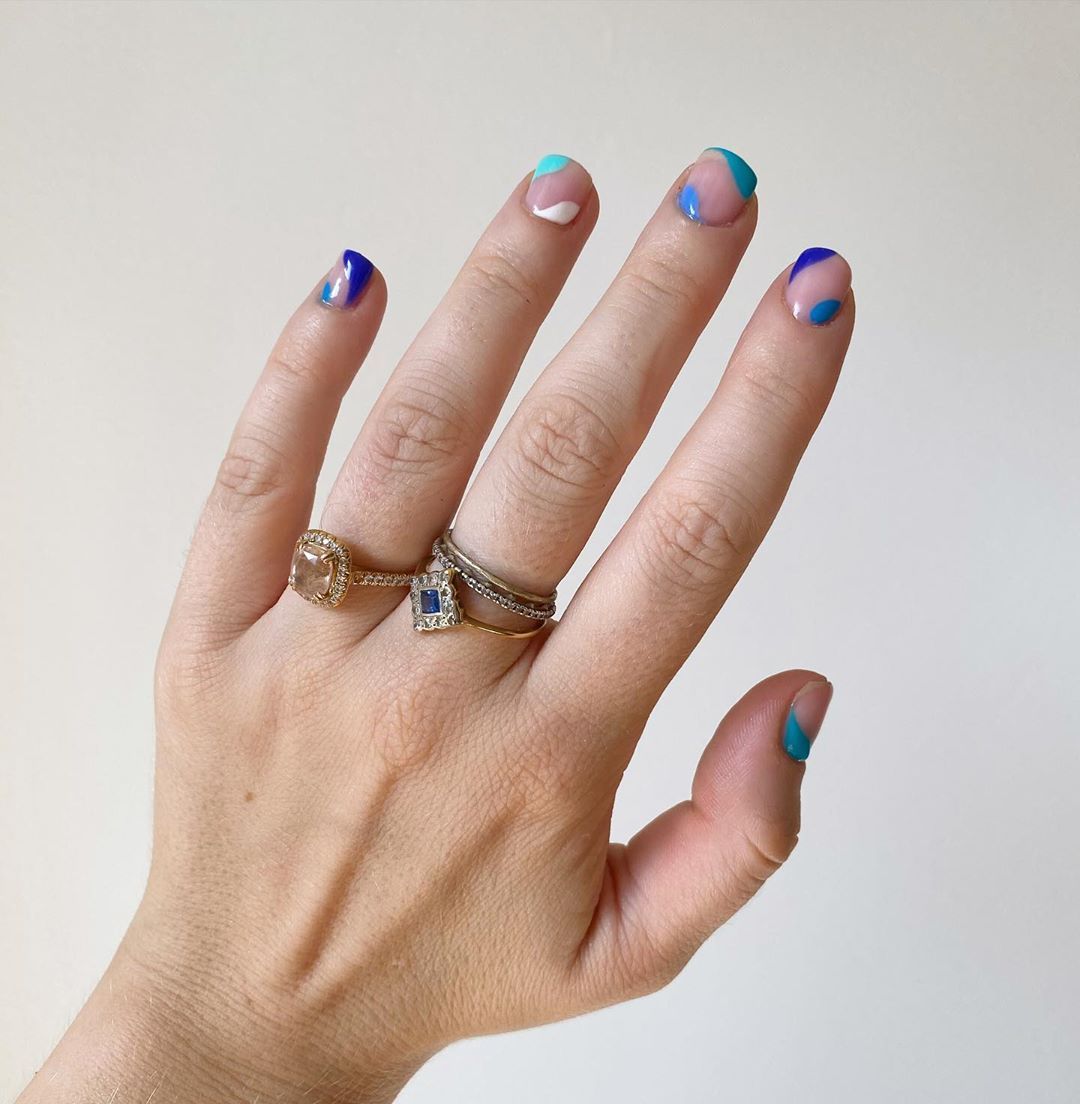
What you’ll need: An array of nail colours, a topcoat, plus a toothpick or any manicure tools you may have.
What makes it easy: Nail art becomes tricky when each it requires each of your nails to look identical but, when you take the abstract approach, it becomes a stress-free experience. Using different nail colours, create mix-match sweeps and swipes across the nail until you’re happy with the effect. For more delicate detailing, such as lines and microdots, dip a toothpick into your chosen polish and see where your creativity takes you. We especially like how Celeste has contrasted her pastel nails with a hit of contrasting black, which enhances the abstract look. Once your nail art is complete, lock into place with a topcoat.
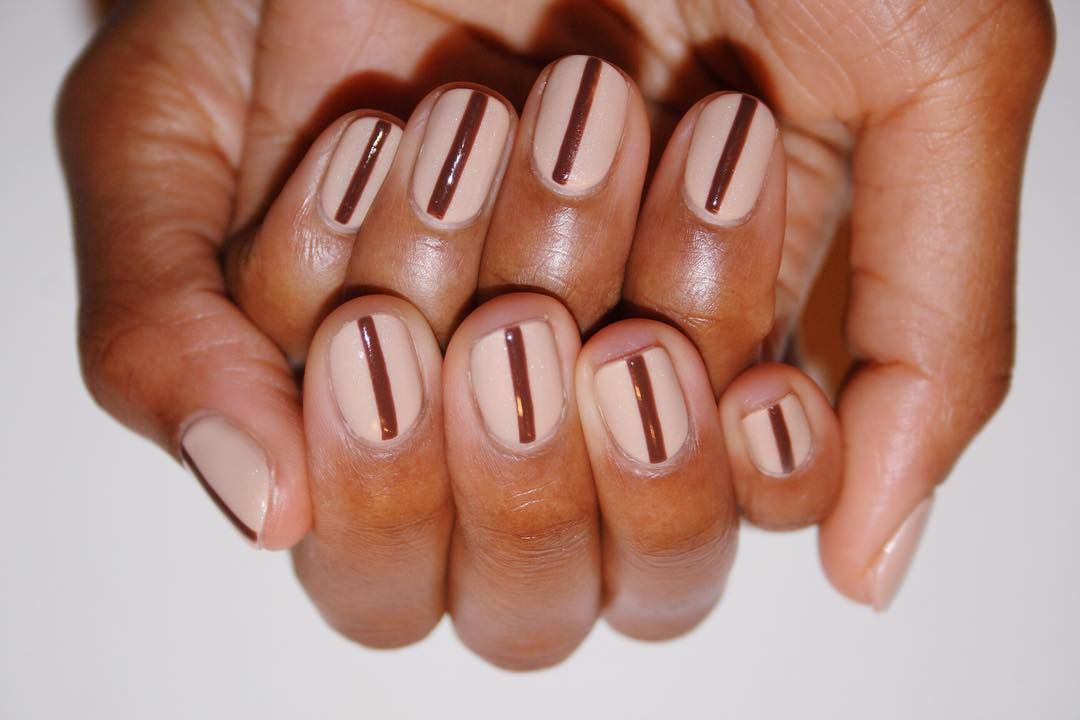
Effort rating: 3/5
What you’ll need: Two contrasting nail colours, a topcoat, a nail-art brush and a relatively steady hand.
What makes it easy: With less room for, not error, but interpretation, this is perhaps one of the more difficult nail-art looks in our edit. That said, it’s still pretty simple—start off by painting a base colour on your nails, allowing it to dry entirely. Then, using a nail-art brush (you can snap one up for as little as £2) or any small brush you may have to hand, apply your contrasting colour, starting at the cuticle nail and glide it towards the end of your nail in a straight line. Repeat if the colour fades or if you’d prefer a thicker line. You can also choose to stop just shy of the tip, or go all the way to the edge—whichever you prefer. Once the line is dry, secure with a clear topcoat.
Effort rating: 2/5
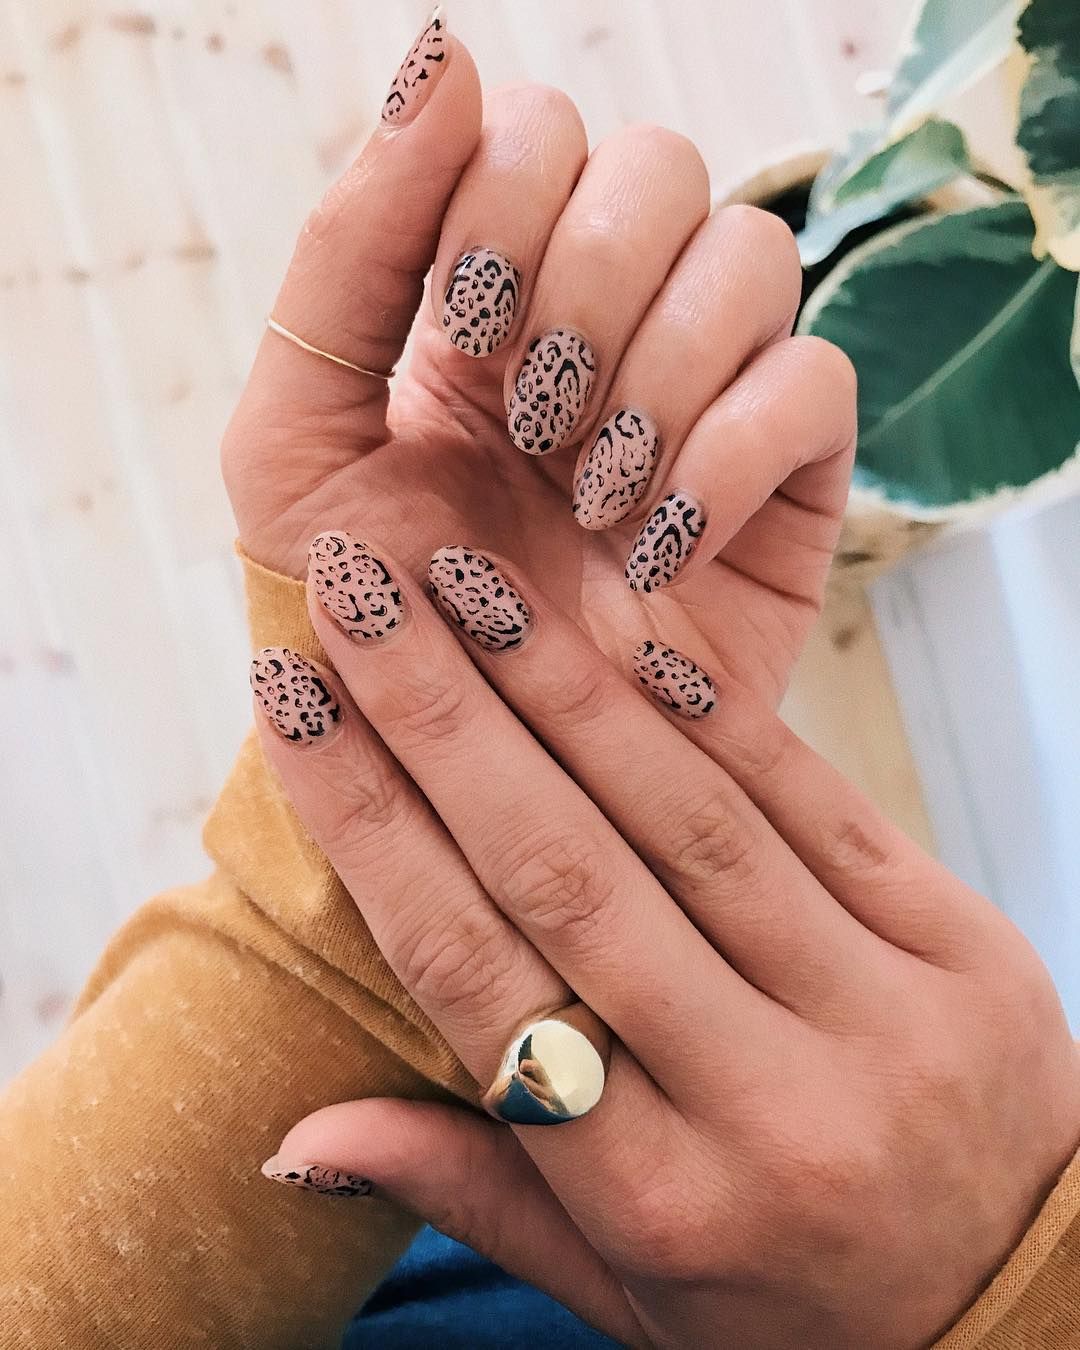
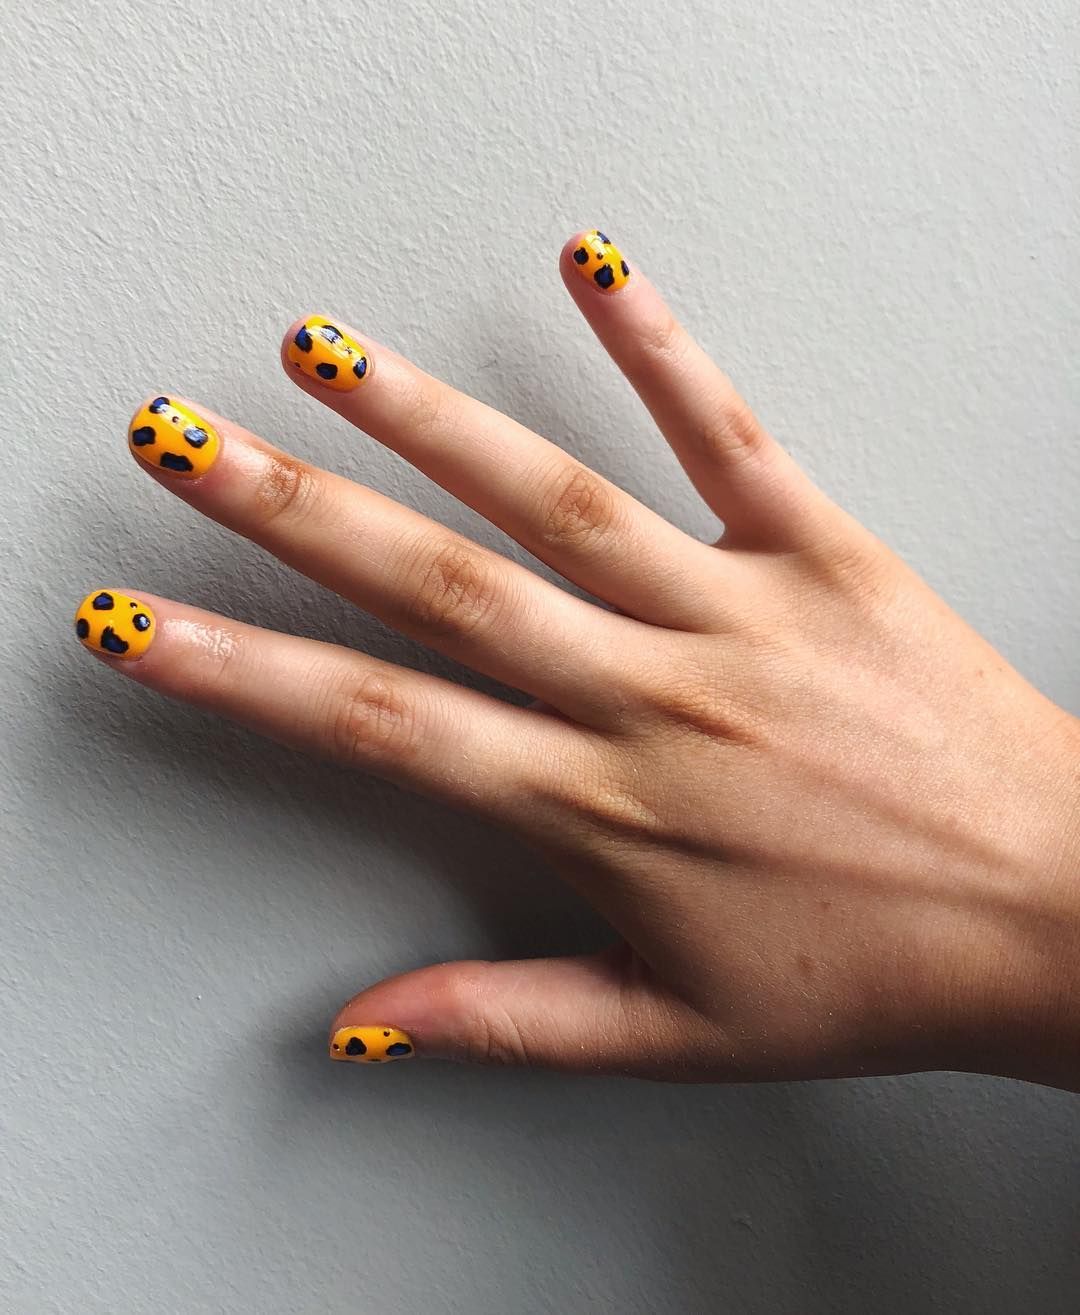
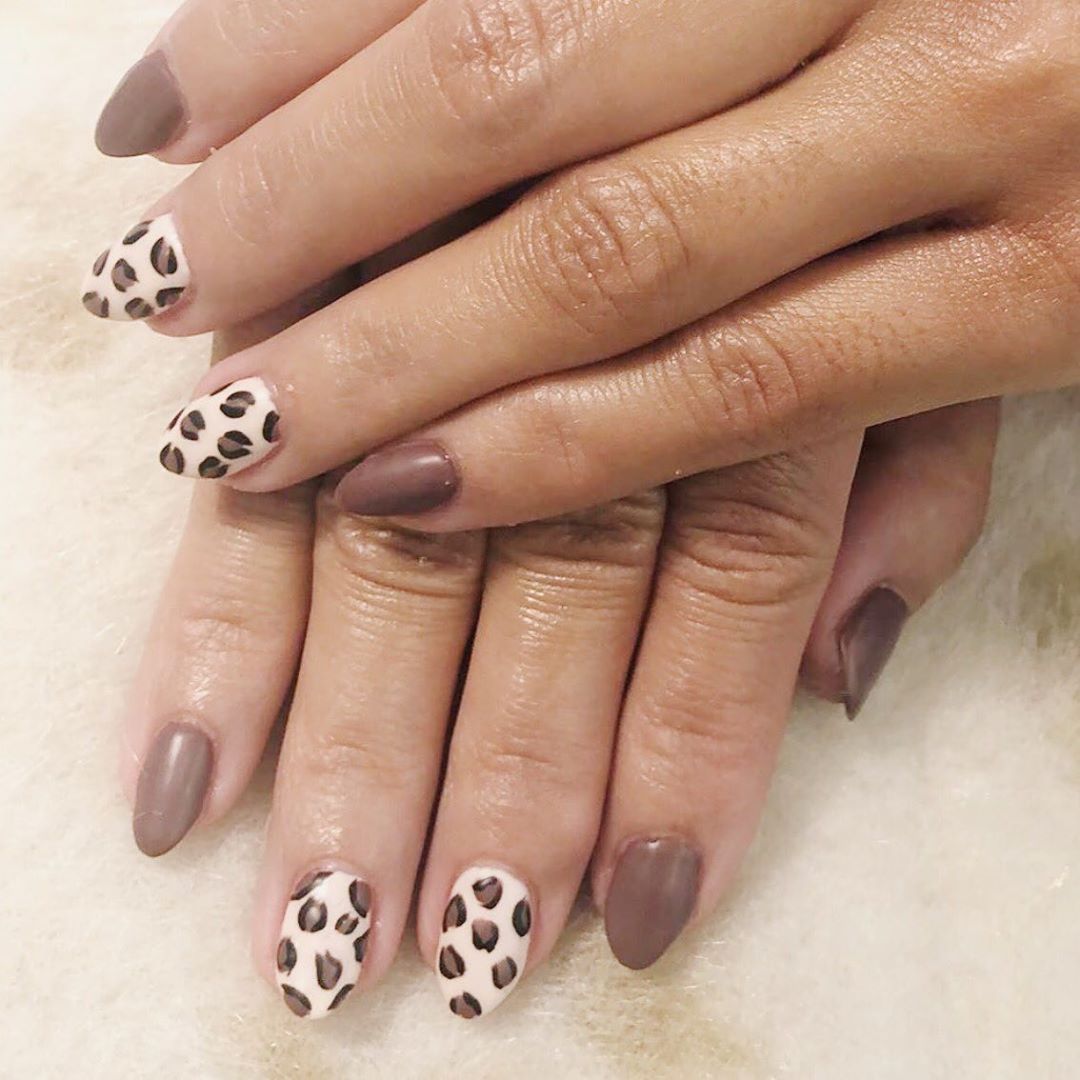
What you’ll need: A base nail colour, darker accent nail colour, topcoat and a toothpick or dotting tool.
What makes it easy: Applying the same logic as abstract nail art, the thing that makes creating leopard print nails easy is the fact that you don’t need to follow a uniform pattern. In fact, we think that varying the size and transparency of your leopard spots enhances the overall look. Start by painting your nails in your preferred colour (we recommend a muted or bright hue). Once dry, take your darker nail colour and, using your dotting tool (try this option for £4) or toothpick, lightly apply it to your nail in rough curve formations. The key is to avoid creating full circles. Once you’re happy with the motif, glaze your nails with your favourite topcoat.
Effort rating: 2/5
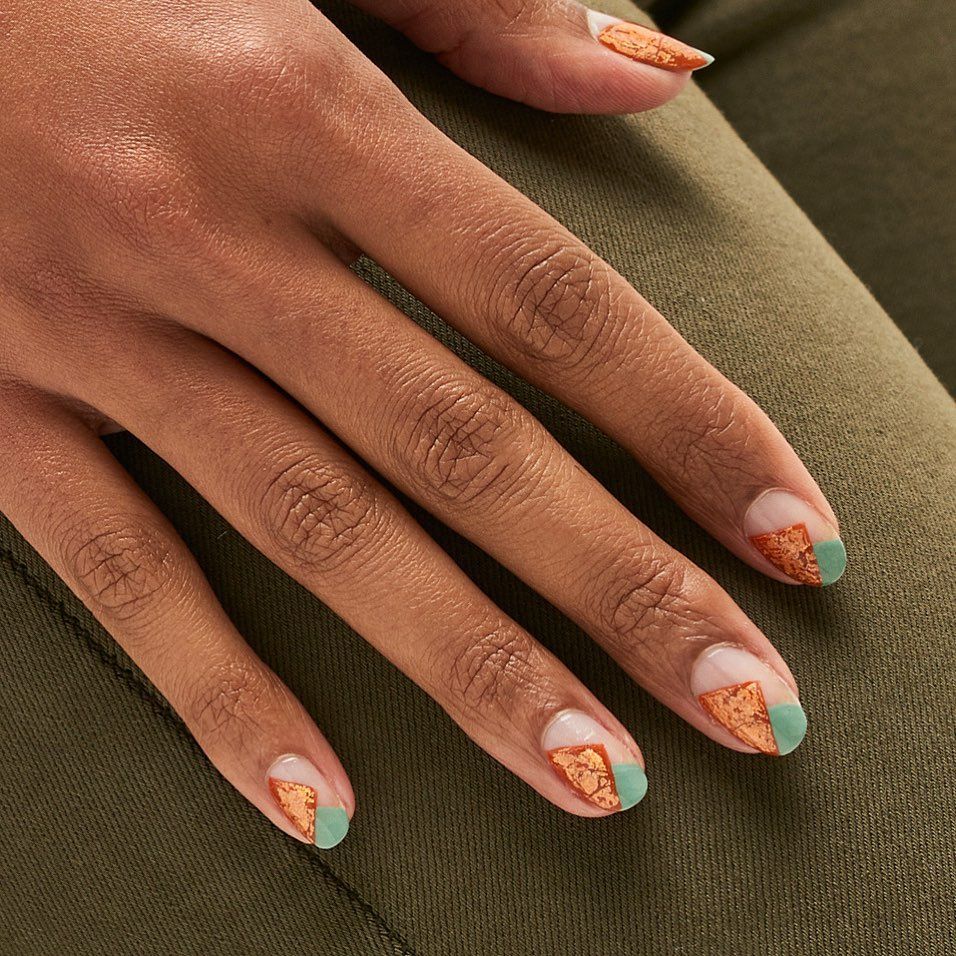
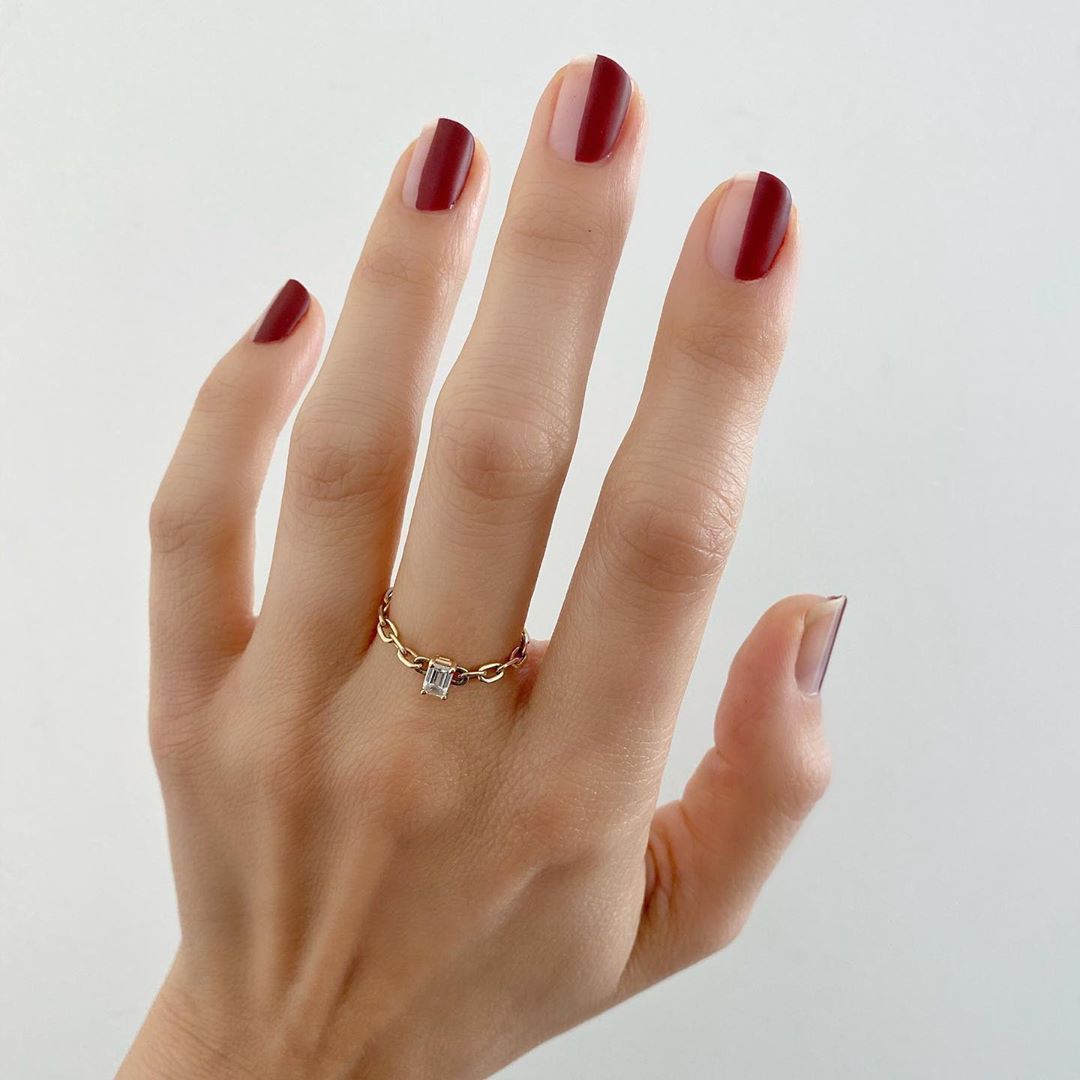
What you’ll need: A base coat, an accent colour and a topcoat. Optional: masking tape.
What makes it easy: Negative space nails are cropping up all over the place at the moment, so we suggest getting on the trend before it reaches its peak. Negative space nail art allows some of your natural nail to remain on show. As for the motif you choose, that’s entirely up to you. While curves are proving incredibly popular, one of the easiest nail-art looks involves painting half of your nail one colour, while leaving the other half bare, just like @betina_goldstein. First, apply your base coat and leave it to dry. This will ensure any negative nail space will look glossy. Then, to create the half-painted look, apply a strip of tape to your nail, covering the half you’d like to remain unpainted. Take your accent colour and paint a thin layer onto your nail. Ensuring the colour isn’t bleeding through to your desired negative space, keep adding thin layers of colour to your nail until the colour payoff is as you’d like it. Once completely dry, finish with a clear topcoat.

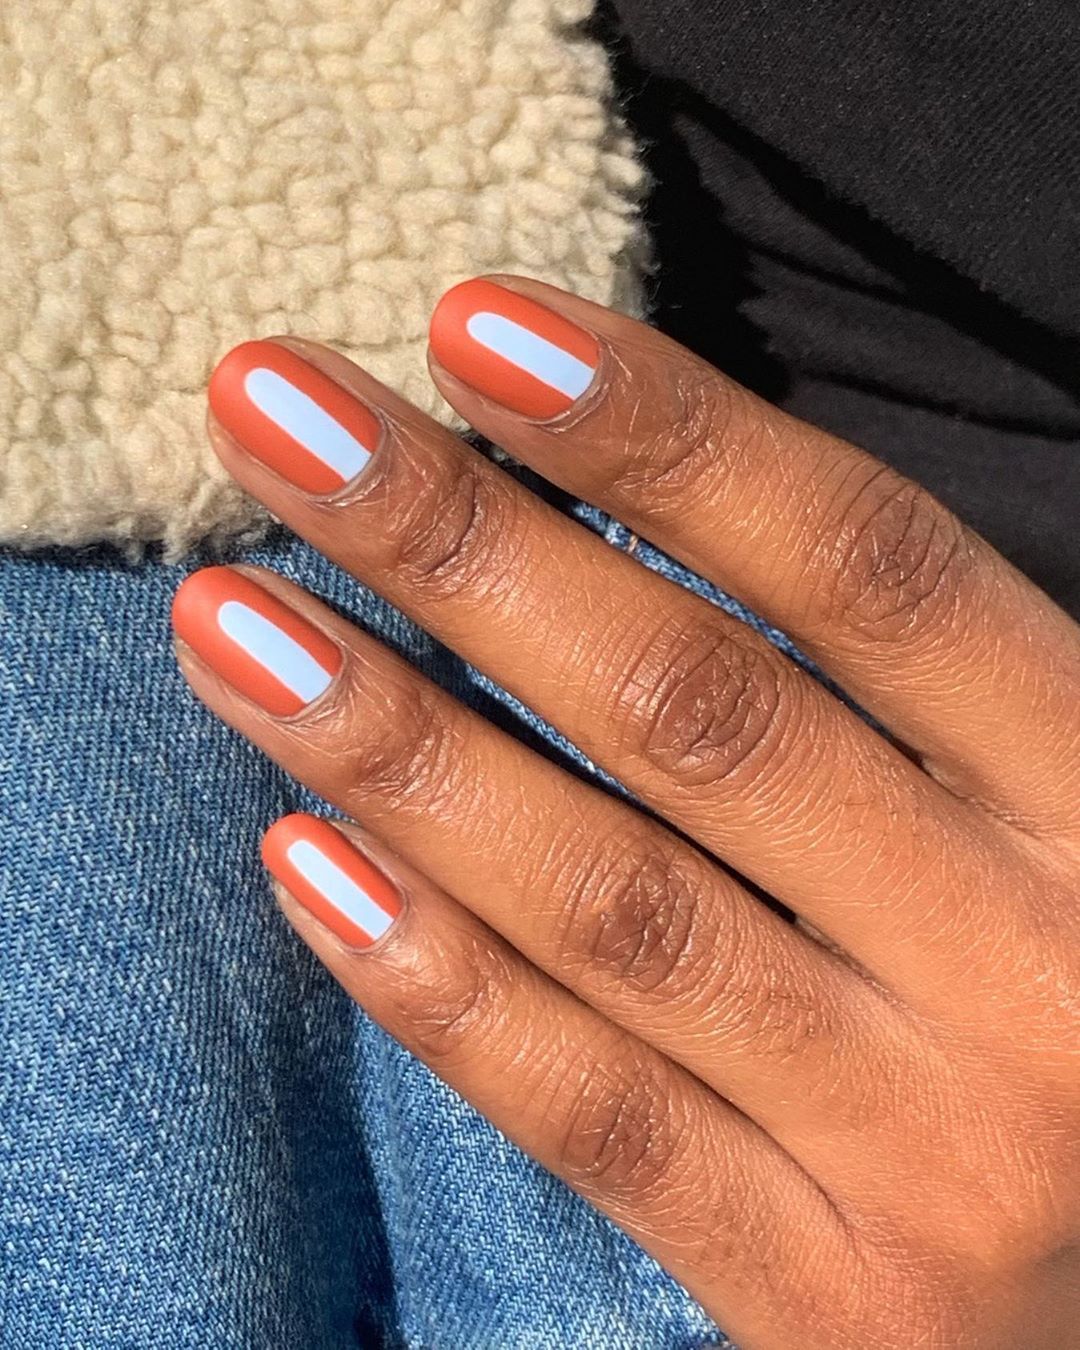
Effort rating: 2/5
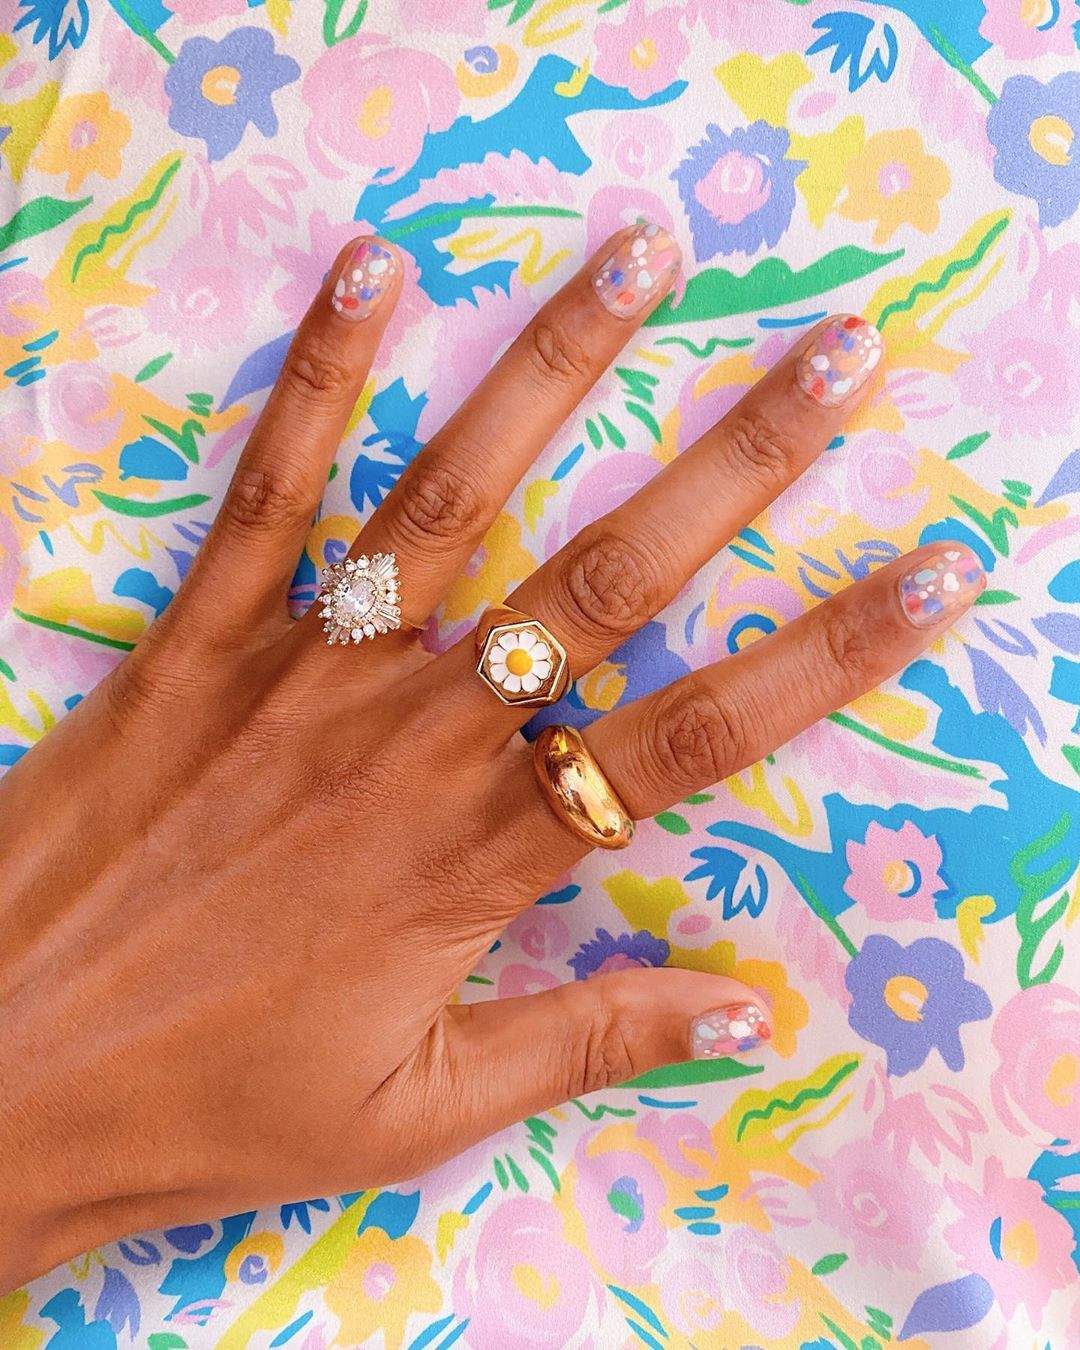
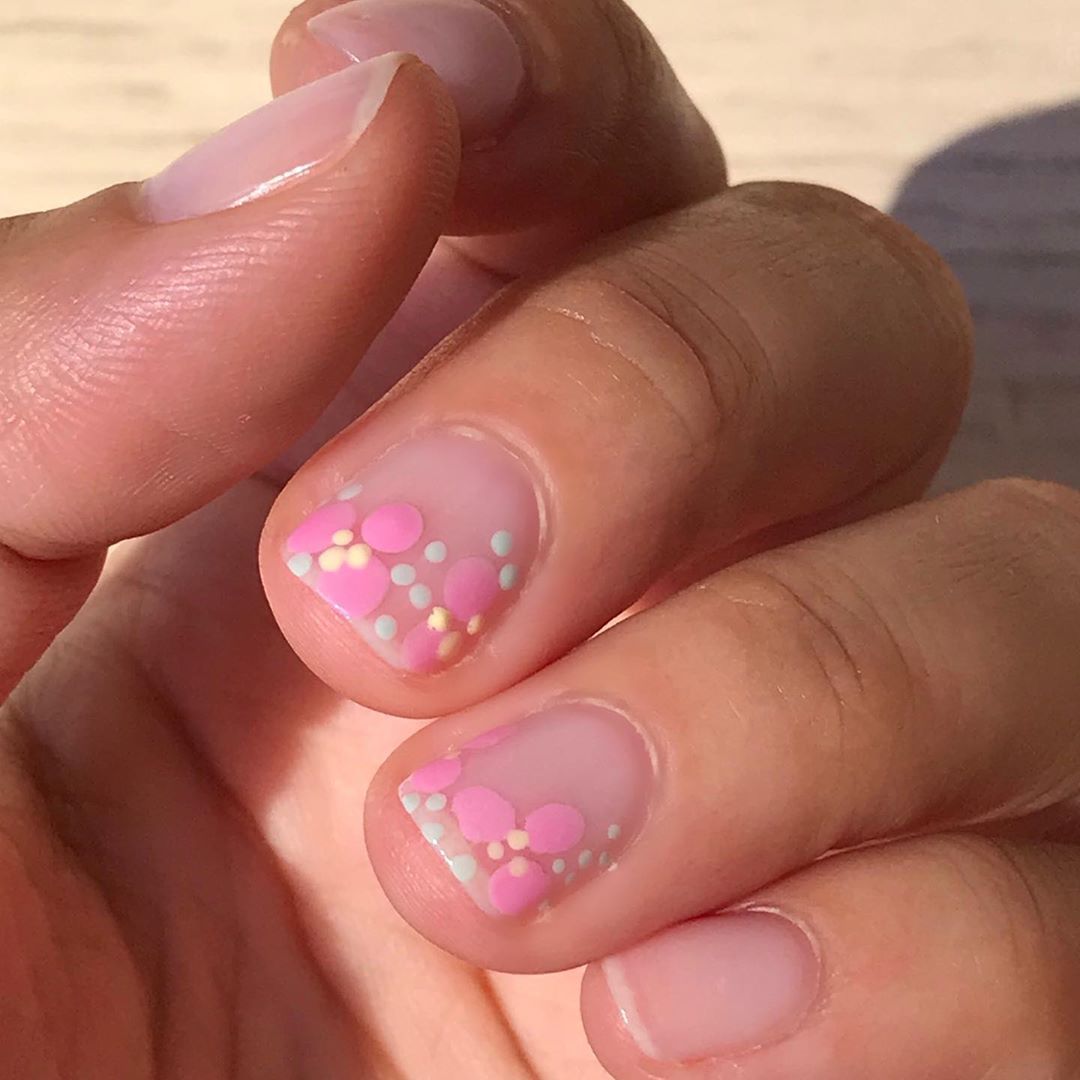
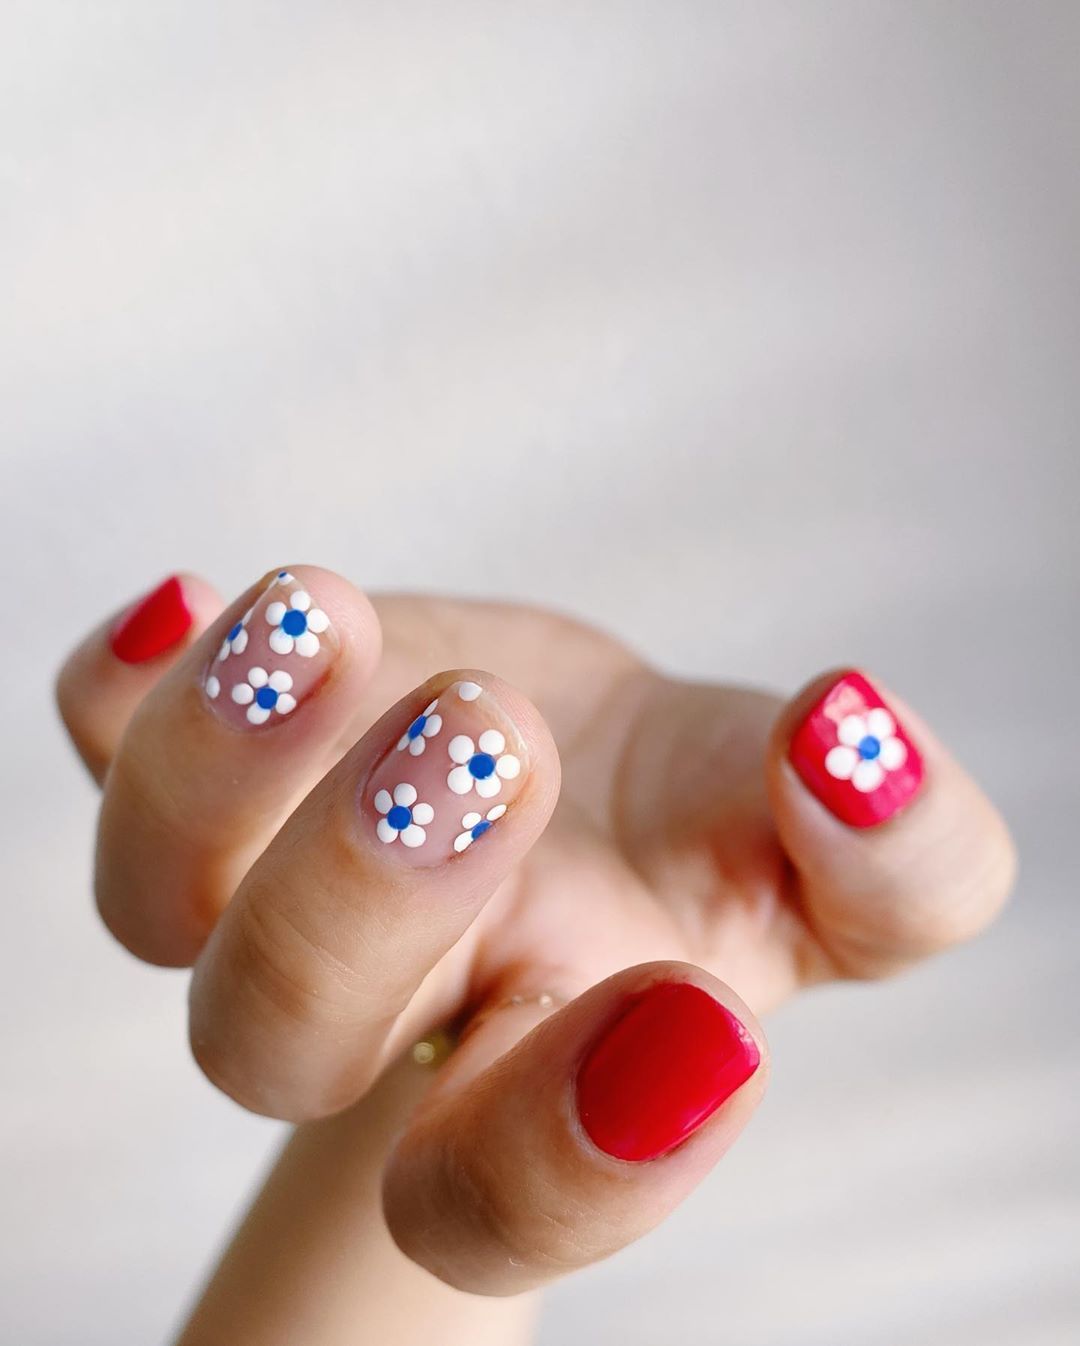
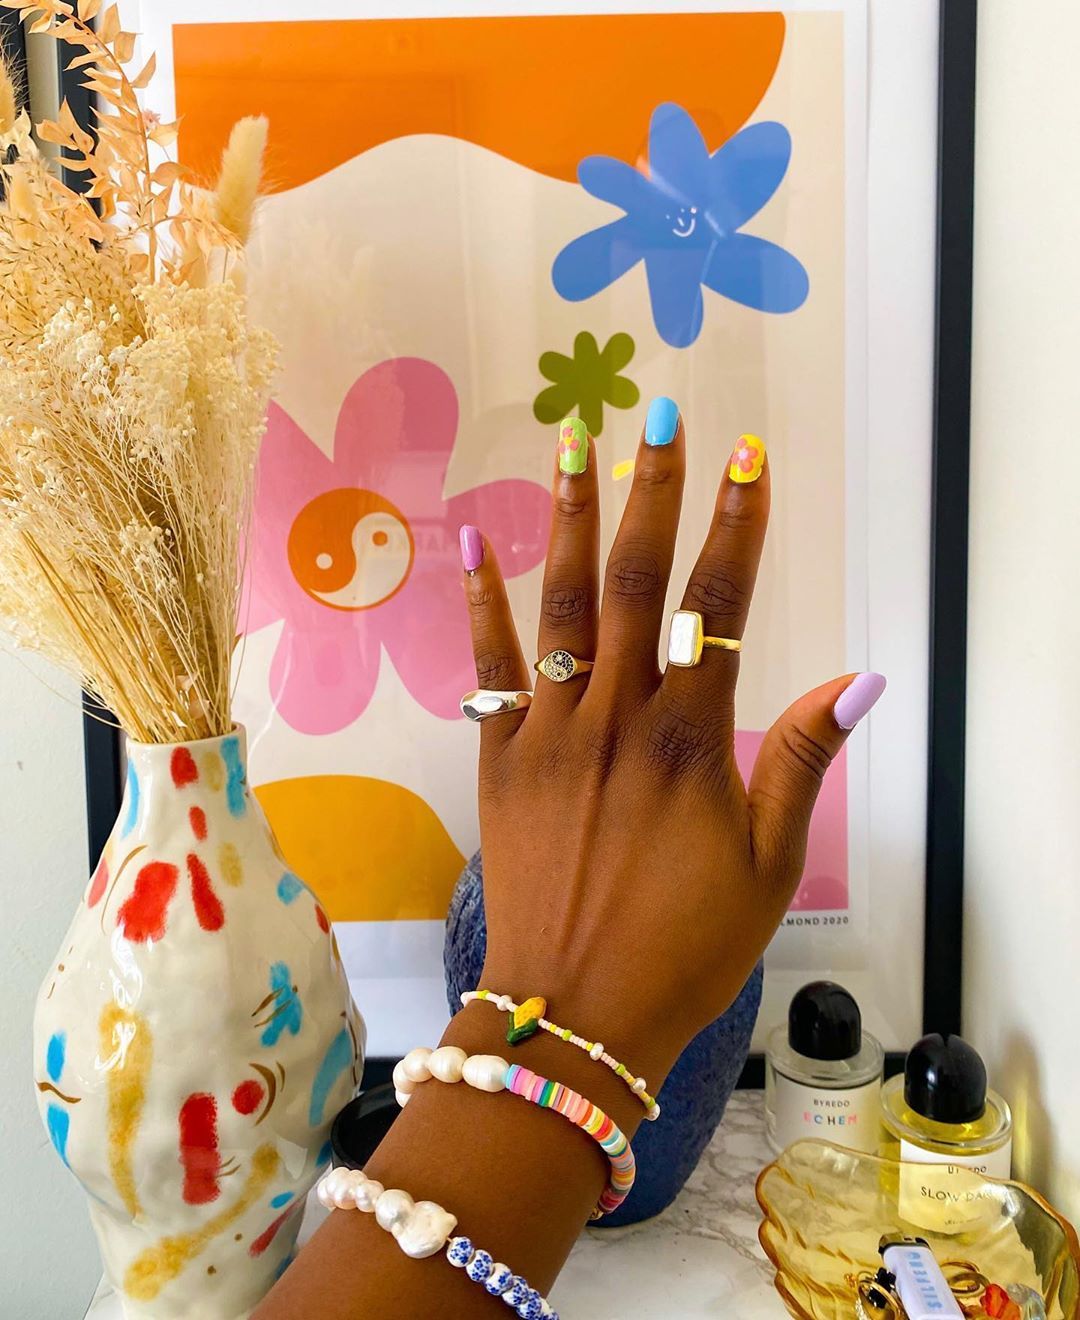
What you’ll need: At least two nail colours, a clear topcoat and a dotting tool or a kirby grip.
What makes it easy: Floral nail motifs will never go out of style, but you needn’t opt for ornate designs for the look to make an impact. Instead, we’re seeing more and more deconstructed floral motifs on our feeds, which make floral nail art easier to re-create at home. By sticking to circle motifs, you can create a bold, daisy-esque effect. To achieve this look, start with the colour you’ve chosen for the petals. Using a dotting tool (alternatively, you can follow @thehangedit‘s lead and use the rounded-off end of a kirby grip), apply five dots of colour in a circular shape onto your nails. Once dry, take your freshly cleaned tool and dip it into the colour you’ve chosen for the centre of the flower. Dot the polish in the middle of the circle effect you’ve already created. Allow to dry, then finish with a clear topcoat.
Next, how to remove gel polish at home without ruining your nails for good.


