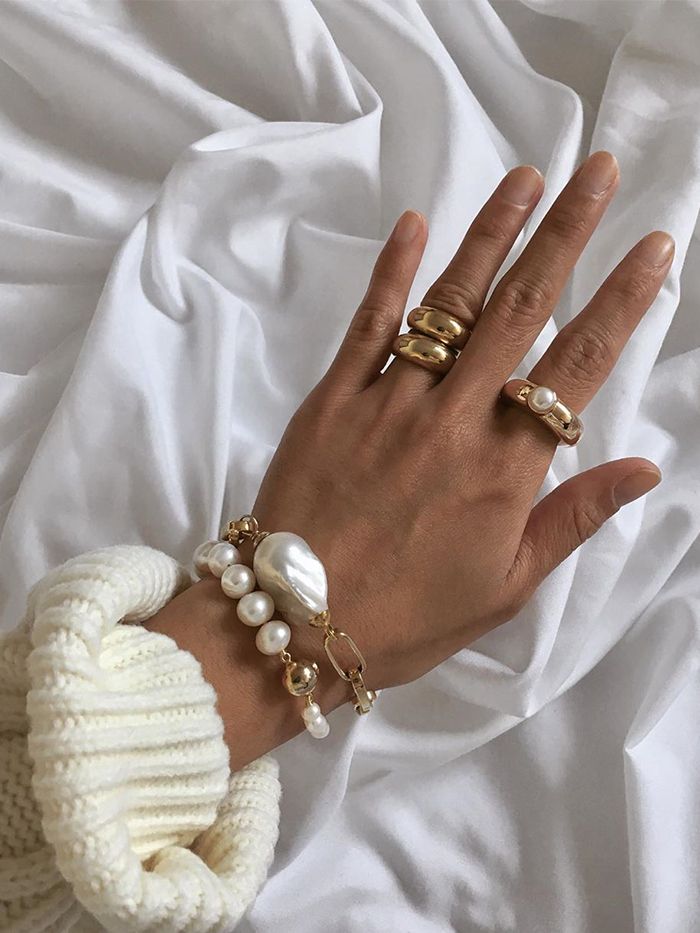
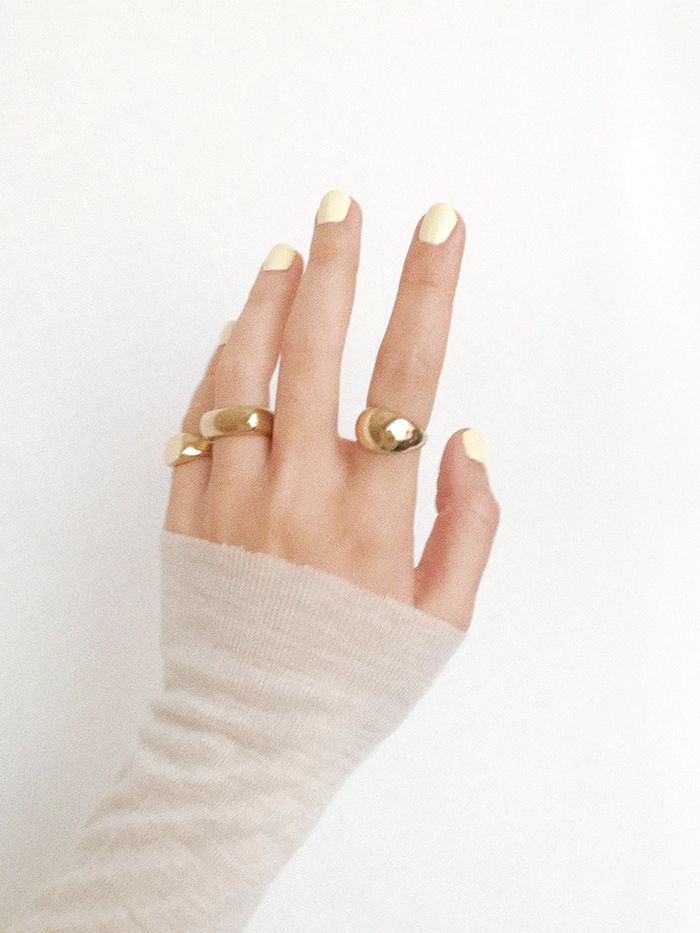
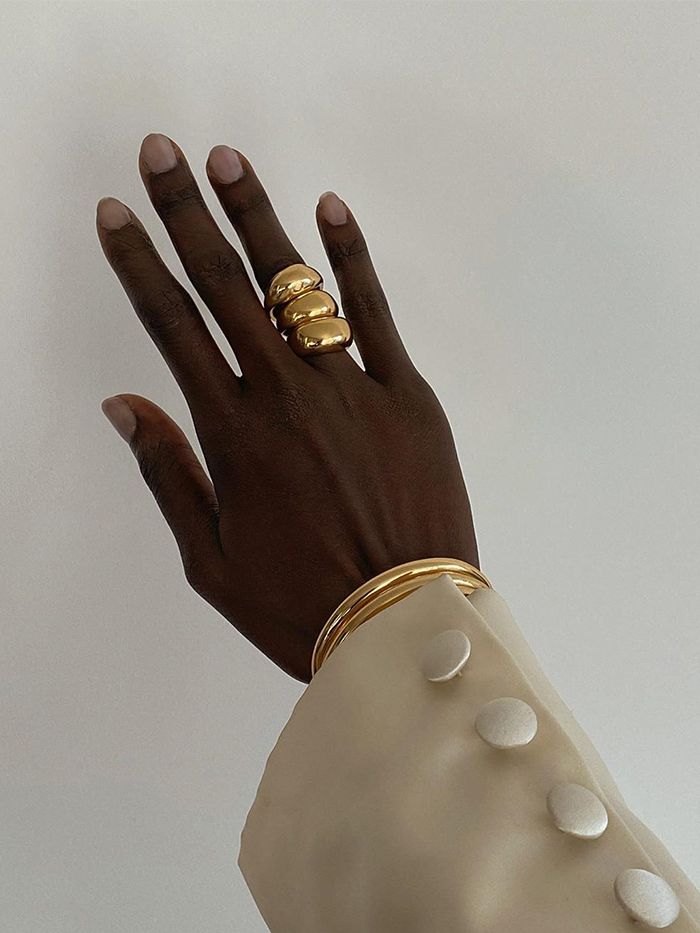
Trust us—we know the feeling all too well. You’ve had a gel manicure, your colourful nails look amazing for two to three weeks and you’re on top of the world. But then you notice that they’re catching a little when you wash your hair. Later, while washing up, you spot that the edges are starting to lift. You start inspecting. First, you just pick a tiny corner to try and minimise the damage, but then the high of the peel takes over and 20 minutes later you’re crying into a pile of gel flakes with nails that resemble shredded tissue paper.
The truth is, at-home nail upkeep is actually quite tough. Without an expert there to guide you through things step-by-step, it’s all too easy to make a wrong turn, especially when it comes to gels. Nail Expert at OPI, Belinda Price explains, “The nail is made up of many layers and if the gel is peeled off, it can take a layer of nail with it causing thinning and damage. To grow the damage out can take around three months.”
However, despite being told time and time again that when it comes to gel nails, it’s always best to leave it to the experts, with a hold on any salon trips for a little while, we figured it’s important to share how to remove your gel manicure at home. So, in a bid to protect nail beds across the land, keep scrolling for a step-by-step guide on how to remove gel polish without ruining your nails.
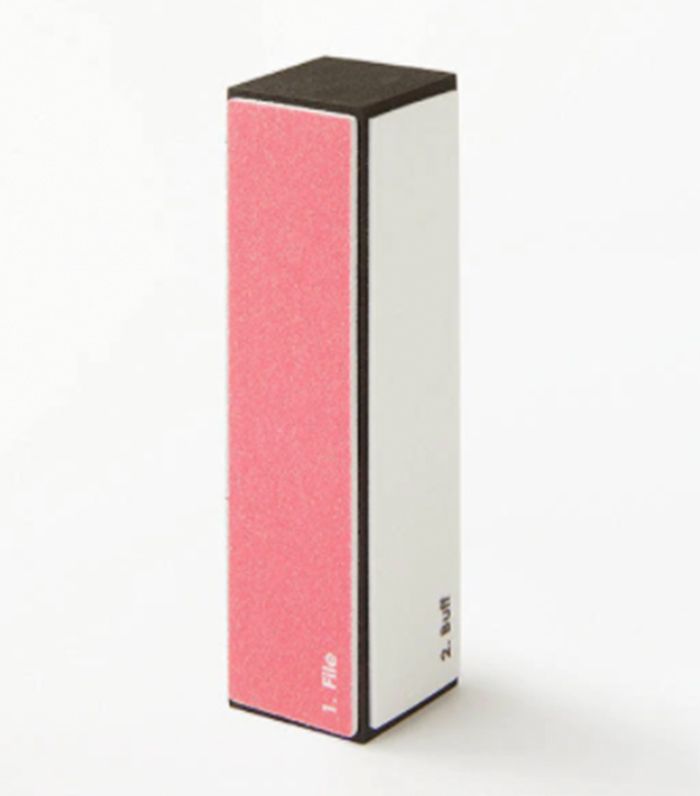
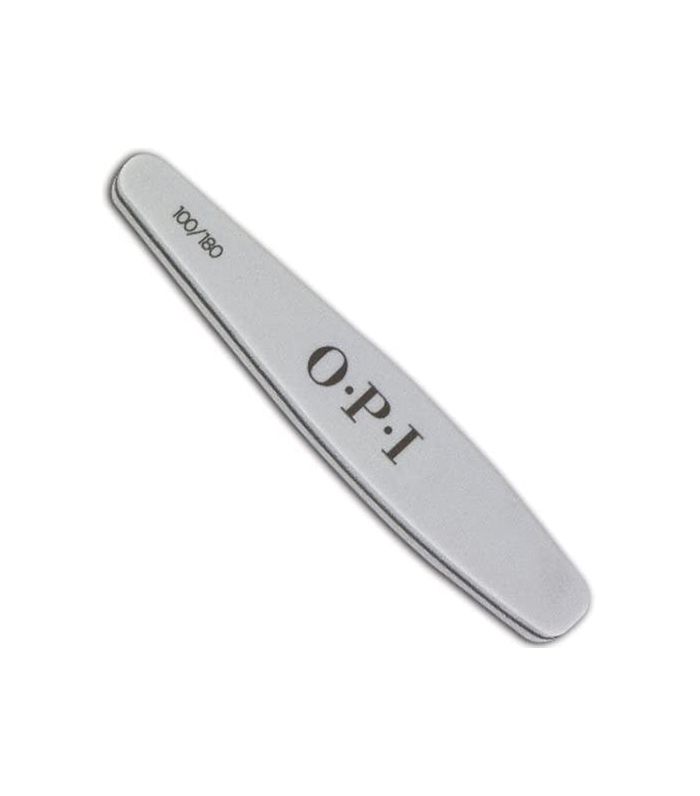
First of all, depending on the type of gel you have on your nails (it’s always worth taking a mental note in future), you will usually have to file off the top, glossy layer of the polish before you start soaking in remover. The key is to gently buff off the shiny layer to weaken the bond, without hitting the nail itself. With that being said, there are certain formulas that don’t require this step—most notably the very popular CND Shellac. Global Team CND Education Ambassador Nataliya Al-Ta’ai explains, “Shellac is a thin, but very protective gel polish colour coating. The formula contains unique polymers that allow for it to be removed effortlessly (without filing), which can easily be done at home.”
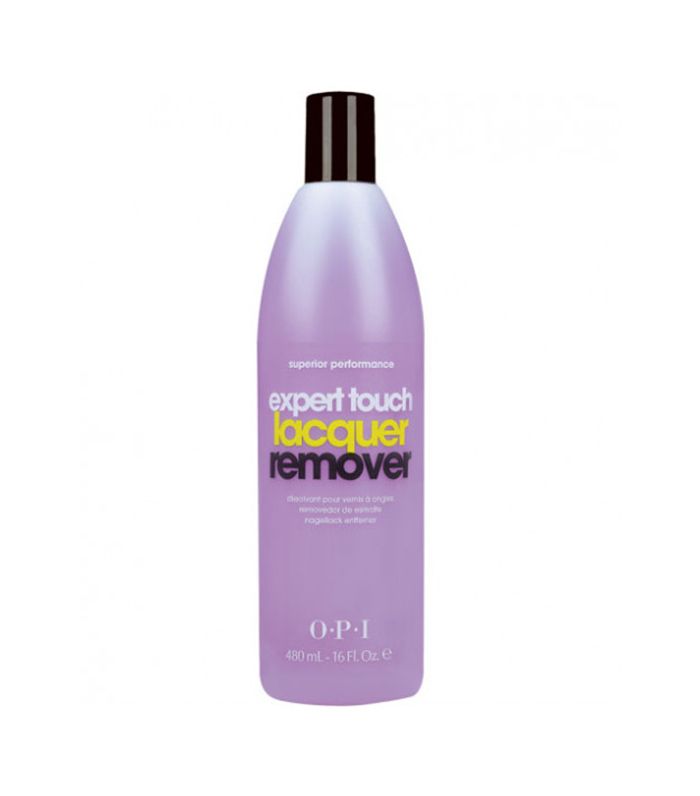
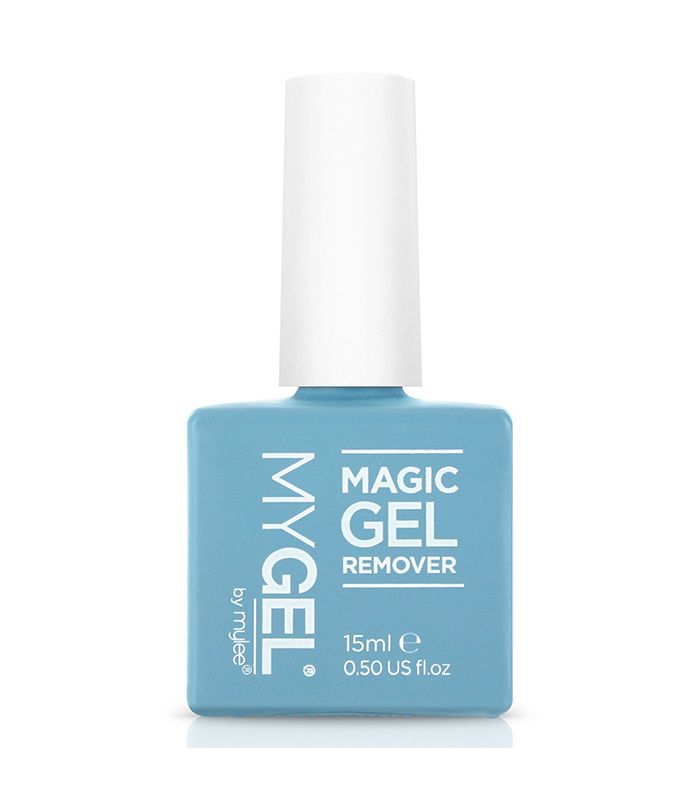
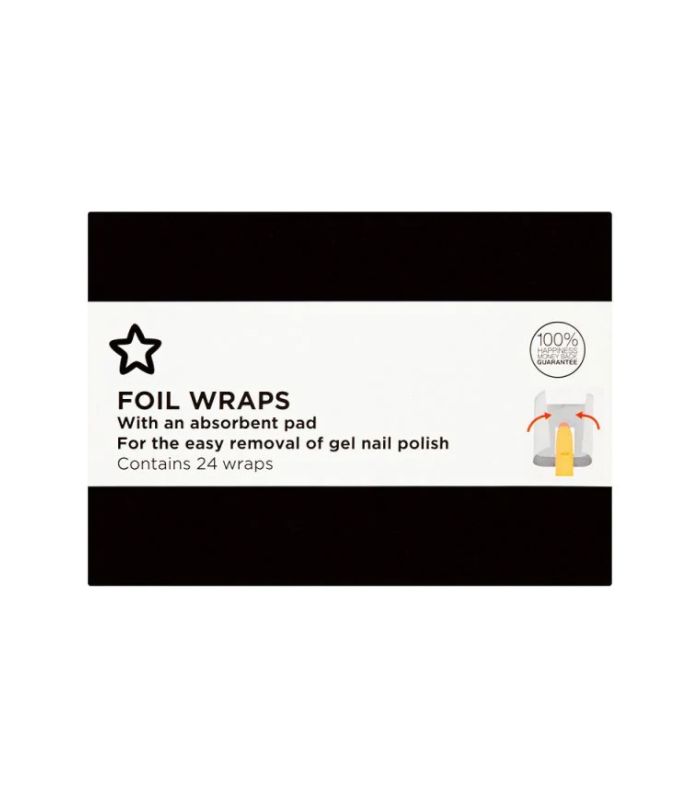
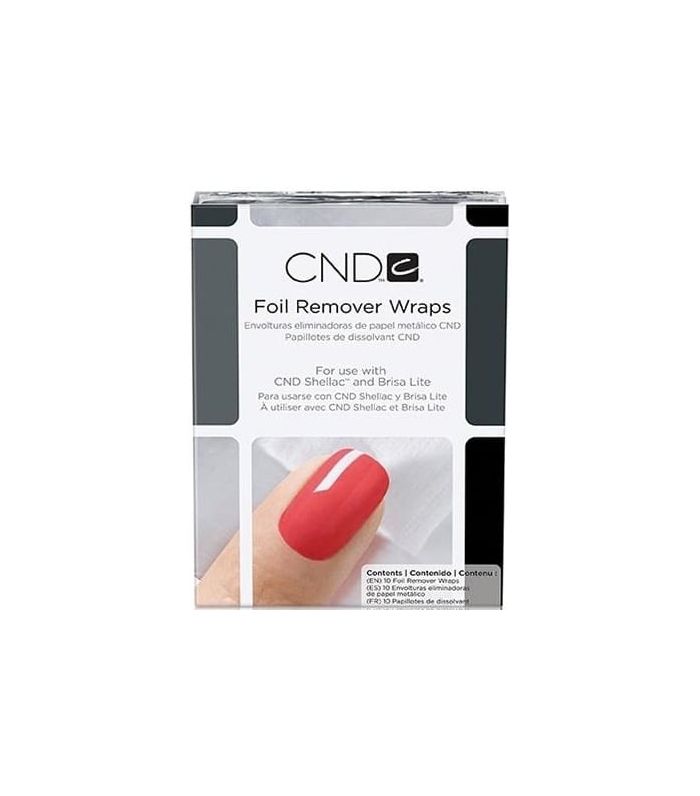
Next up comes the important bit. Unlike normal nail varnish, gel formulas require removers that come with a bit of extra oomph. First, saturate a cotton pad in an acetone-based or gel-appropriate remover and place on the nail. Then, wrap kitchen foil around the nail and cotton pad to hold it in place. “Ensure a snug, tight fit,” says Al-Ta’ai. “Squeeze the top centre of the foil to secure the wrap onto the nail itself.” Repeat this on all fingers. If it all sounds a little too tricky, pre-made-up wraps are available to buy. All you have to do is saturate the pad and you’re ready to wrap. The key to getting this right is patience. Different formulas require different wait times, but we have found that 15 minutes is usually long enough before you check on them. Once the colour has visibly lifted and bubbled, you should be good to go.
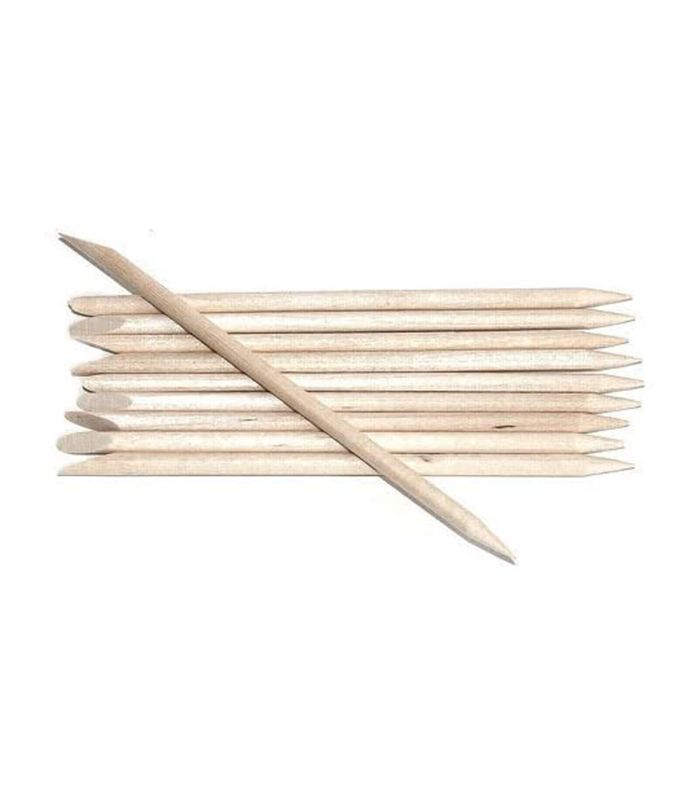
Now that you have let the remover do its job, it’s important you don’t pull the foils off in a rush. “Securely grip the foil remover wrap around the nail, applying slight pressure, and slide the wrap off the nail,” says Al-Ta’ai. Once you have removed the wraps, you should be able to tell what areas require more attention. If certain areas still have big chunks of colour left, it’s always best to rewrap the nail and wait for a little longer. However, for smaller areas where the bond is already visibly weakened, you can slide it off with an orangewood stick. “Follow the direction of the growth of the nail plate. It’s really important to be gentle here and not force the product off the nail to prevent unnecessary damage,” warns Al-Ta’ai.
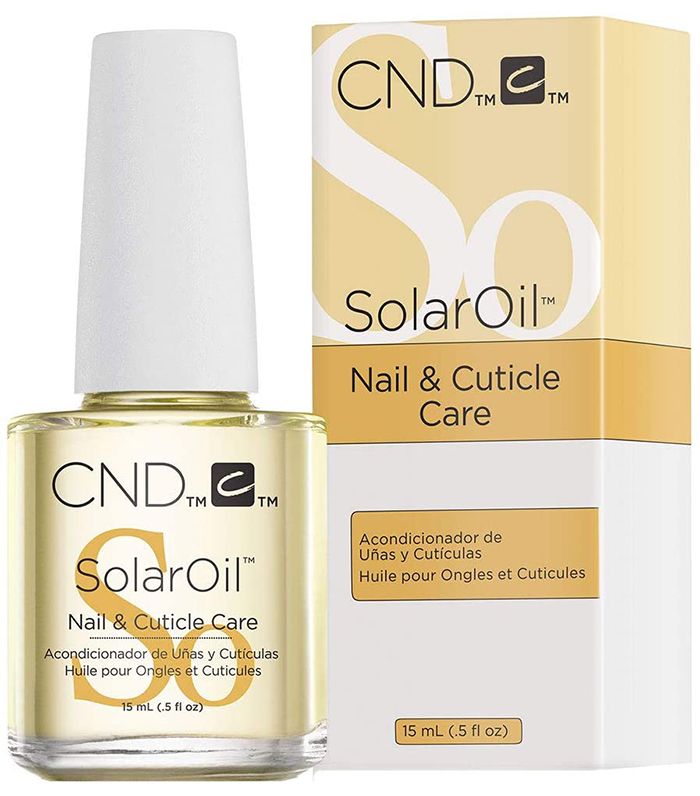
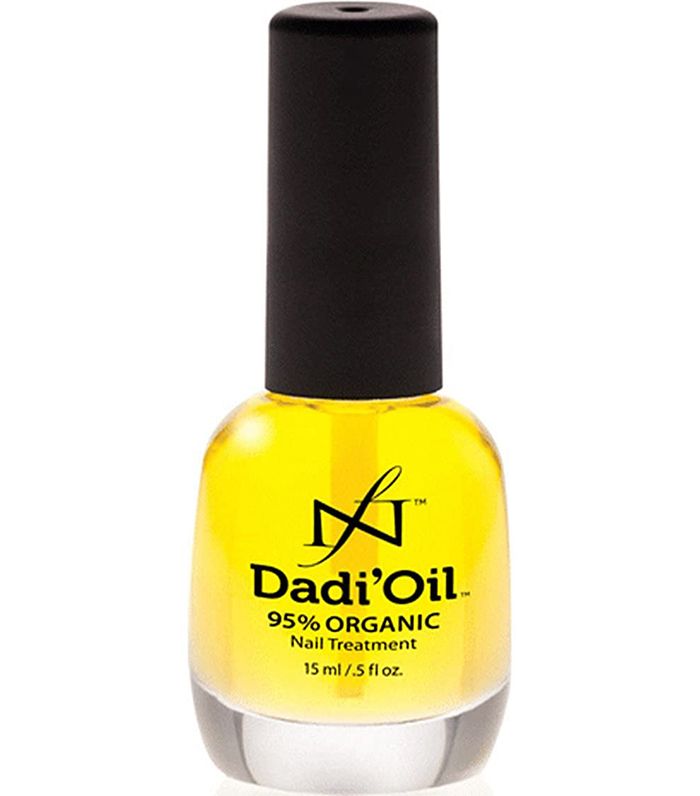
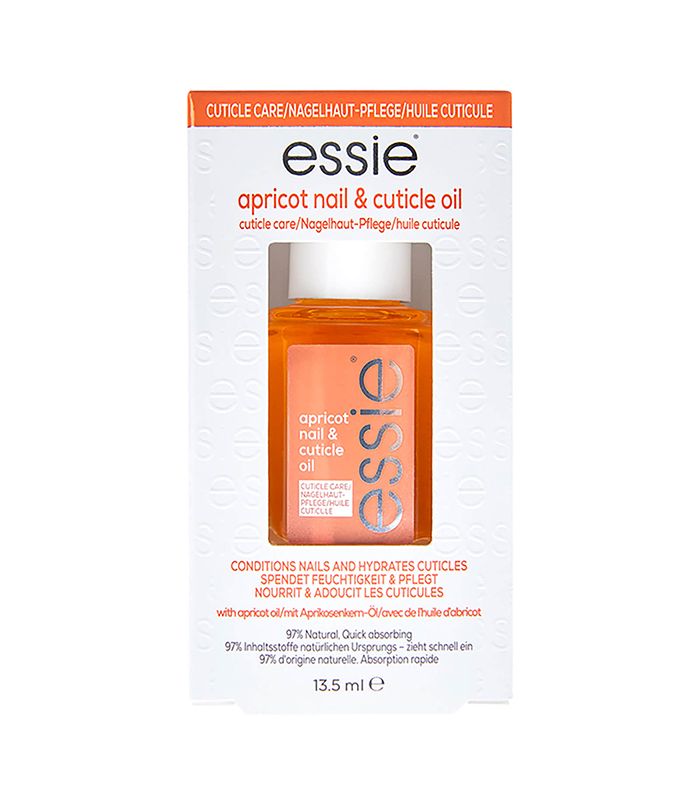
As with any nail treatment, it’s essential to nourish your nails and cuticles once finished. Gel polish removers tend to contain more aggressive, drying chemicals than your average remover so be sure to wash your hands afterwards and apply a nail and cuticle oil to keep the area hydrated and healthy.
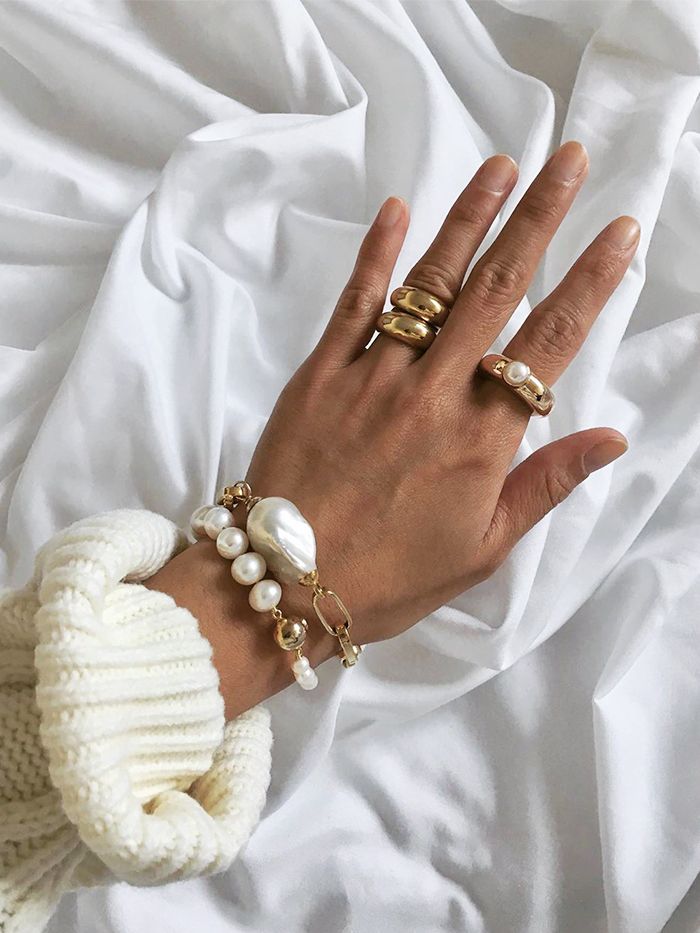
Trust us—we know the feeling all too well. You’ve had a gel manicure, your colourful nails look amazing for two to three weeks and you’re on top of the world. But then you notice that they’re catching a little when you wash your hair. Later, while washing up, you spot that the edges are starting to lift. You start inspecting. First, you just pick a tiny corner to try and minimise the damage, but then the high of the peel takes over and 20 minutes later you’re crying into a pile of gel flakes with nails that resemble shredded tissue paper.
The truth is, at-home nail upkeep is actually quite tough. Without an expert there to guide you through things step-by-step, it’s all too easy to make a wrong turn, especially when it comes to gels. Nail Expert at OPI, Belinda Price explains, “The nail is made up of many layers and if the gel is peeled off, it can take a layer of nail with it causing thinning and damage. To grow the damage out can take around three months.”
However, despite being told time and time again that when it comes to gel nails, it’s always best to leave it to the experts, with a hold on any salon trips for a little while, we figured it’s important to share how to remove your gel manicure at home. So, in a bid to protect nail beds across the land, keep scrolling for a step-by-step guide on how to remove gel polish without ruining your nails.
First of all, depending on the type of gel you have on your nails (it’s always worth taking a mental note in future), you will usually have to file off the top, glossy layer of the polish before you start soaking in remover. The key is to gently buff off the shiny layer to weaken the bond, without hitting the nail itself. With that being said, there are certain formulas that don’t require this step—most notably the very popular CND Shellac. Global Team CND Education Ambassador Nataliya Al-Ta’ai explains, “Shellac is a thin, but very protective gel polish colour coating. The formula contains unique polymers that allow for it to be removed effortlessly (without filing), which can easily be done at home.”
Next up comes the important bit. Unlike normal nail varnish, gel formulas require removers that come with a bit of extra oomph. First, saturate a cotton pad in an acetone-based or gel-appropriate remover and place on the nail. Then, wrap kitchen foil around the nail and cotton pad to hold it in place. “Ensure a snug, tight fit,” says Al-Ta’ai. “Squeeze the top centre of the foil to secure the wrap onto the nail itself.” Repeat this on all fingers. If it all sounds a little too tricky, pre-made-up wraps are available to buy. All you have to do is saturate the pad and you’re ready to wrap. The key to getting this right is patience. Different formulas require different wait times, but we have found that 15 minutes is usually long enough before you check on them. Once the colour has visibly lifted and bubbled, you should be good to go.
Now that you have let the remover do its job, it’s important you don’t pull the foils off in a rush. “Securely grip the foil remover wrap around the nail, applying slight pressure, and slide the wrap off the nail,” says Al-Ta’ai. Once you have removed the wraps, you should be able to tell what areas require more attention. If certain areas still have big chunks of colour left, it’s always best to rewrap the nail and wait for a little longer. However, for smaller areas where the bond is already visibly weakened, you can slide it off with an orangewood stick. “Follow the direction of the growth of the nail plate. It’s really important to be gentle here and not force the product off the nail to prevent unnecessary damage,” warns Al-Ta’ai.
As with any nail treatment, it’s essential to nourish your nails and cuticles once finished. Gel polish removers tend to contain more aggressive, drying chemicals than your average remover so be sure to wash your hands afterwards and apply a nail and cuticle oil to keep the area hydrated and healthy.


