I’m not sure about you, but my nails are not in a good way right now. My hands are dry, my cuticles are rock hard, and the nail snags are out of control. All in all, it’s safe to say they need some real help. If floods of social media posts are anything to go by, it would seem that I am not alone in my nail conundrum.
Because it doesn’t look like salon visits will be an option for at least a little while, it’s time to take matters into our own hands (pun totally intended). To guide you through every single step, I’ve enlisted the help of celebrity manicuristJenni Draper to reveal exactly how to carry out a salon-esque manicure on yourself at home. You can thank me later.
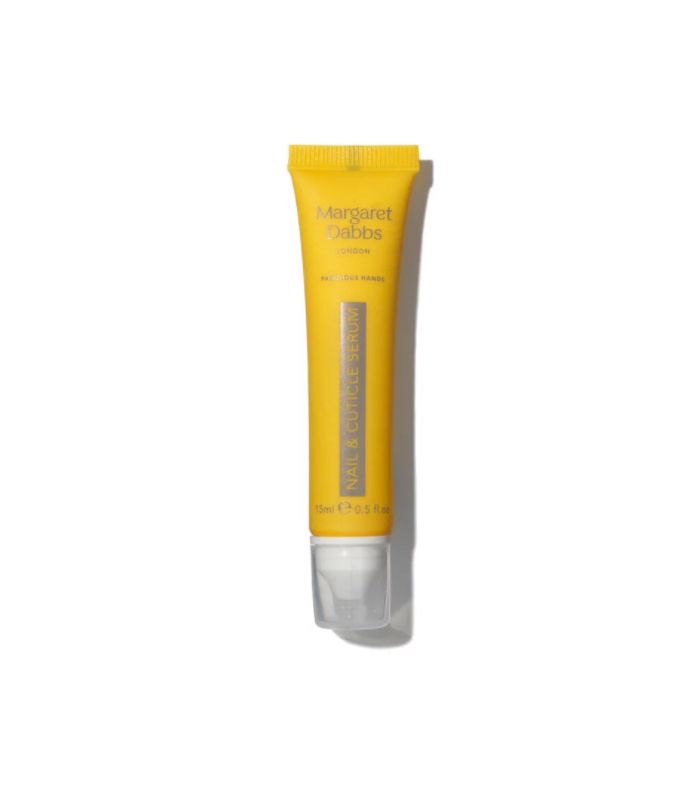
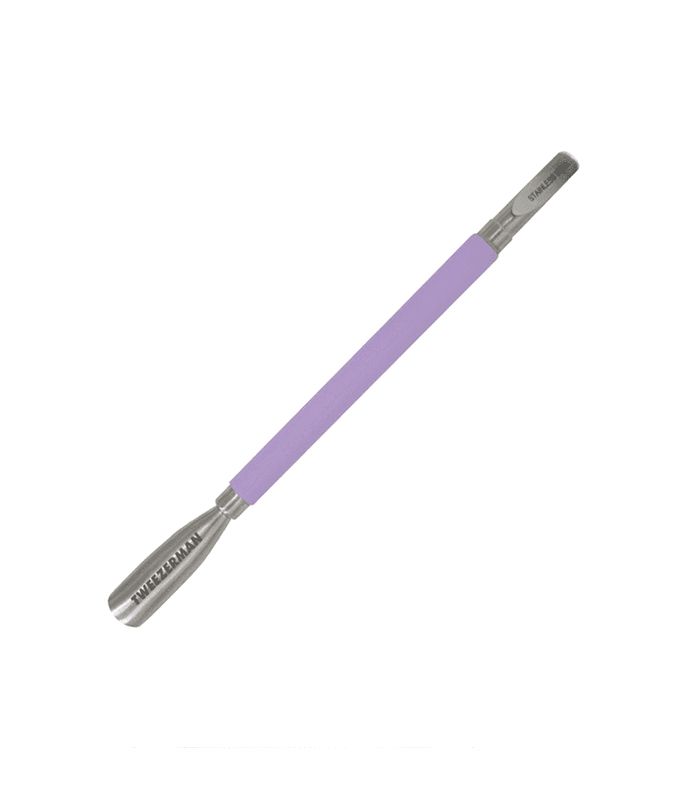
When it comes to doing our own nails, this is the part that most of us decide to skip. It’s not particularly glam, it can be a little uncomfortable, and, all in all, it’s just a bit annoying. Unfortunately, though, prepping your nails before you get painting is what really sets a good mani apart from the rest. After you’ve removed any old polish with remover (ideally non-acetone to prevent drying), start off by addressing your cuticles. “Apply some cuticle cream and massage it in. Using a cuticle pusher, start gently pushing them back, one by one,” advises Draper. And although it might be tempting, she also warns that trimming your cuticles at home should be avoided. “Leave the cuticle nipper to an expert. Using tools like these can cause more damage than good.”
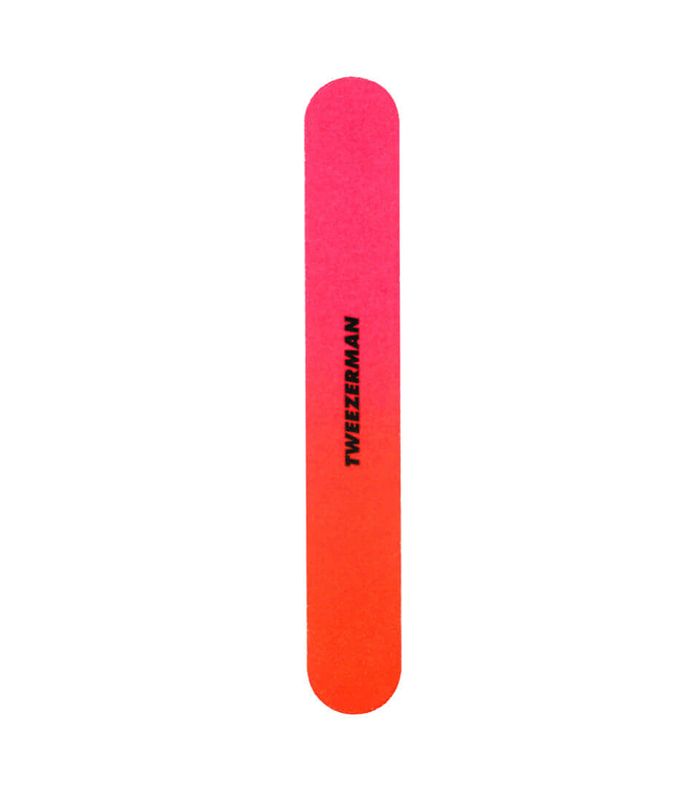
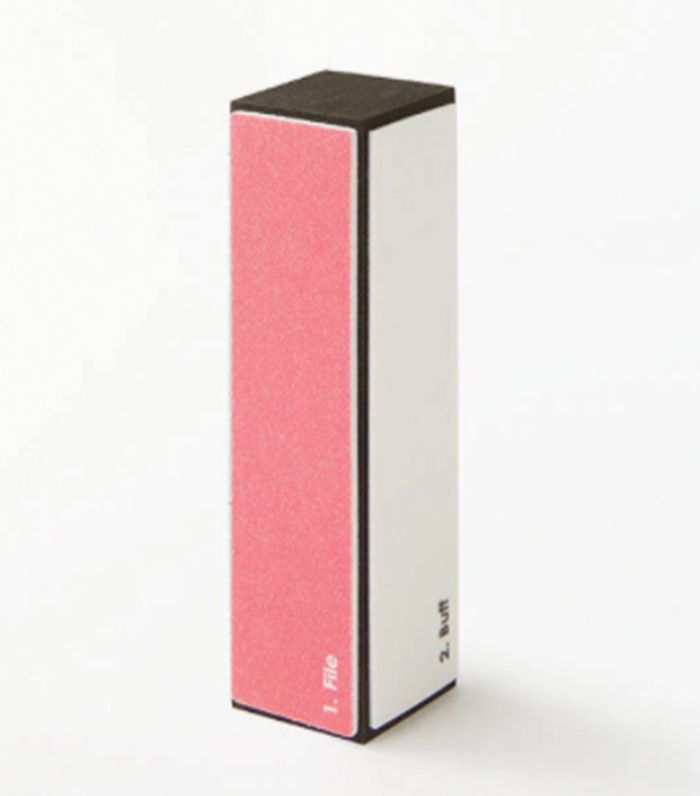
You might think you need an expert eye to shape your nails, but really it’s just as easy to do on yourself. The key, explains Draper, is the way in which you do the filing: “Only ever file in one direction and from side to centre. Never seesaw the file!” Once you’re satisfied with your length and shape, be sure to wash and dry your hands to clean the cuticle area and remove any excess skin. Next up comes a step that I, personally, never bother with at home. But buffing the nail, as it turns out, is actually really important in order to achieve a smooth surface. “Use a buffer to smooth the nail plate and make sure there are no nail filings left on the free edge of the nail. When using a buffer, always work from the cuticle to the free edge,” explains Draper.
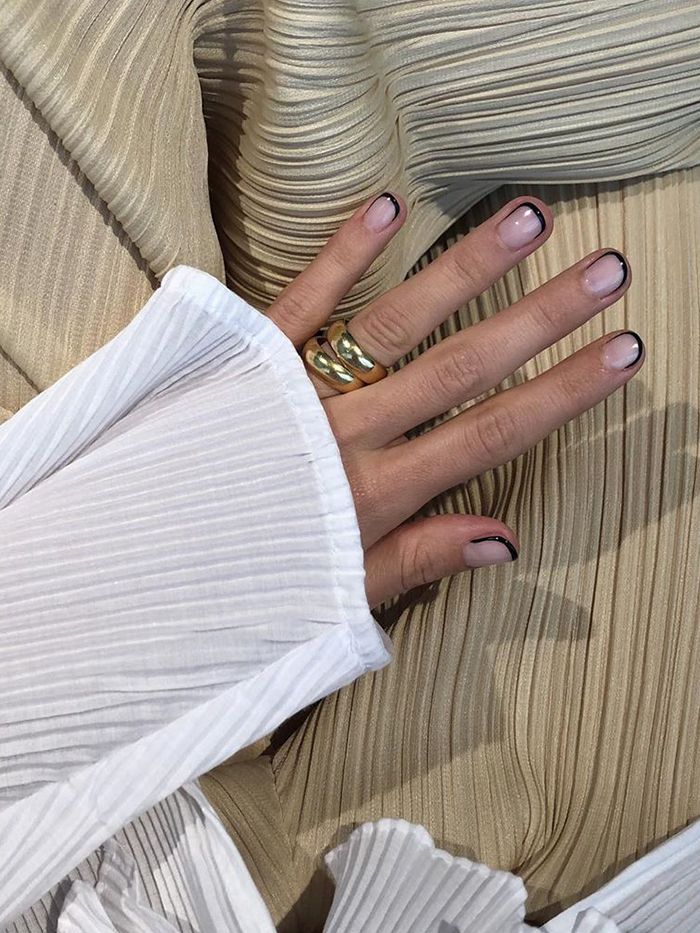
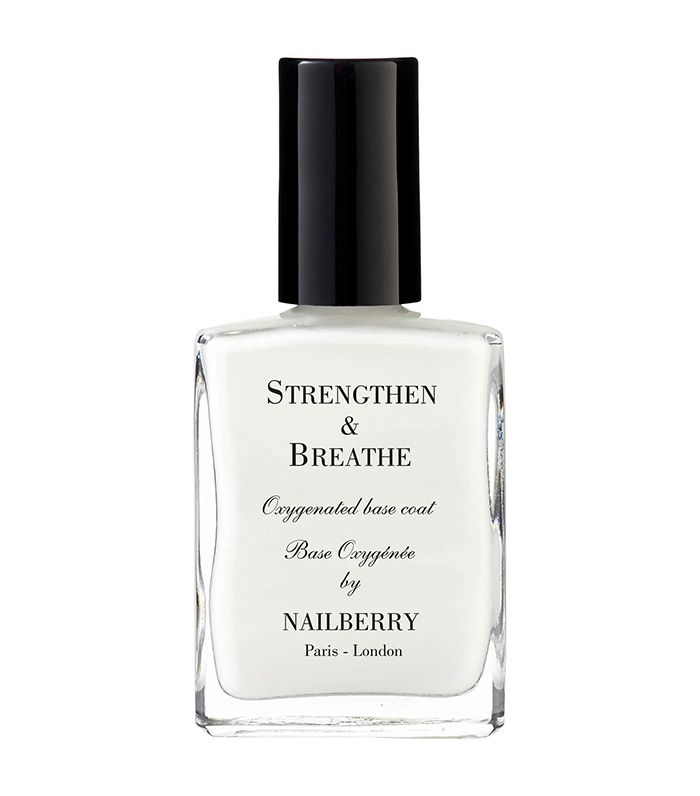
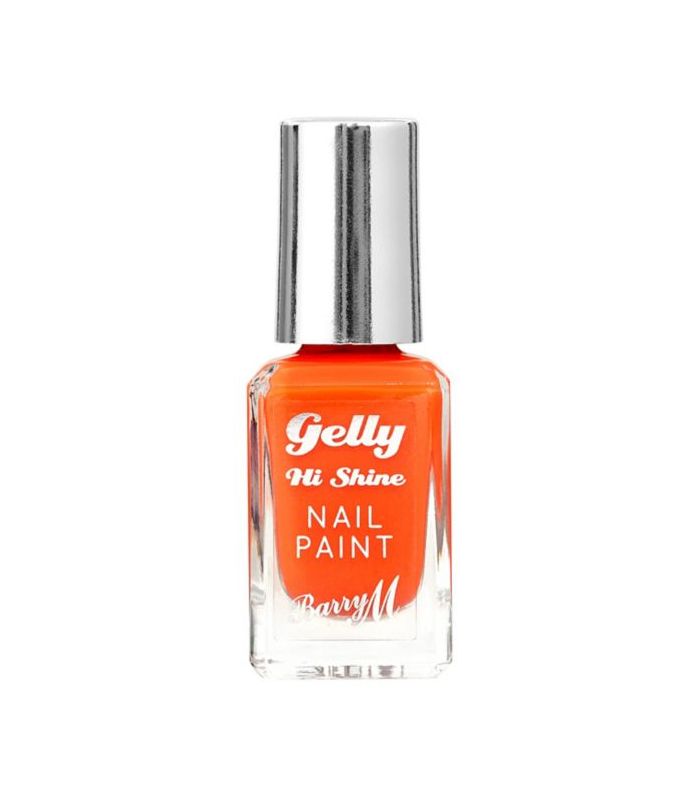
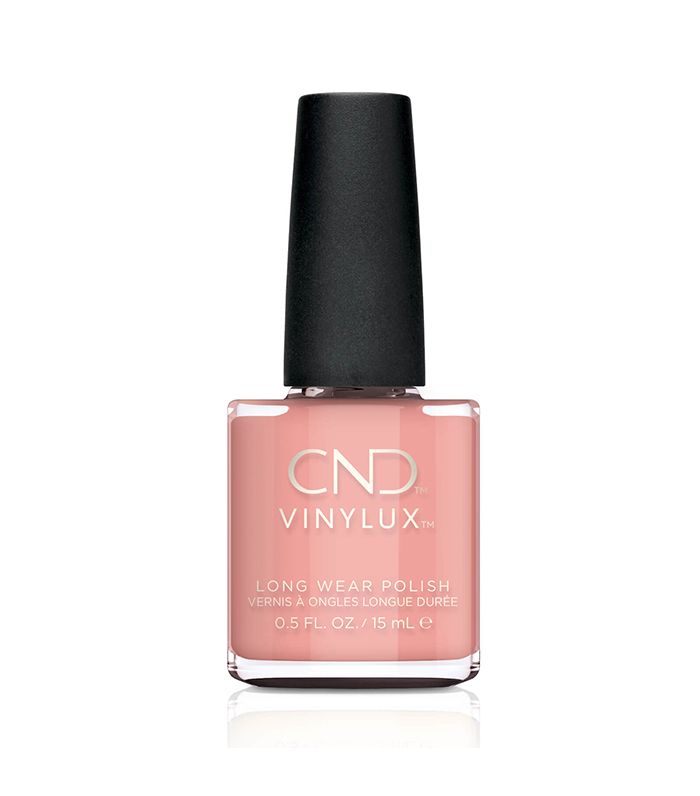
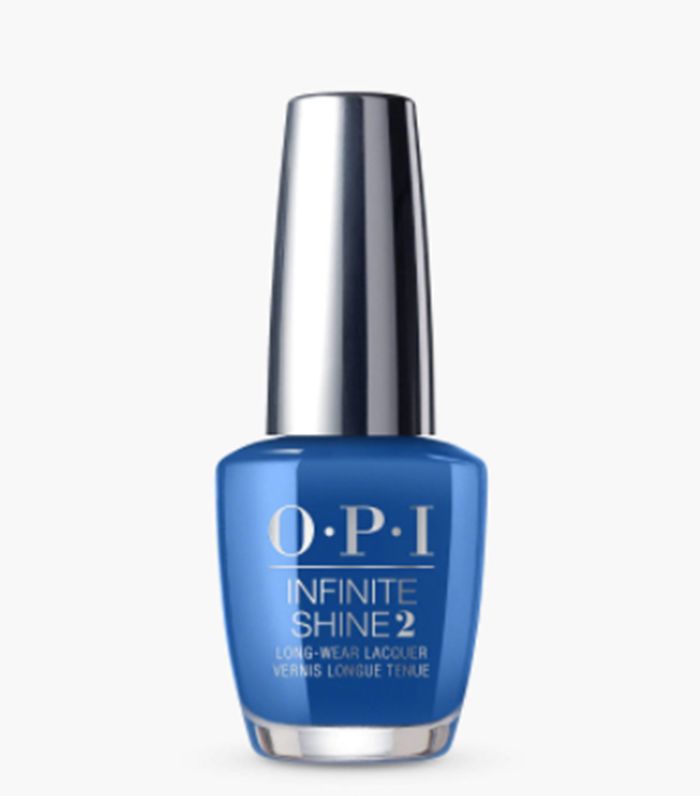
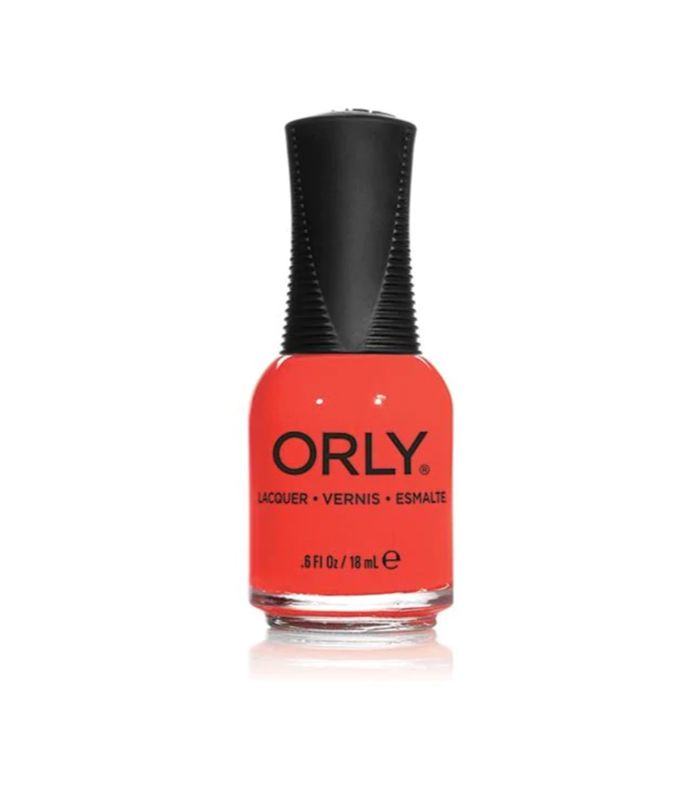
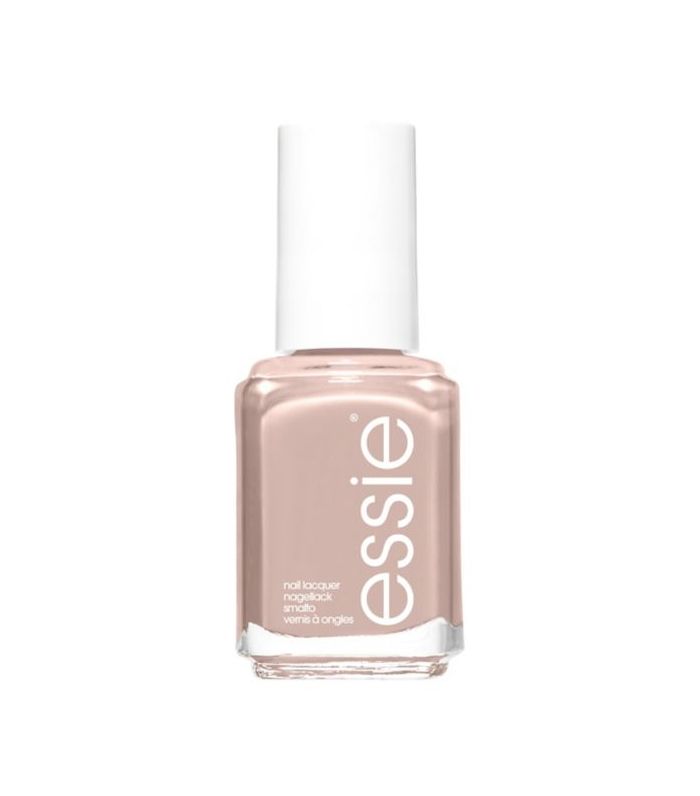
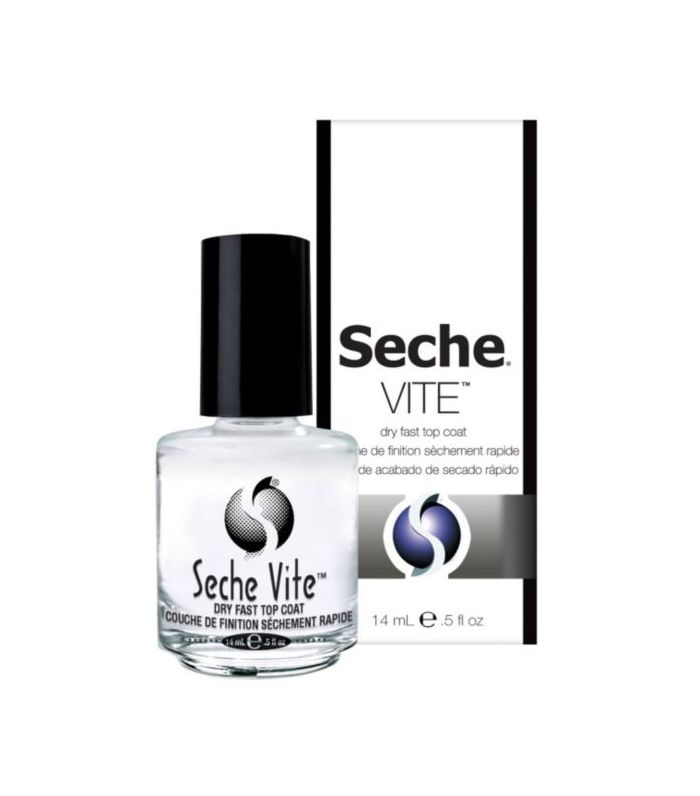
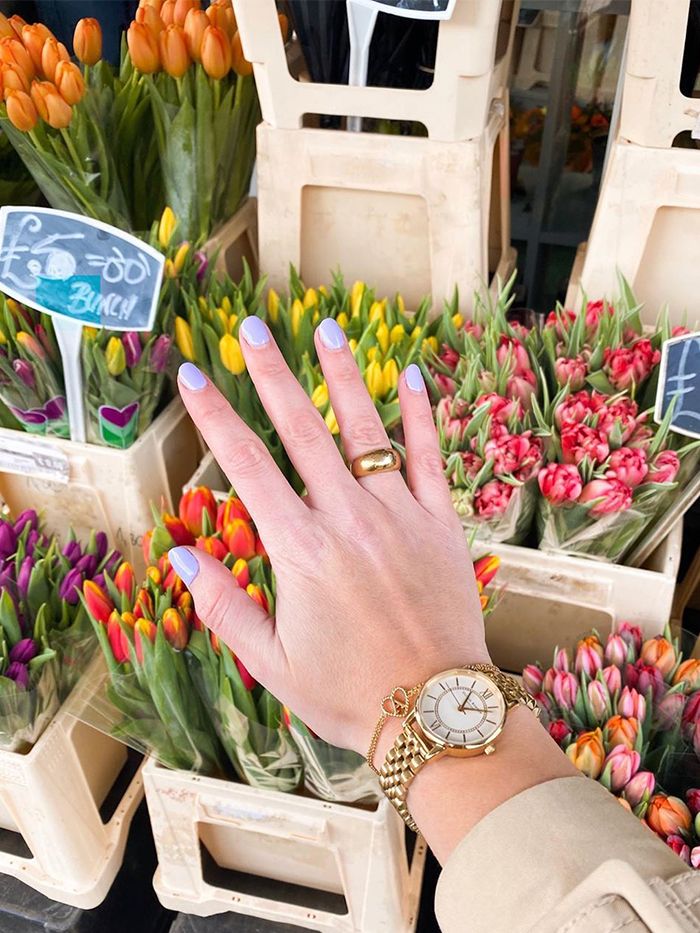
Okay, now comes the fun. The good news is that your nails are officially fully prepped and ready for some colour. The bad news, however, is that painting your own nails can be messy business—especially when it comes to having to use your non-dominant hand—so listen carefully. First of all, and most importantly, says Draper, is applying a base coat. “Choose the right formula for your nail condition. Degrease the nail with polish remover and then apply a coating. When people ask me why their polish doesn’t last, the first thing I ask is whether or not they use a base coat. The base coat acts like double-sided sticky tape to adhere the nail colour to the nail plate,” she says. Next, dip the brush into the pot, making sure you don’t overload it, and remove any polish from one side of the brush on the side of the bottle. Now is where technique comes into play. Draper explains, “Place the brush flat to the nail slightly above the cuticle area in the middle. Push the colour toward the cuticle, and then pull it back toward the edge of the nail. Now place the loaded brush in the same place near the cuticle but to one side, push it toward the cuticle, and pull toward the free edge but down the side. Then repeat on the other side.” Repeat this with two to three coats of colour, depending upon the shade. . Tidy up with a small brush dipped in acetone, and always finish up with one coating of topcoat.
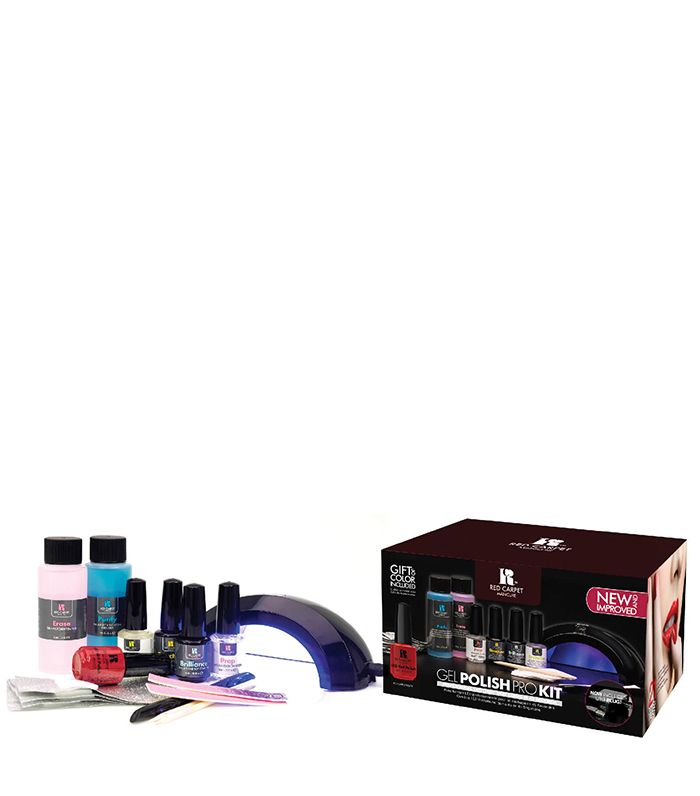
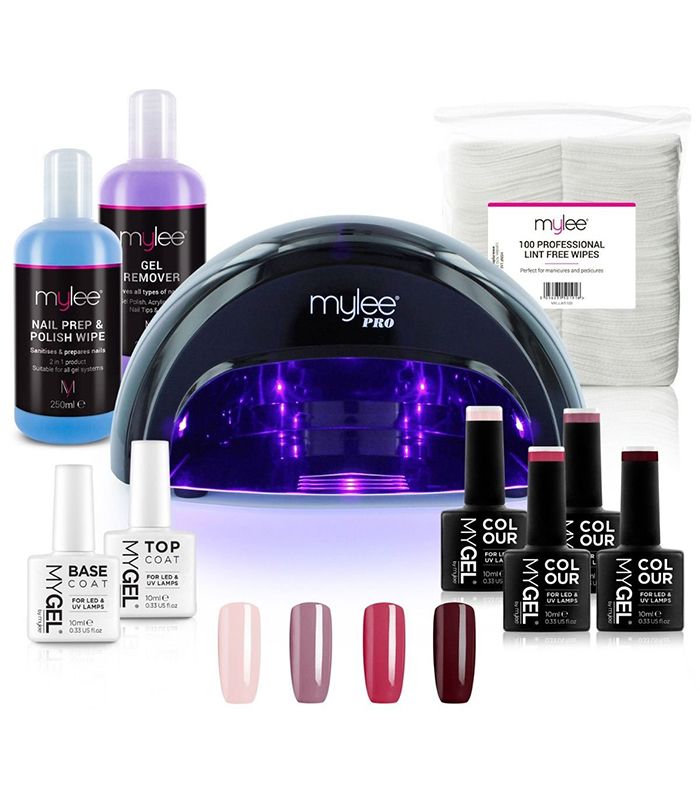
The technique for applying at-home gels is of course dependent on the particular kit and formulas that you are using. As a rule, though, when it comes to applying the actual colour, the application technique is the same as above. However, there are some other things to note. Between curing each layer underneath the lamp, it’s more important with gel to ensure that there isn’t any formula on the skin. “If any gel has touched the skin, use an orange stick or a cocktail stick to remove it. This will help prevent lifting later on,” says Draper.
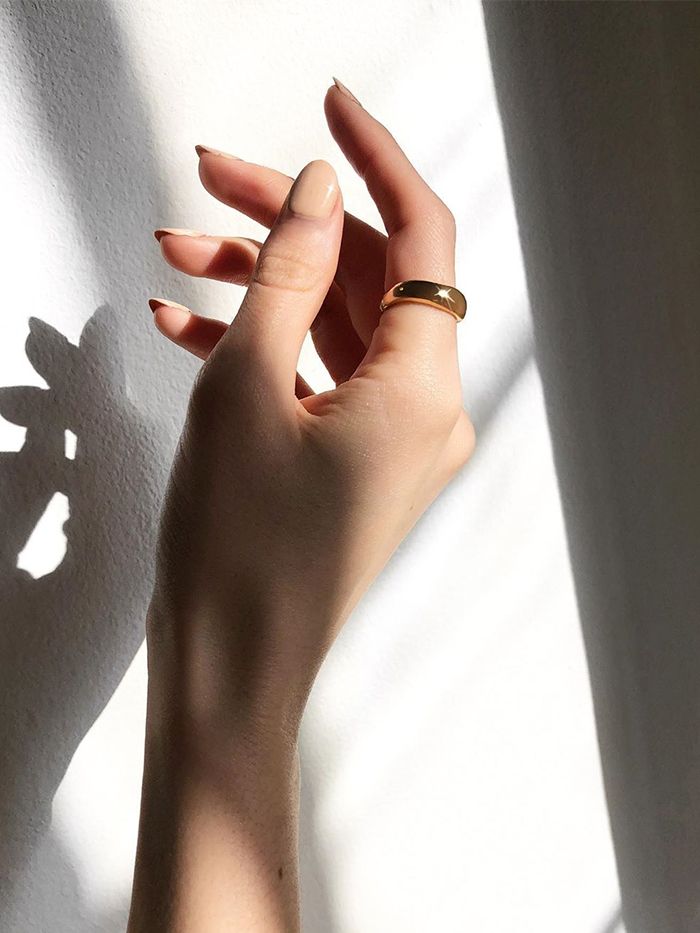
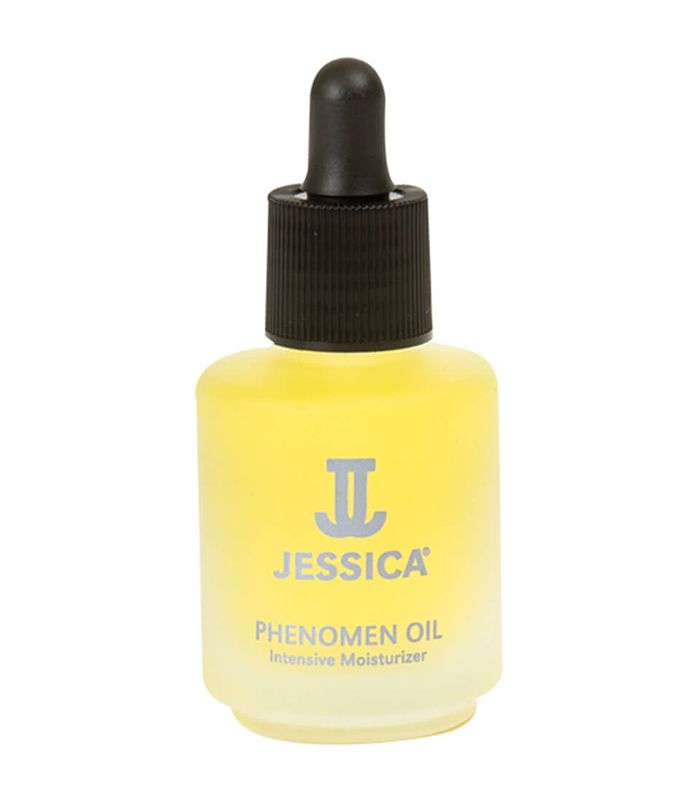
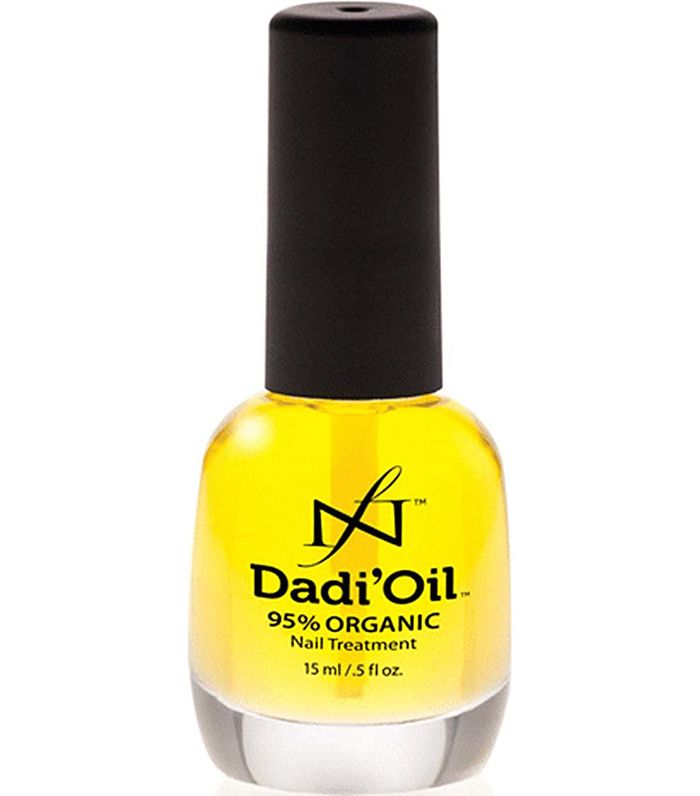
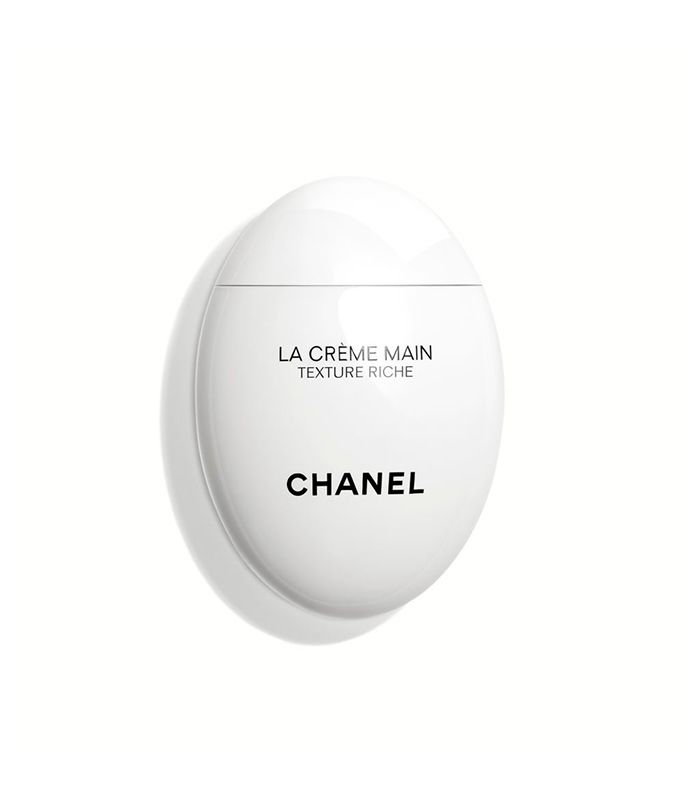
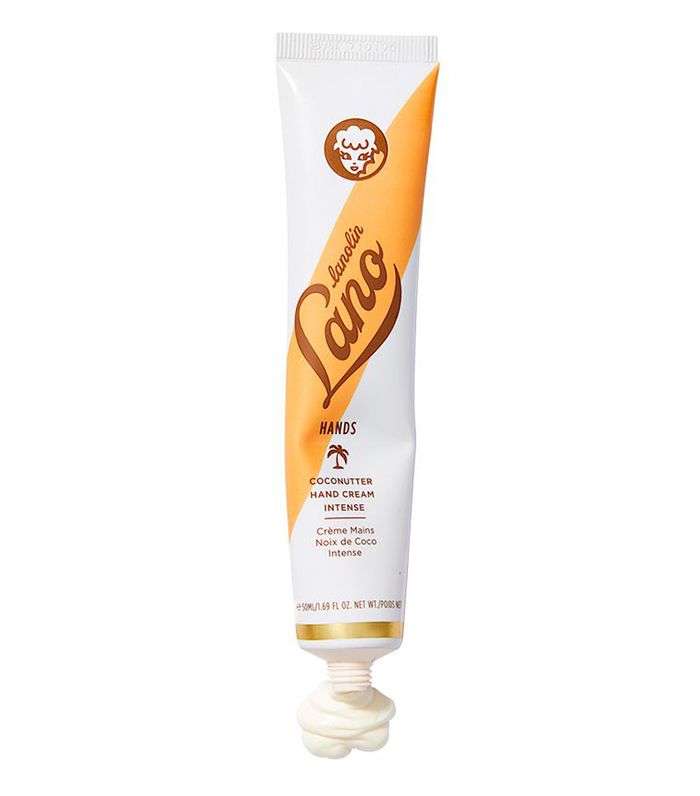
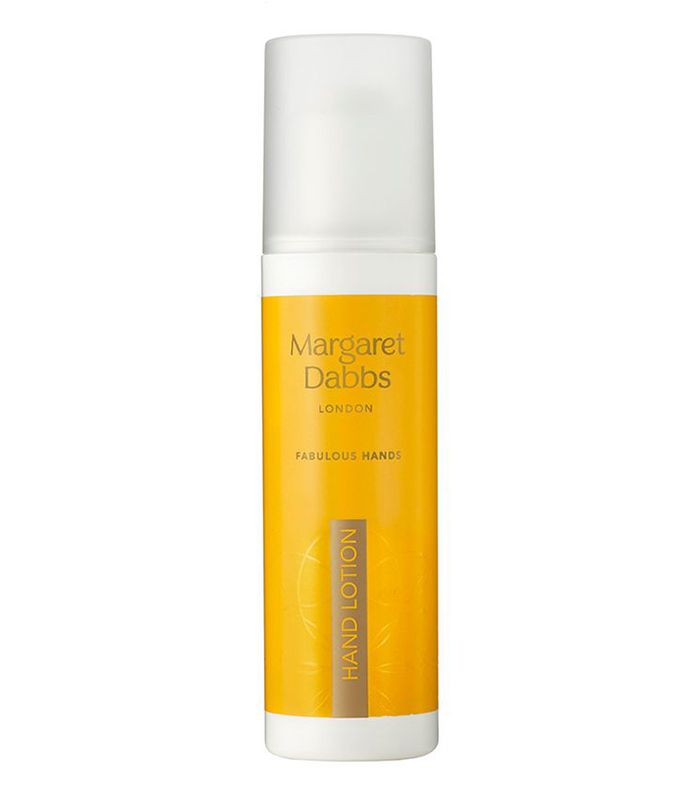
These final steps make all of the difference, especially during such time of dryness. Cuticle care, Draper reveals, is vital in keeping your manicure looking healthy. “Whenever you get out the shower or bath, push back the cuticles with a towel. Also, apply cuticle oil at least twice a day, morning and night. It helps soften the cuticle while promoting healthy nail growth,” she says. . Just finish up with a hearty application of cuticle oil and hand cream to keep moisture levels up, and the job’s a good un.


