The number one beauty lesson that almost everyone is guaranteed to have learned the hard way? Never attempt to reshape your own brows. If you want to cut the risk of getting pluck-happy, it’s imperative that you resist the urge to reach for the tweezers and instead simply call the salon and book in for a shape-and-tidy.
But things have changed. Something as simple as booking in for a brow appointment is now no longer an option. And as our brows start sprouting new stragglers left, right and centre after four weeks without even a hint of grooming, we’re calling time on this laissez-faire approach to brow maintenance.
So while we are by no means encouraging anyone to start ordering hot wax and set up a DIY brow bar, we think we could all benefit from some pointers on how to avoid disaster while tending to our brows. To aid in keeping the situation under control until we can get back out into the world again, we have enlisted the help of Laurretta Power, senior brow expert and makeup artist at Benefit Cosmetics UK. Keep scrolling to discover her top tips.
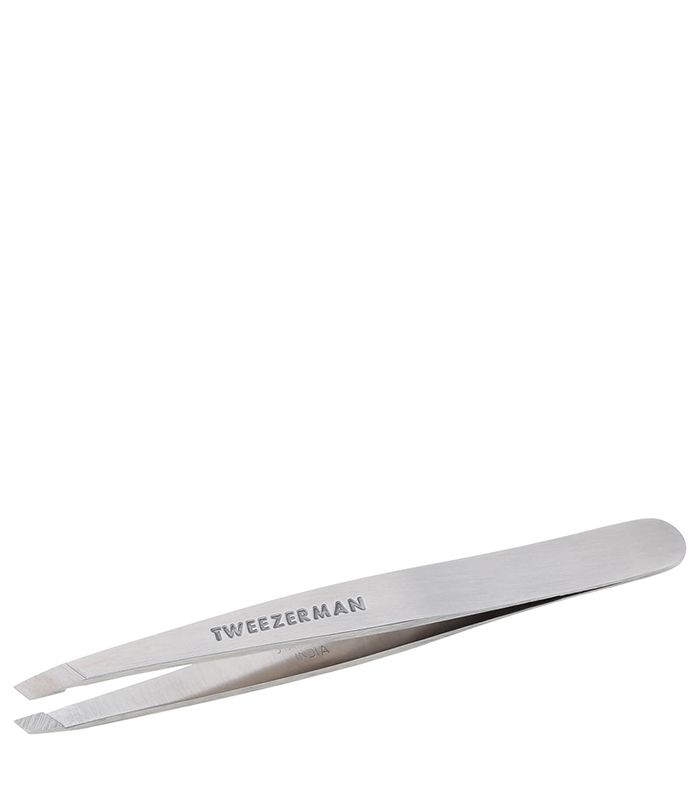
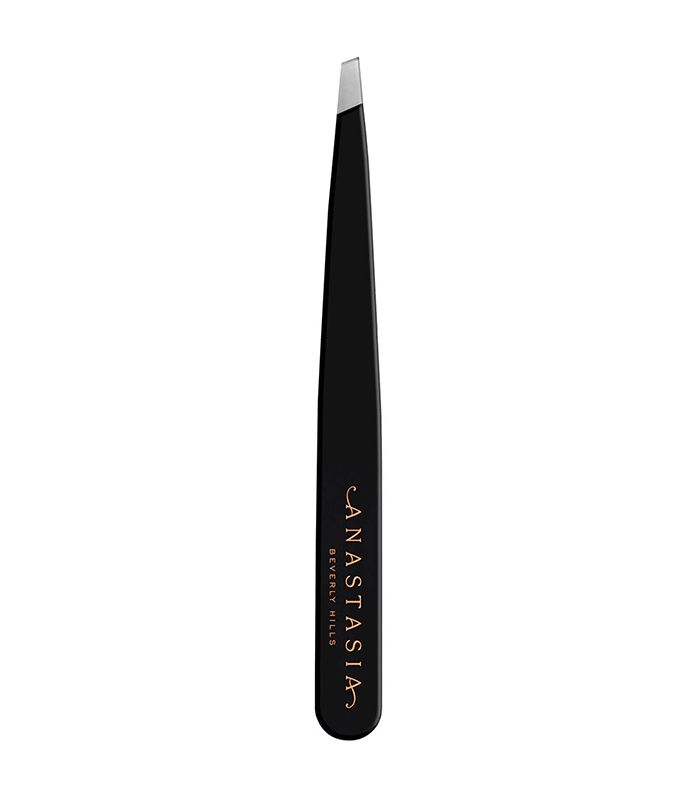
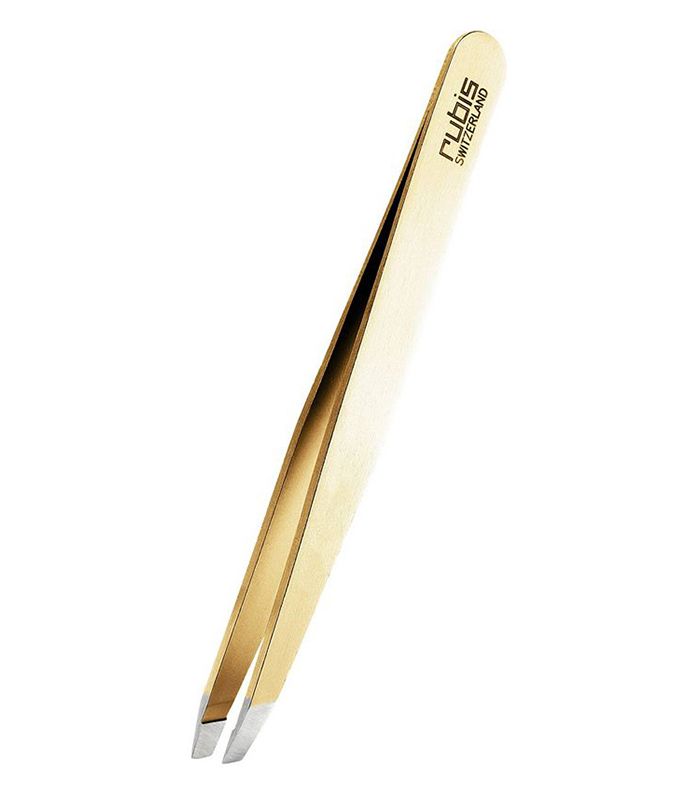
First and foremost, it’s imperative to remember that it’s best to leave the fiddly tools and methods to the professionals. “At home, I suggest tweezing over any other technique, owing to the fact there is much less room for error,” advises Power. “With waxing or threading, you’re removing large areas of hair, making it far easier to make big mistakes.”. Compared to other at-home beauty treatments, a brow tidy requires minimal tools. Really, a pair of tweezers is all you need, but it is worth getting high-quality ones, says Power. “I would recommend professional slanted tweezers. I like Tweezerman, as the perfectly aligned tip takes all the fuss out of tweezing,” she says.
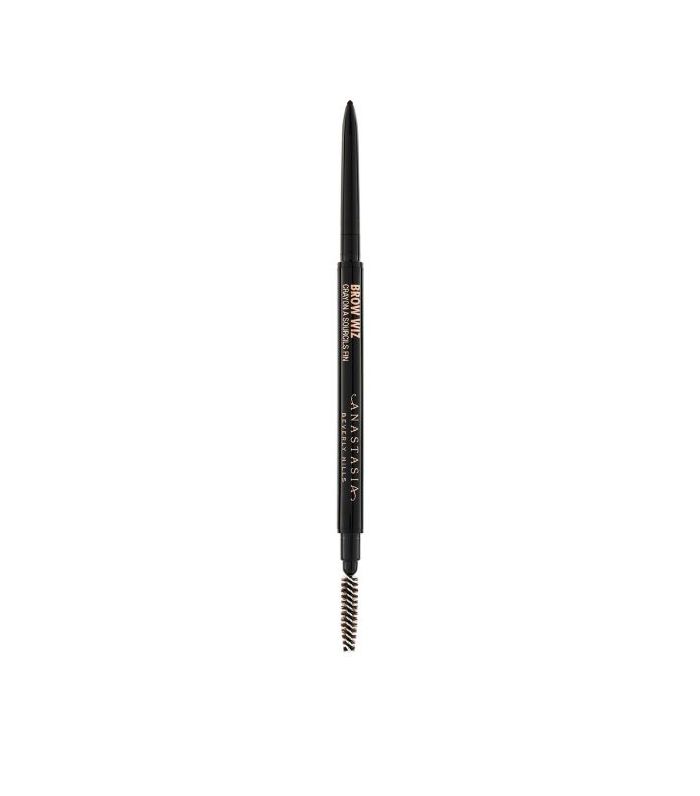
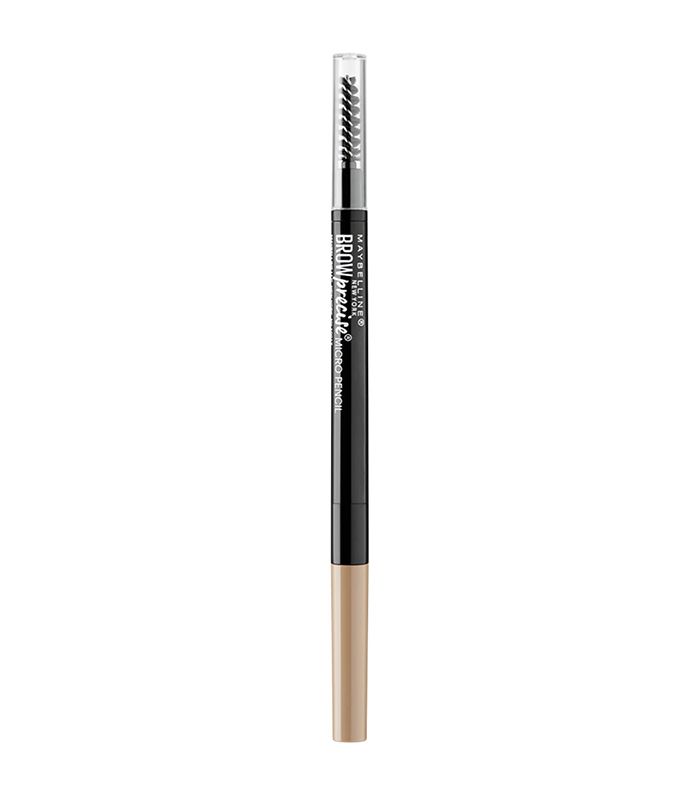
Remember, now is most definitely not the time to start reshaping your brows. Any DIY brow job should aim to tidy, not restyle. It is imperative that you avoid plucking strands that form the natural shape of your brow. But we know that is easier said than done. To help avoid overplucking, Power recommends mapping the natural shape of your brow and filling them in as a guide before you start. “Where brows should start, arch and finish is universal. However, they should be mapped around our individual eye and face shapes,” she says. As a rule of thumb, if you are lining a pencil up against the side of your nose, straight up toward your forehead, this is where your brow should start. Taking the pencil from the outside of your nostril and lining it up to your pupil should mark where your brow should arch. Finally, moving the line from the outside of the nostril to the outer corner of the eye should indicate where your brow should finish. Once you have marked these three points with a brow pencil, it’s time to fill them in. “I would suggest filling in your brows as normal and then tweezing around the edge. This will help prevent over-tweezing and achieve an even finish,” says Power. This method should be enough to keep brows looking tidy and groomed without getting pluck-happy.
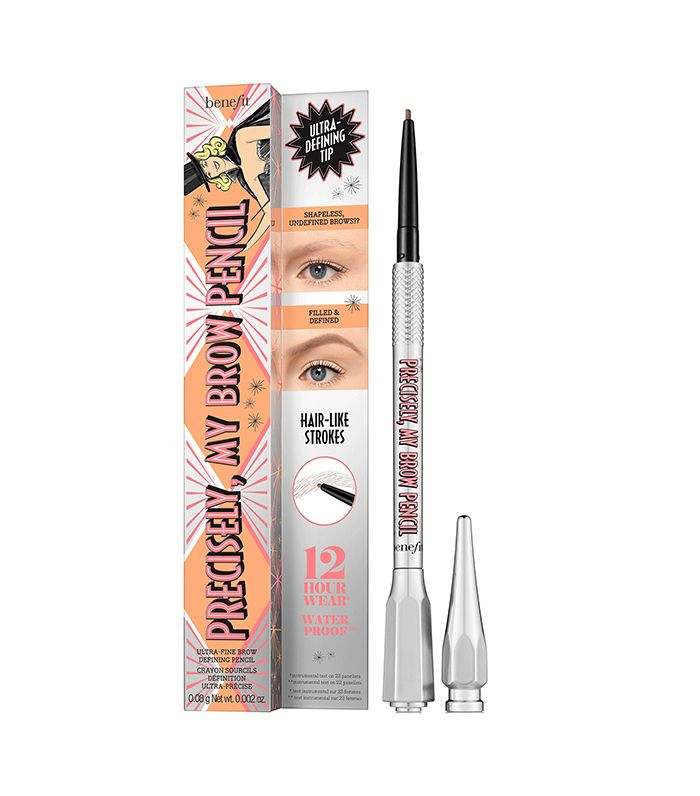
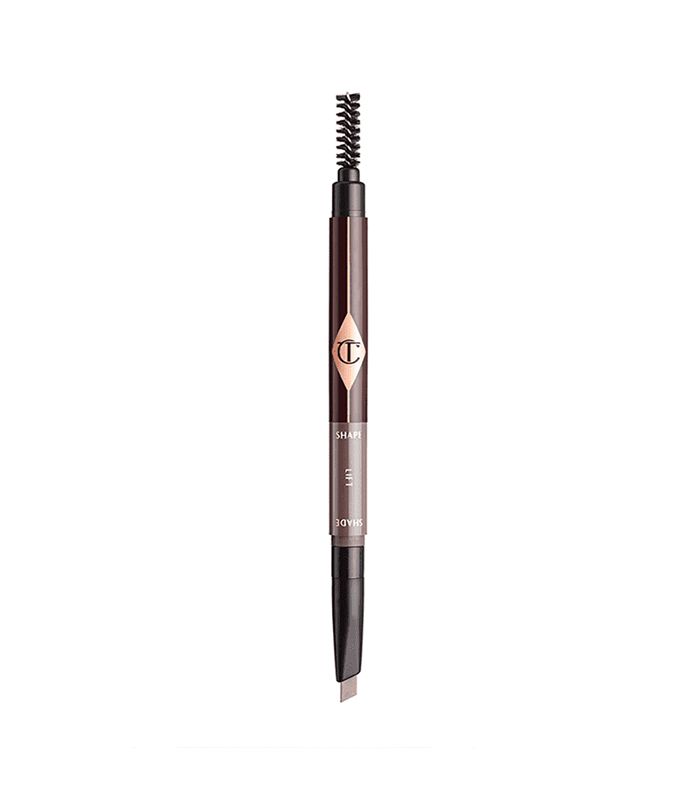
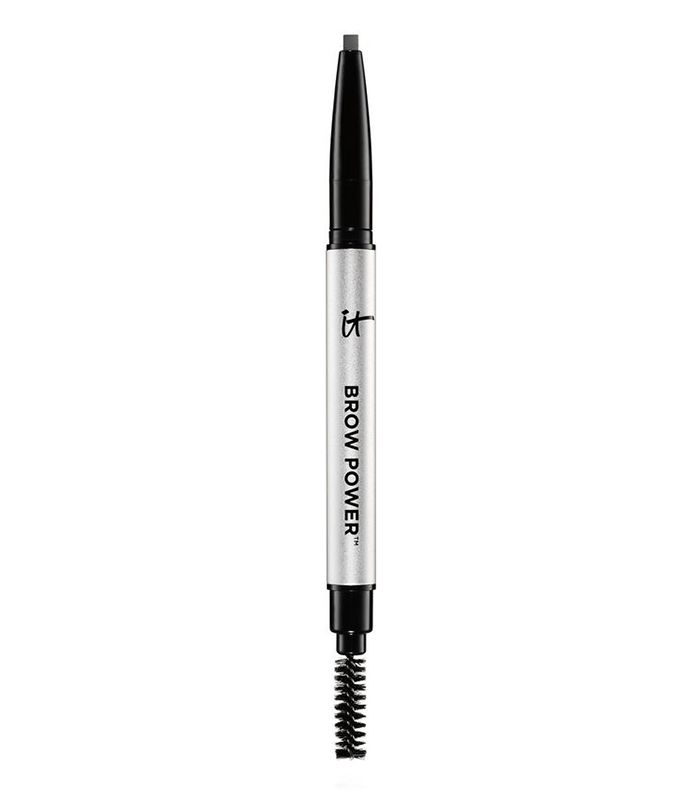
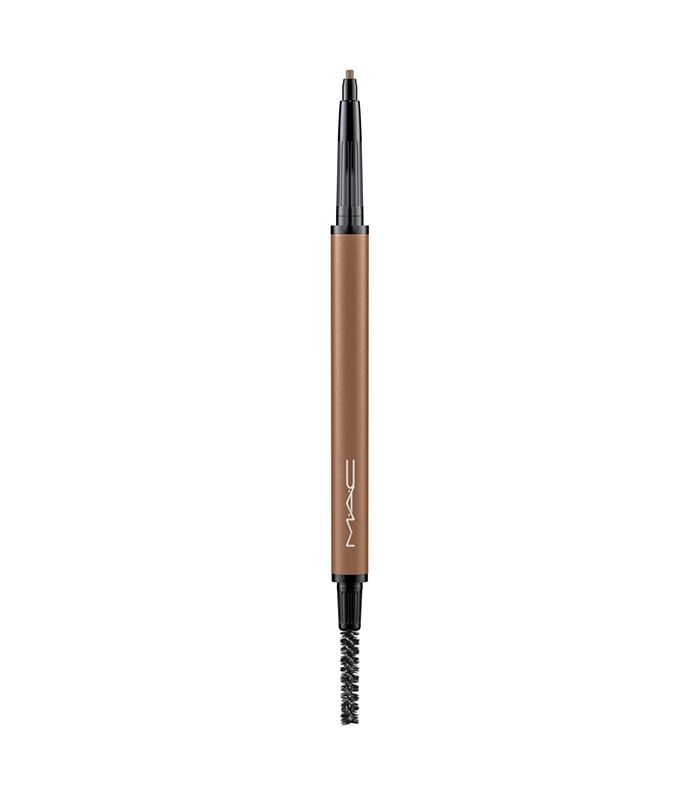
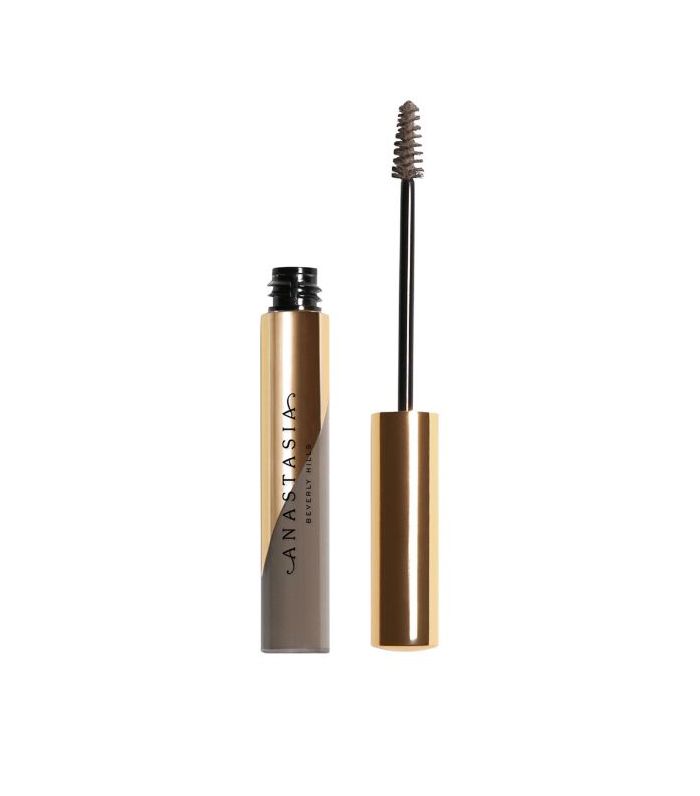
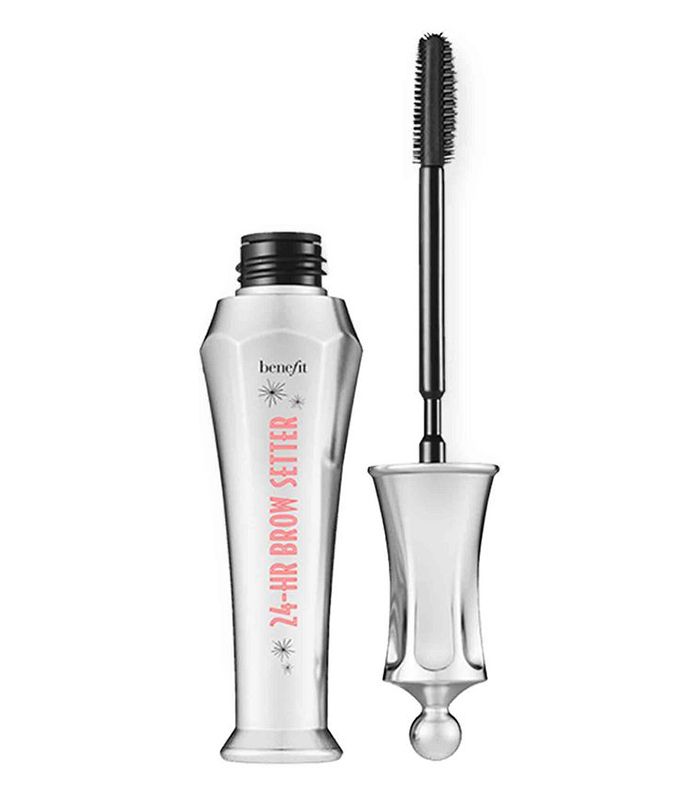
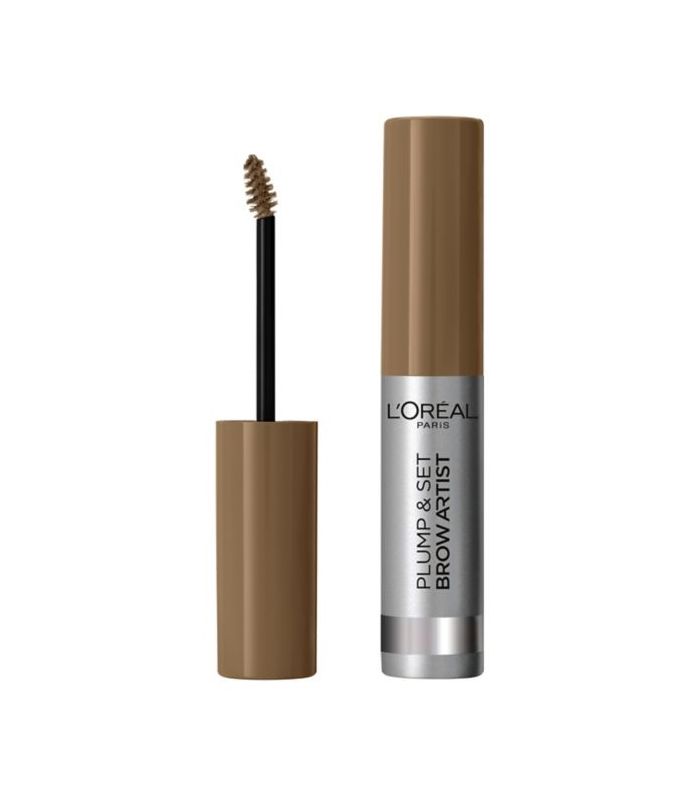
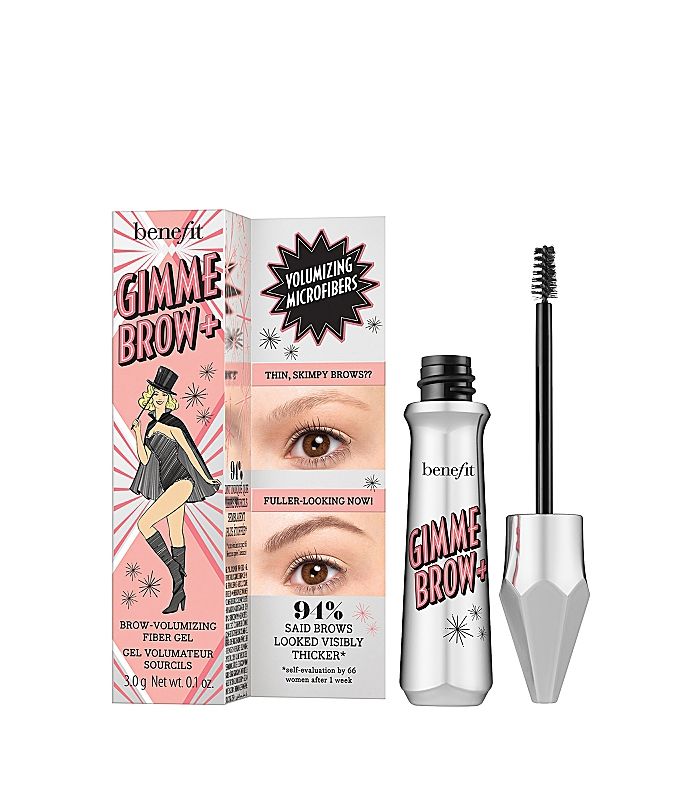
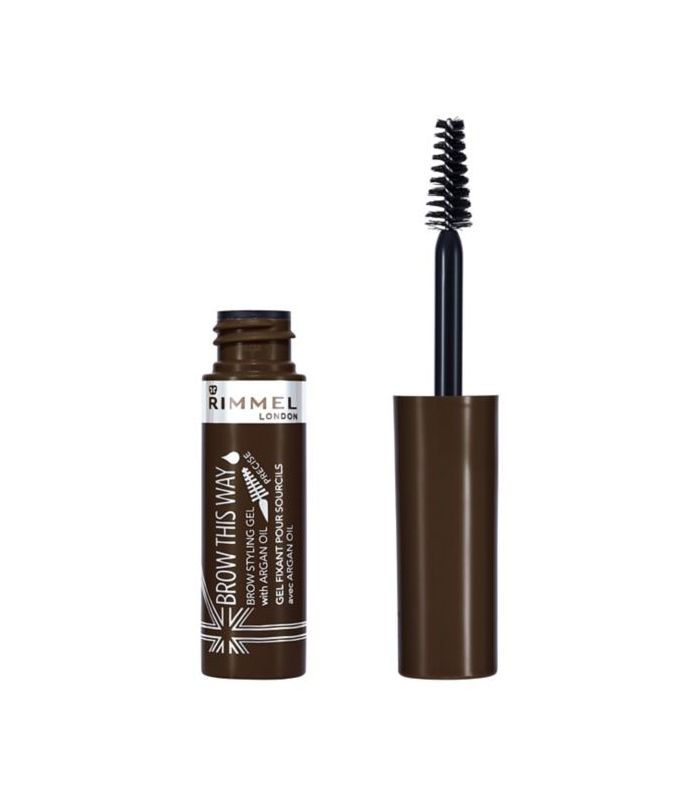
If you’re used to relying on tints and lamination to keep your brows in check, worry not. Keeping brows looking full and fluffy at home is super easy if you have at the right products to hand. Power’s everyday brow routine couldn’t be simpler. “I use product to change the style of my brows depending on my mood or makeup. My go-to is a straight, feathered look. I use a brow pencil to define and add shape, and then I hold them in place with a brow setter,” she says. So to avoid any brow disasters, keep away from at-home tints and perms, and instead turn to volumising, tinted setting products—et voilà!


