If there is one thing that I have learned about myself during this period of social distancing, it’s that I really don’t take enough care of myself. As a beauty editor, this can be a hard thing to admit. You see, I do actually dedicate an hour every evening to a rather luxurious bathing session and my twice-daily skincare routine is actually quite lengthy and excessive, but when it comes to just about anything else, I’m useless. Sadly, unless I have an appointment booked to remind me, everything from my brows to my nails gets totally neglected.
One area in particular that I have found myself turning a blind eye to recently is my feet. Sure, I give them a good slathering of foot cream after my nightly bath and keep my nails in check as best as I can, but am I really giving them the time and love they need? Absolutely not. Usually, at this stage, I’d book myself in for a thorough pedicure, however with salons closed, I have had to take matters into my own hands. In a bid to get my tootsies ready for summer, I reached out to my all-round nail guru (and celebrity nail artist) Jenni Draper to take me through, step by step, how to carry out the perfect at-home pedicure.
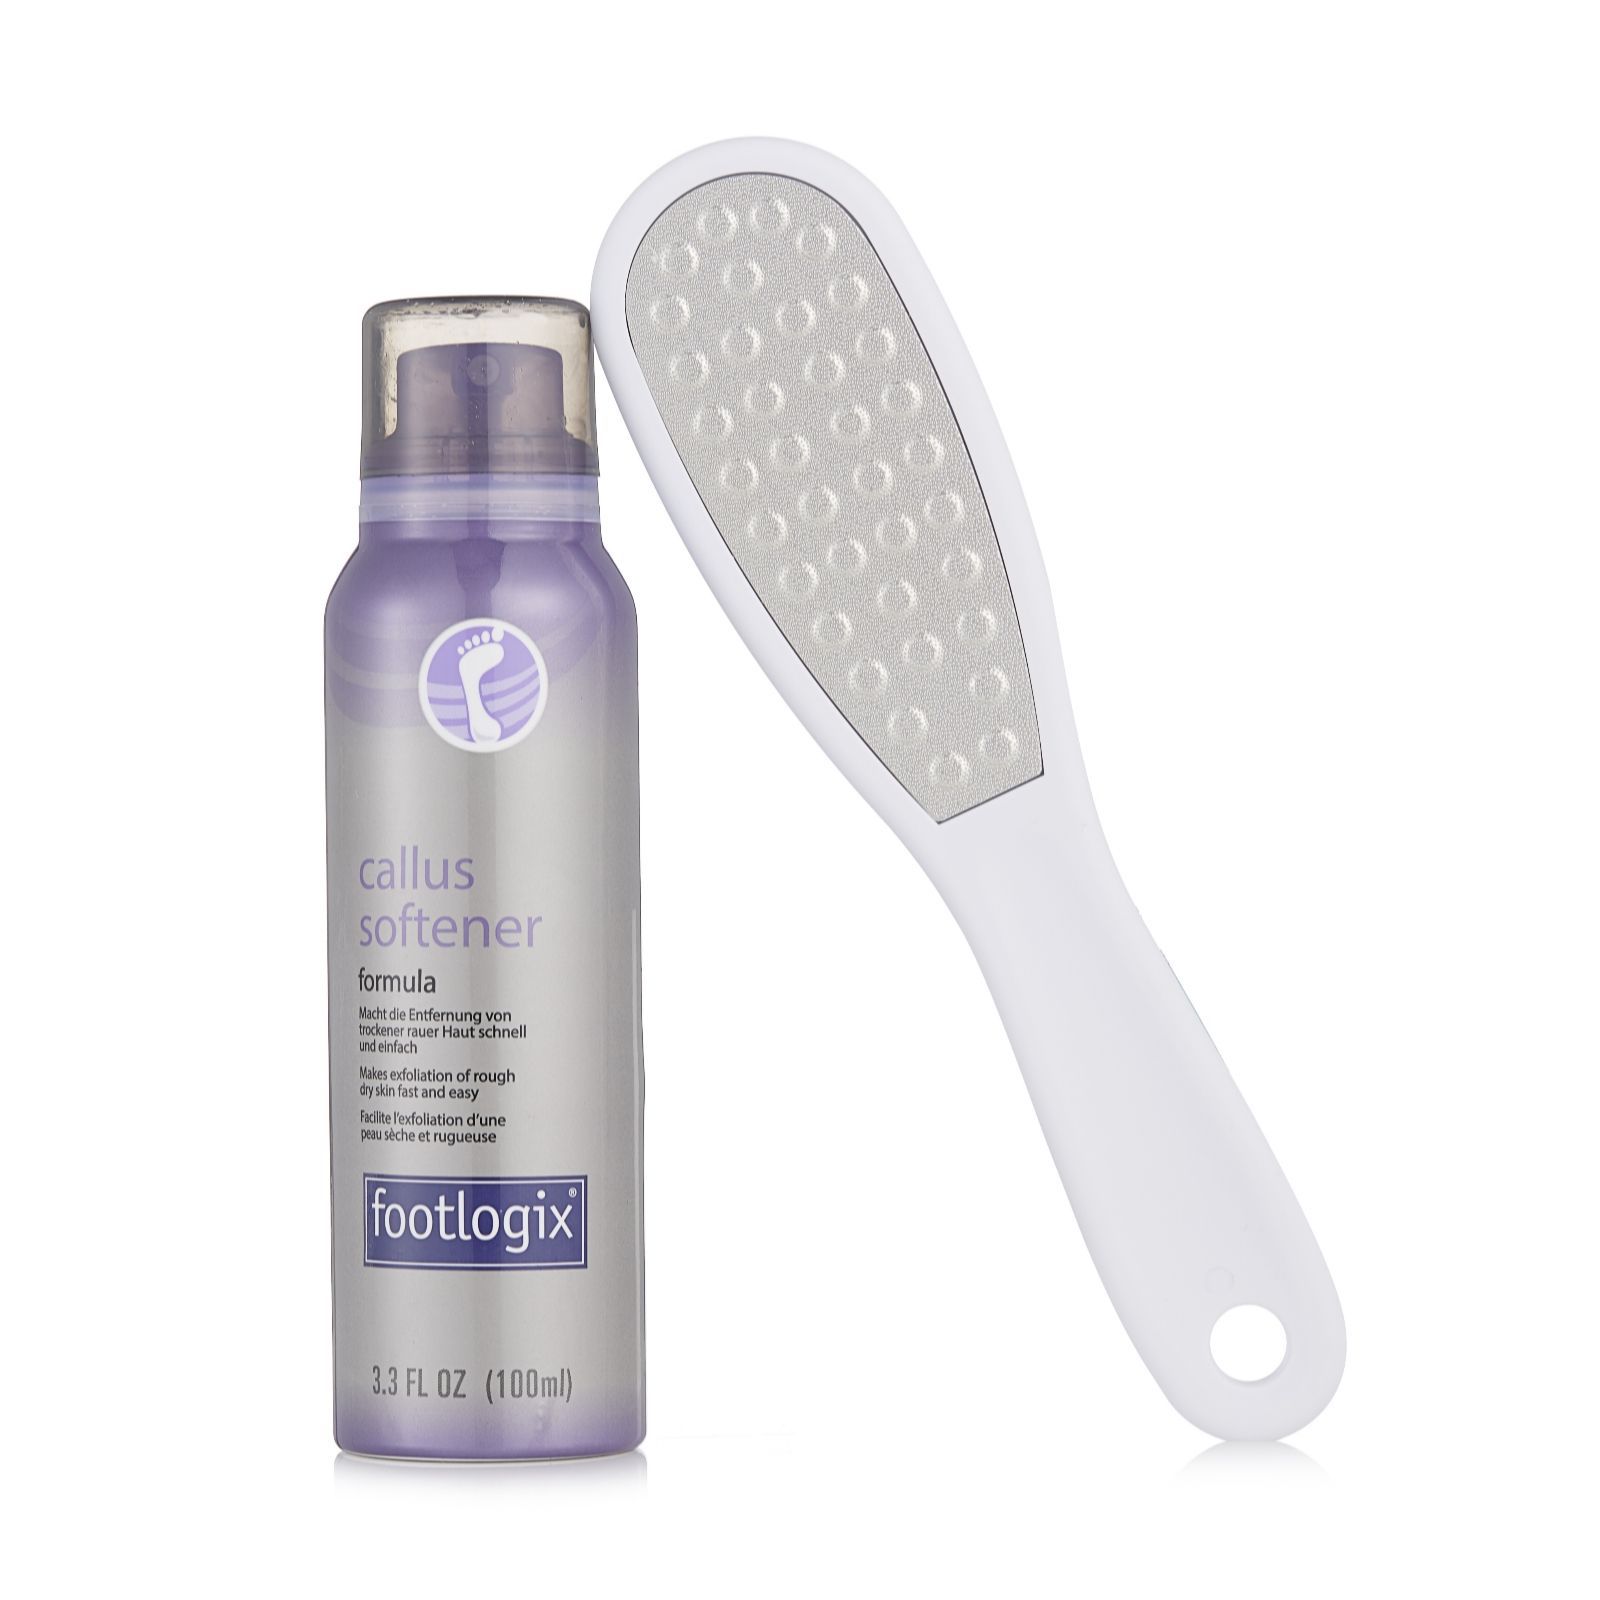
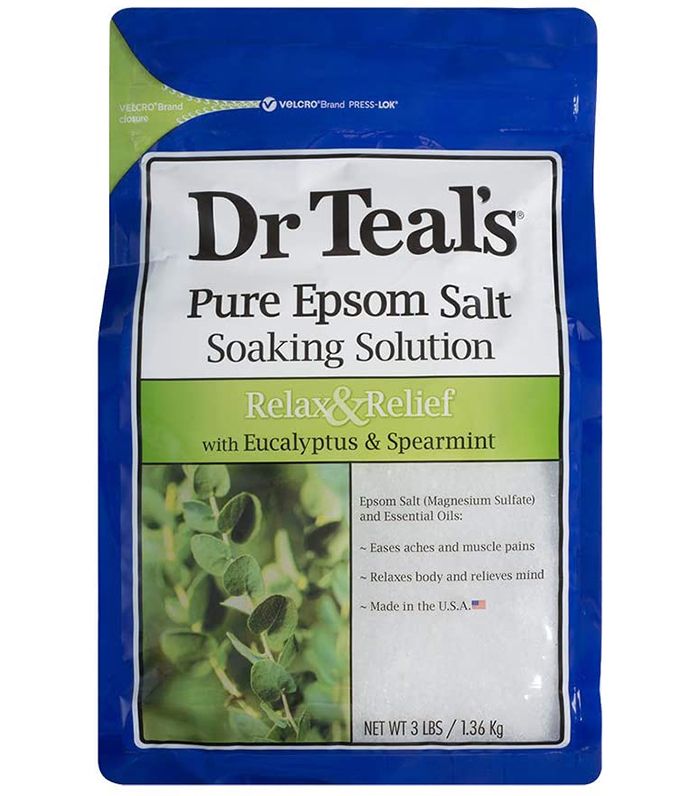
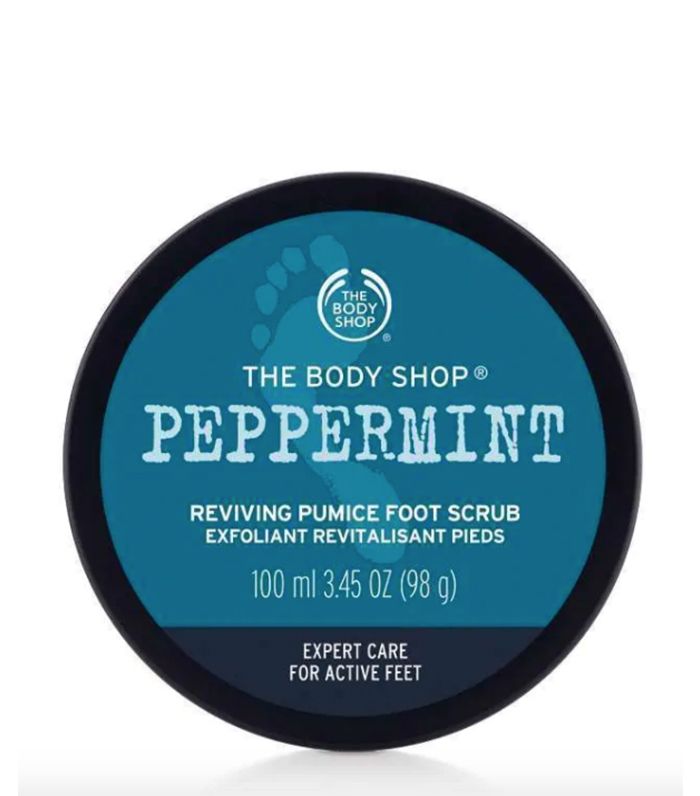
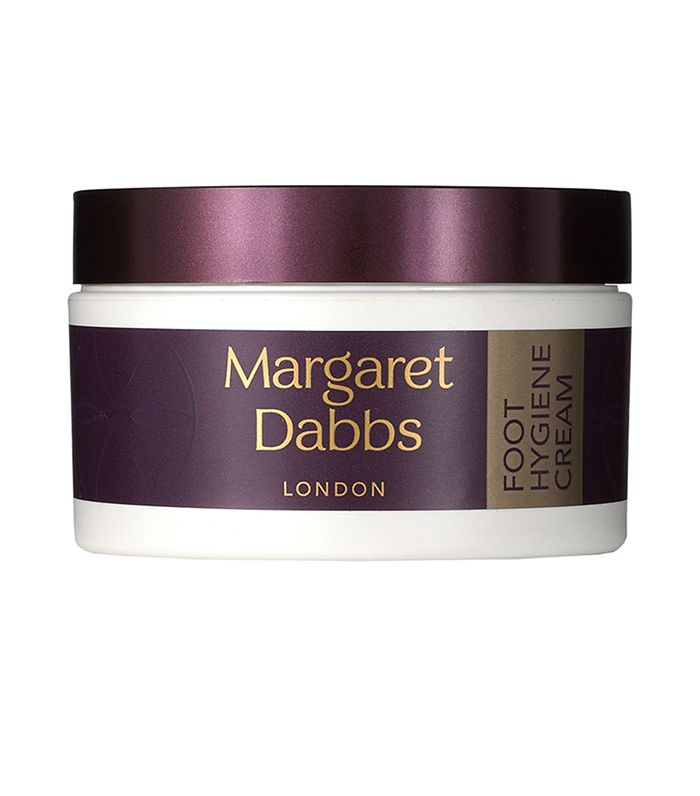
This is the part of a DIY pedi that I am always keen to forgo due to its fuss and length. The truth is though, prepping the skin on your feet is crucial in making your pedicure last longer. During the colder months, when our feet are hidden away in socks, it’s easy to turn a blind eye to hard skin and calluses. However, in a bid to make my pedicure seem more salon-like, I followed Jenni’s advice outlined below every step of the way and, low and behold, I feel a million times better for doing so. Step 1: Remove old nail polish. If polish has stained the toenails, gently buff over the nails with a buffer to remove stains and also smooth any ridges in the nail. Trim the nails down. Cut them straight across and not too short and file them straight across to get rid of any rough edges. Step 2: Using a foot file, file away any calluses and hard skin. Concentrate on the heels and balls of the feet and any other pressure points from shoes. To remove more hard skin, do this dry. Step 3: Now is the time to get in the shower or bath. If not though, now is the time to do a foot soak in a bowl or foot spa. I like to use Epsom salts with warm water to help reduce inflammation/swelling. Don’t soak for too long, 10 minutes should do it. Step 4: Use an exfoliator to scrub the feet and smooth any dry skin. This can also be done in the bath or shower. If your doing it after a foot soak, dry the feet off and then scrub, rinse and dry again. Step 5: If you have time, a foot mask can be done at this point. If you don’t have the time, then give your feet a massage with a rich moisturise. Again pay particular attention to dry areas like the heels.
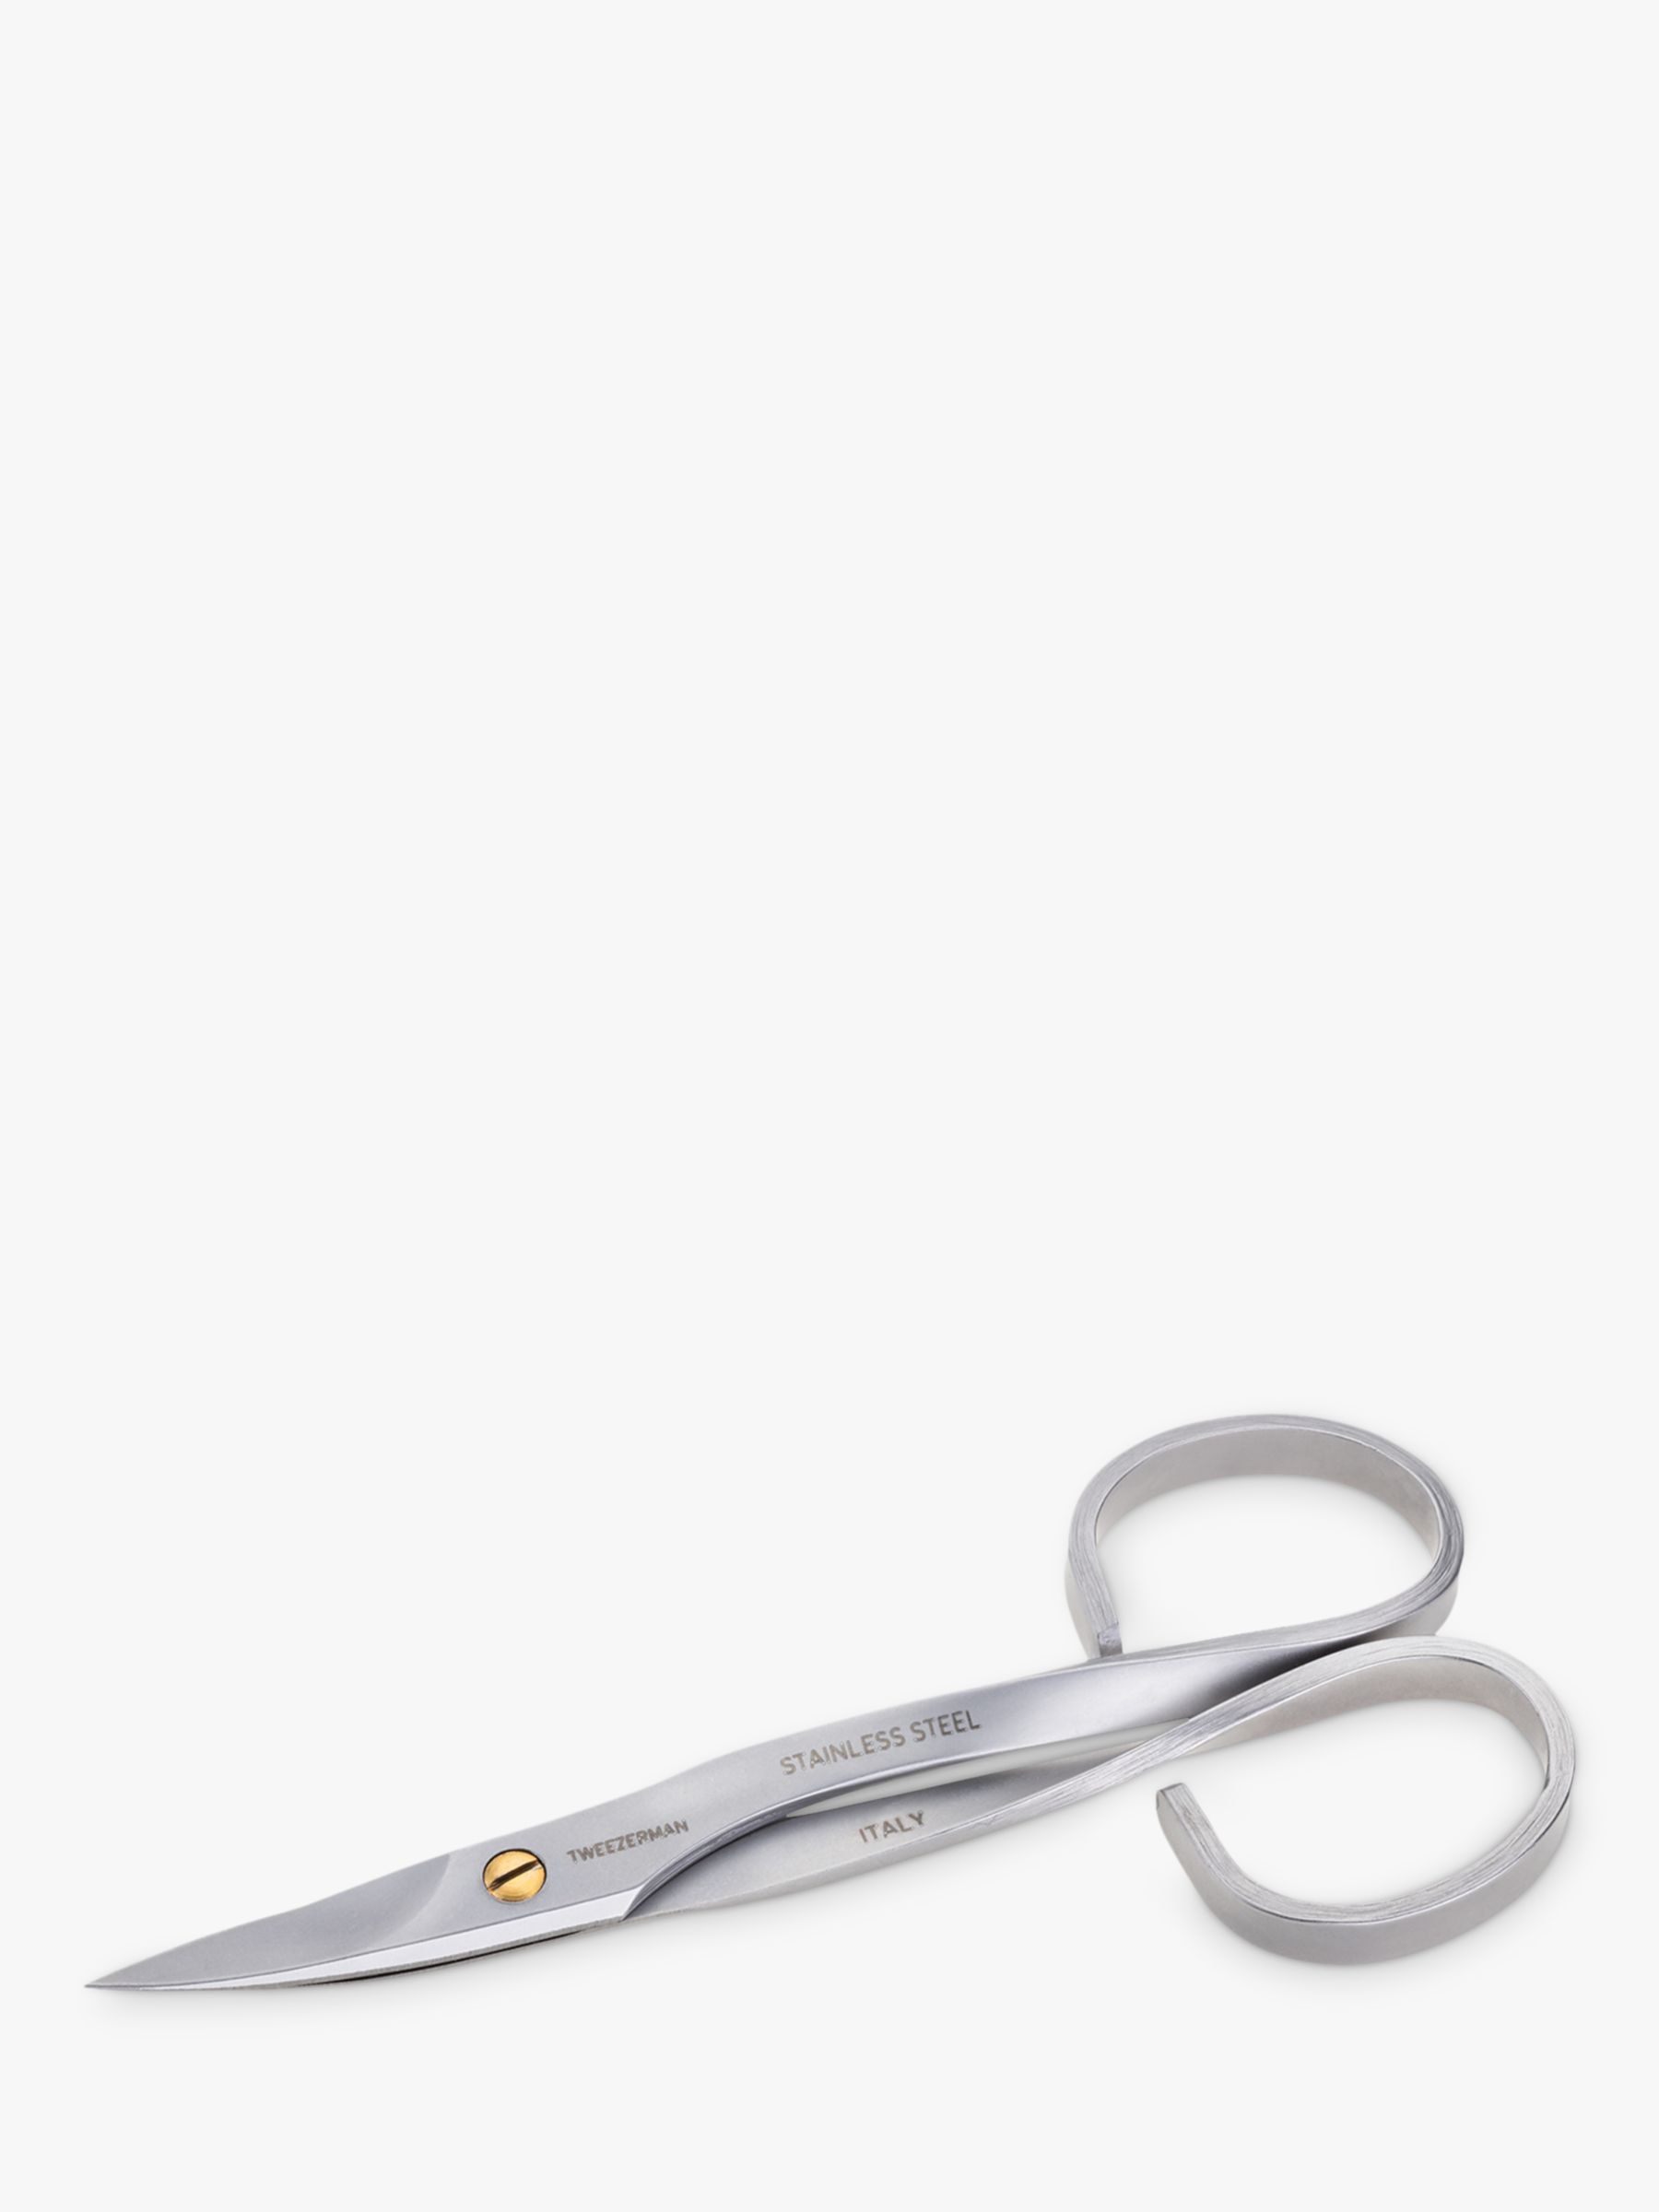
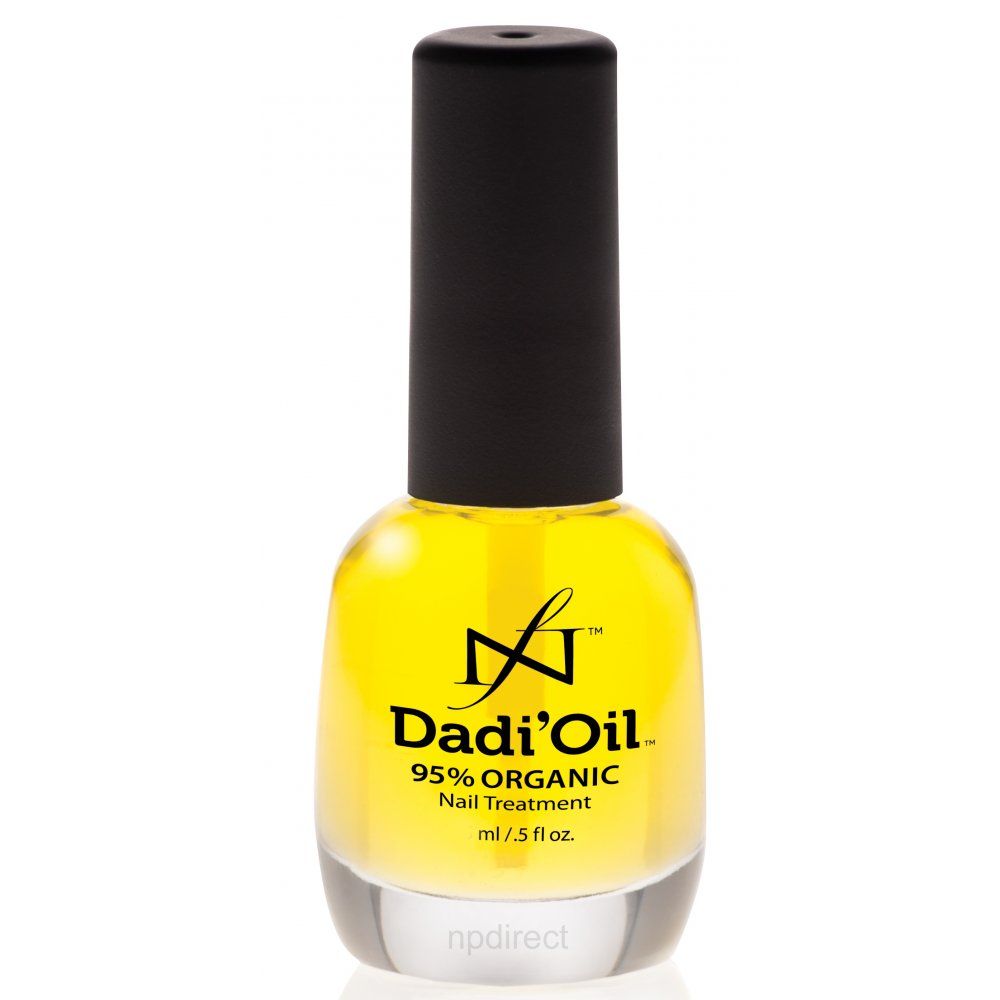
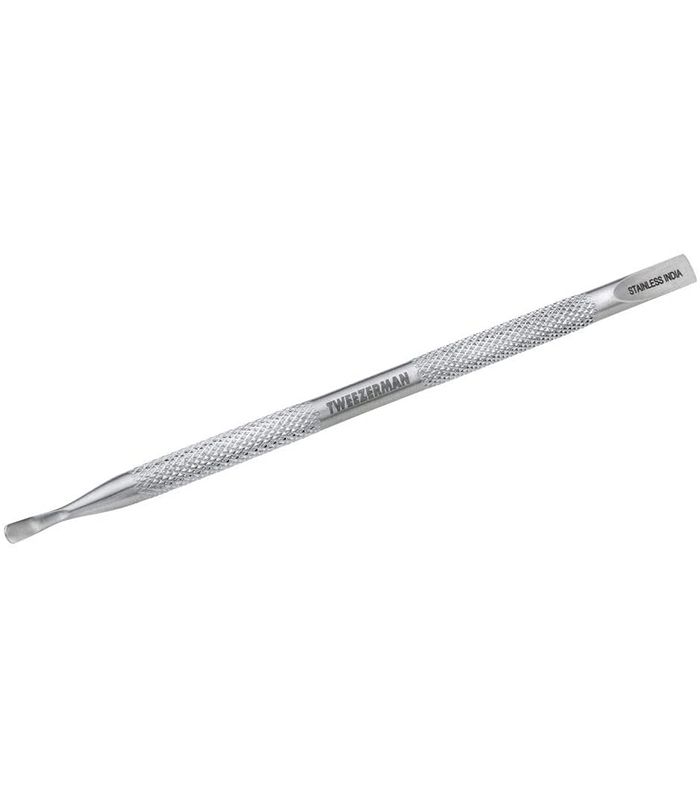
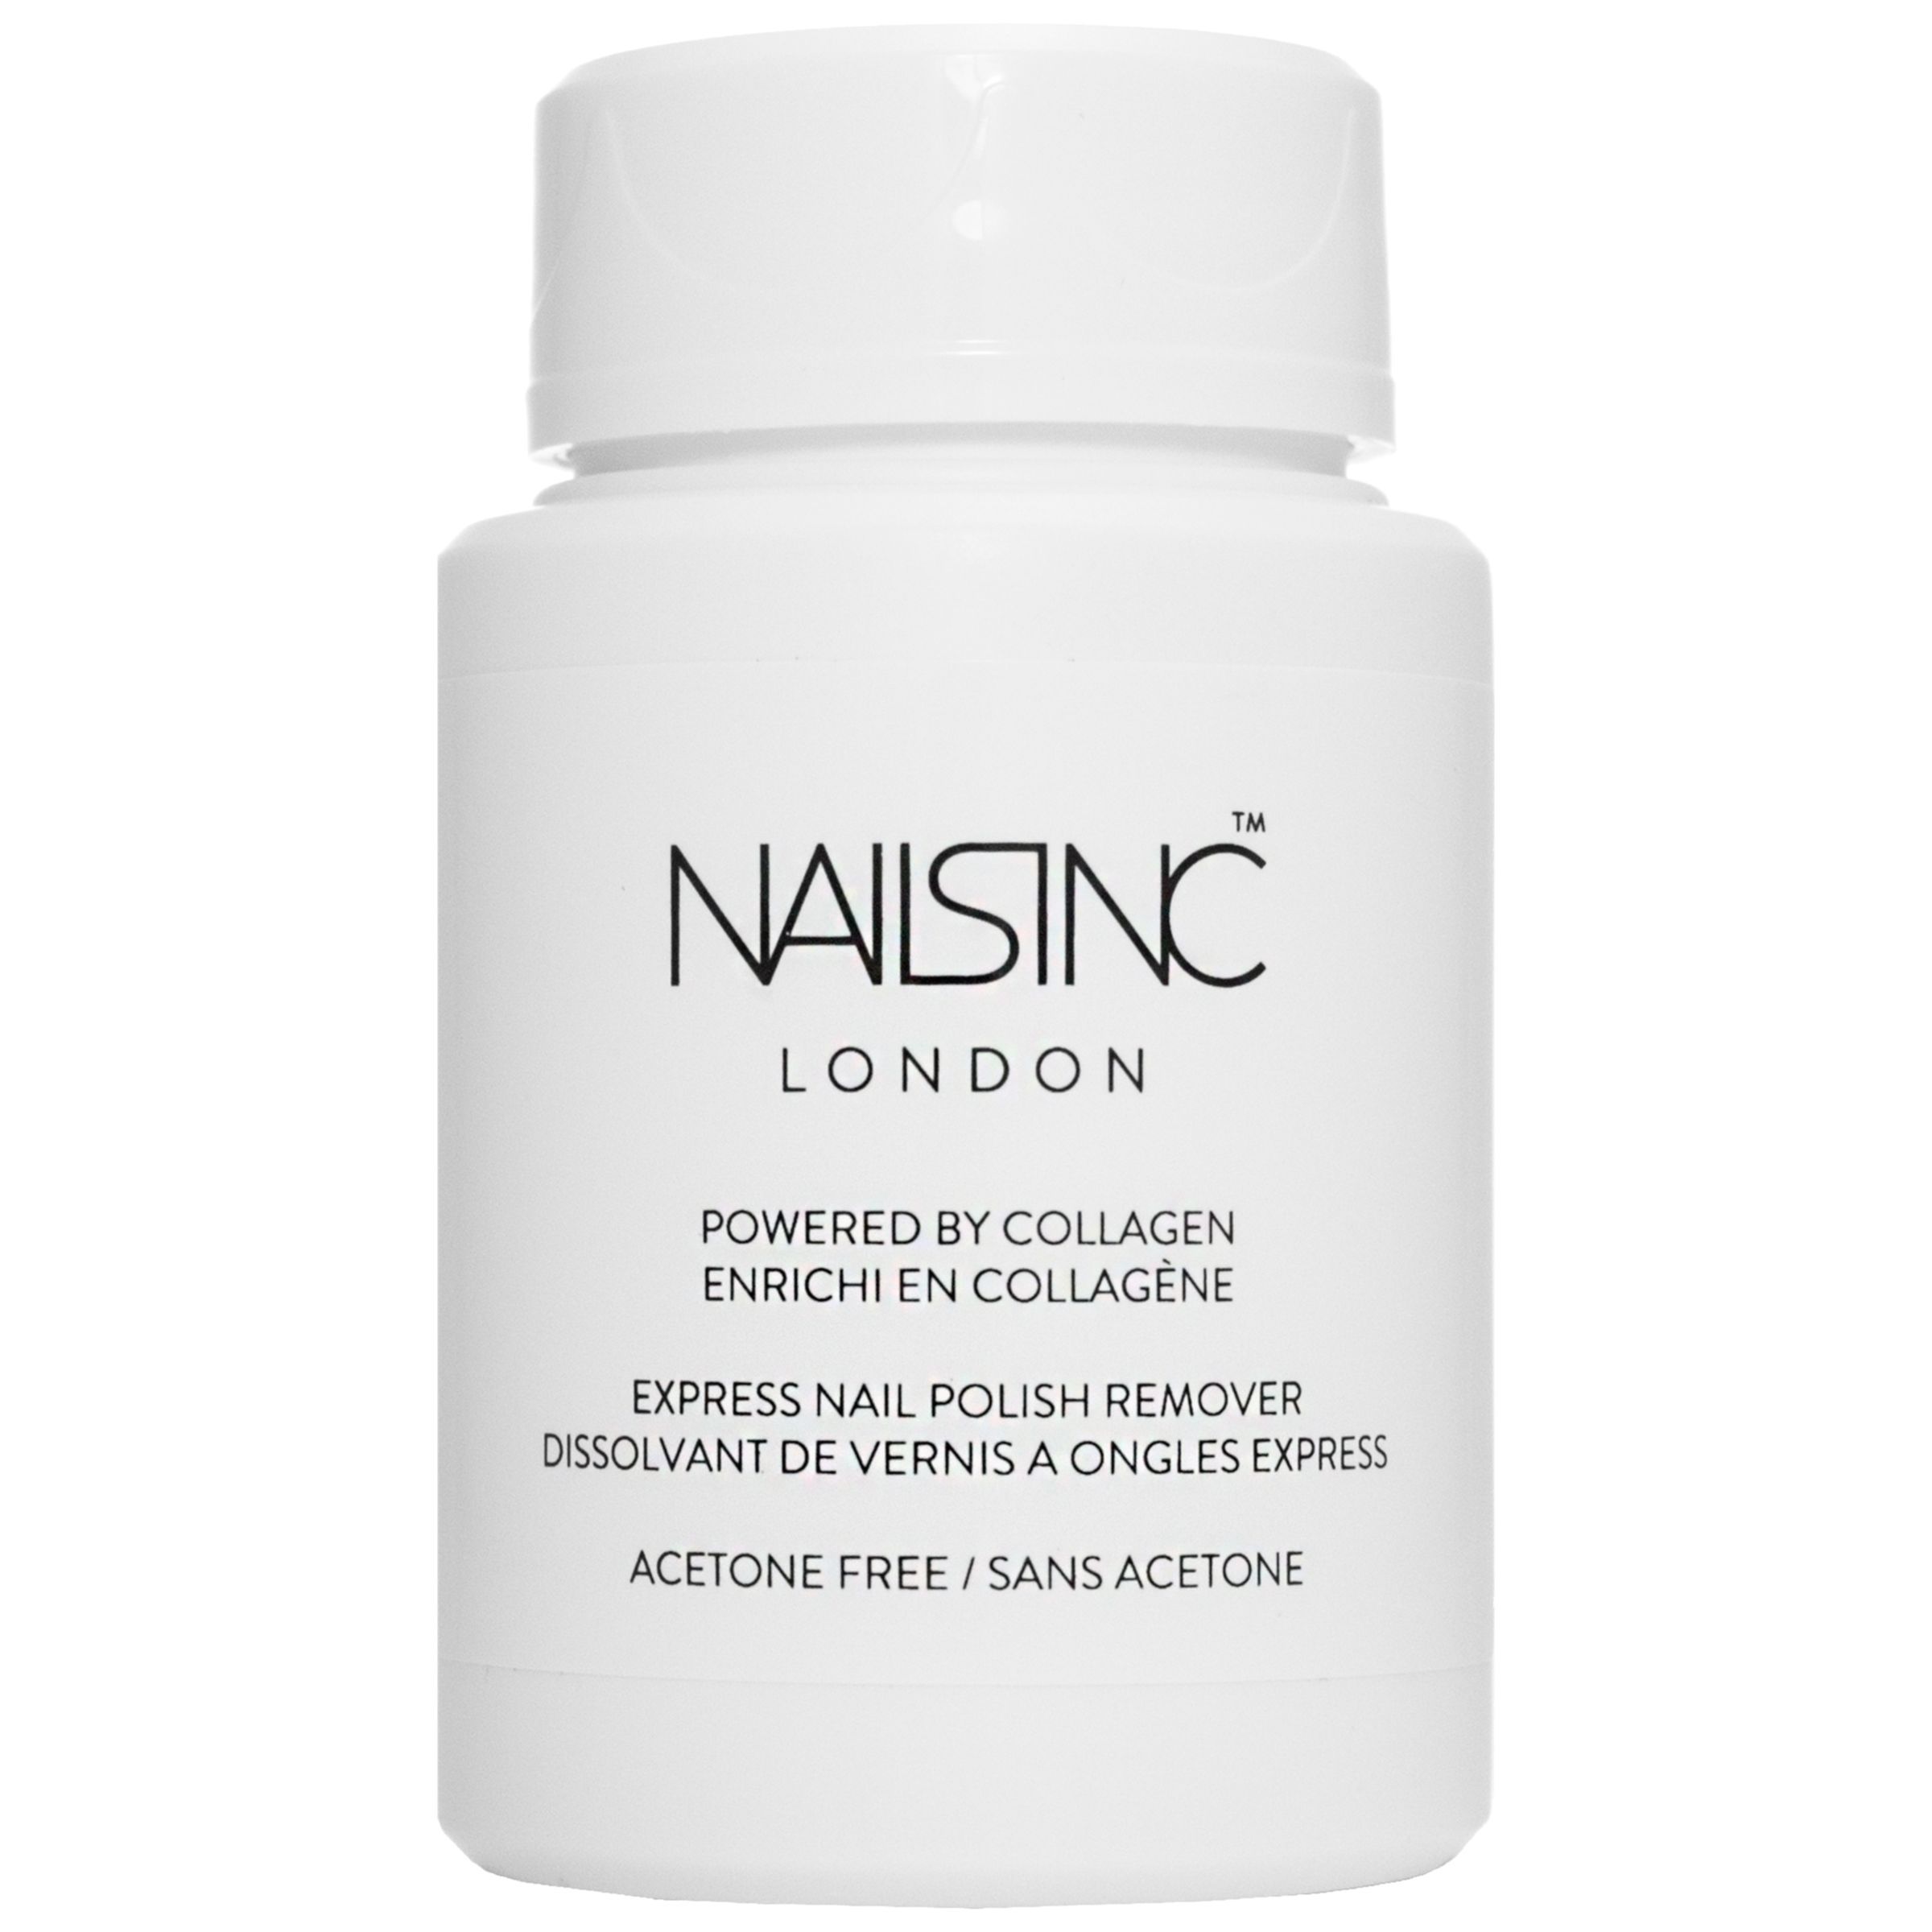
Quite possibly the most unenjoyable part of a pedicure, if you ask me, is preening the cuticles. Unlike the cuticles on our fingernails, the cuticles on our toenails can be hard and stubborn. To keep them in check, follow Jenni’s steps below. Step 1: Apply a cuticle oil to the toenails and massage it into the cuticles. I love Dadi’Oil. Step 2: Gently Push back the cuticles with a metal tool like the Pushy from Tweezerman. The cuticles need to be pushed back so that you can perfectly polish. Step 3: If you need to, use a buffer again at this point to smooth over the nails and remove any rough bits of nail or cuticle. Step 4: Wipe over the nails with nail varnish remover to remove any oils and dust left on the nail plate before polishing. Step 5: Use a toe separator or rolled up tissue in between the toes to keep them apart while your polishing.
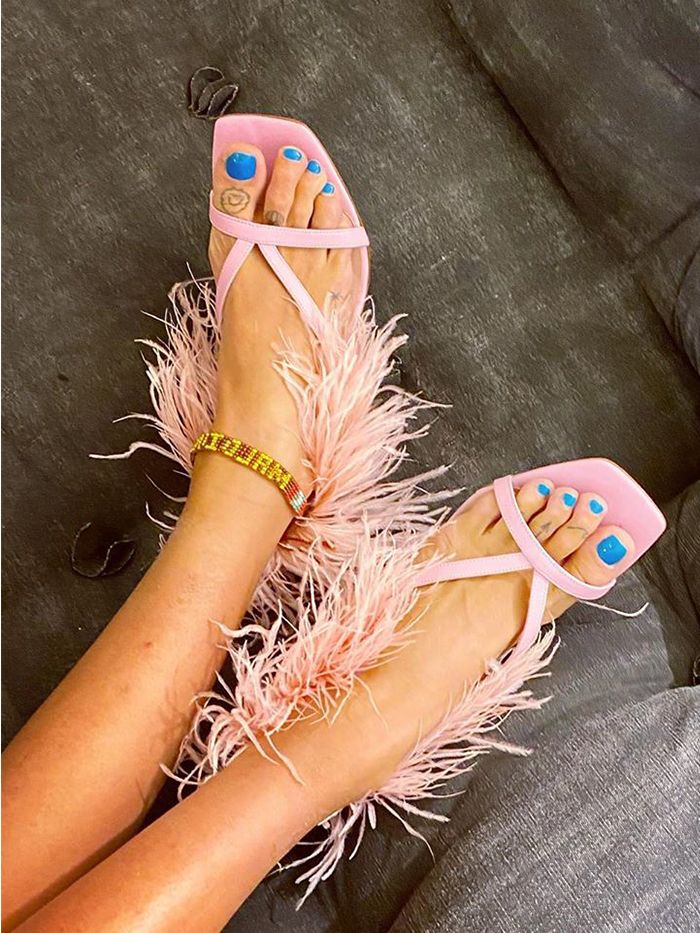
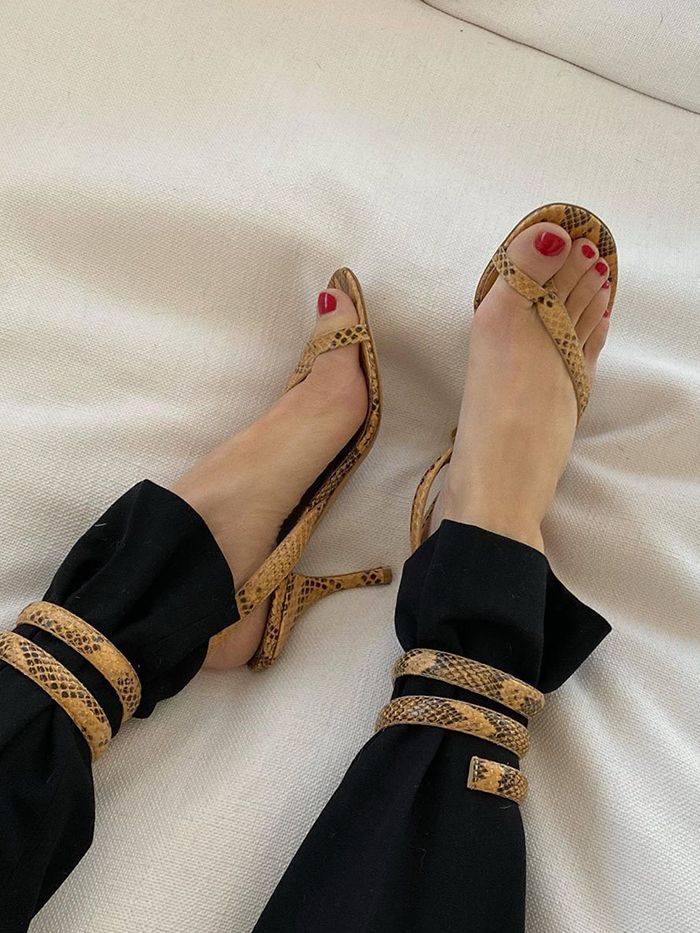
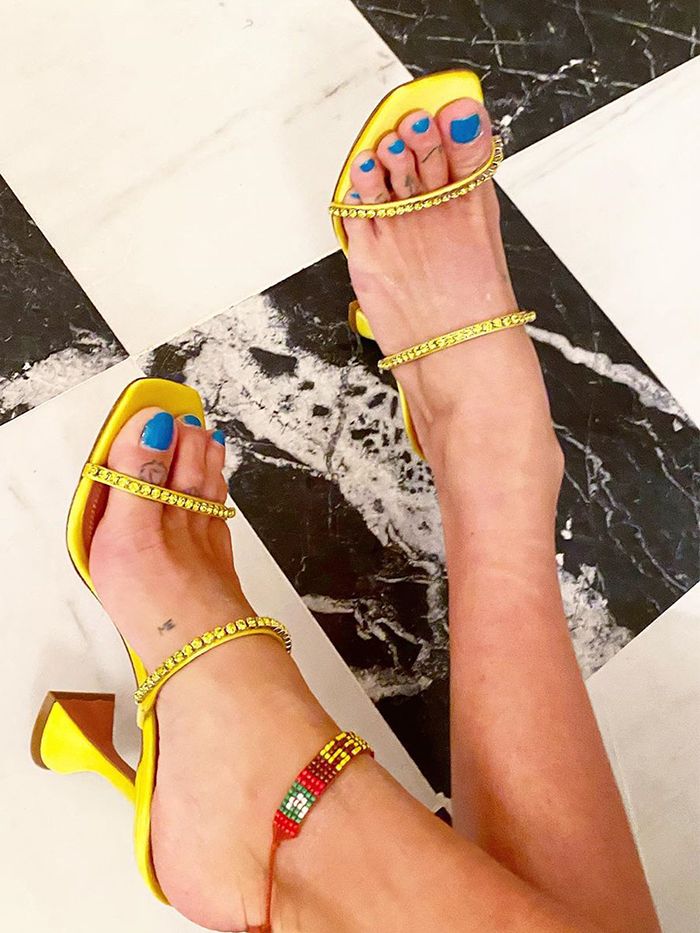
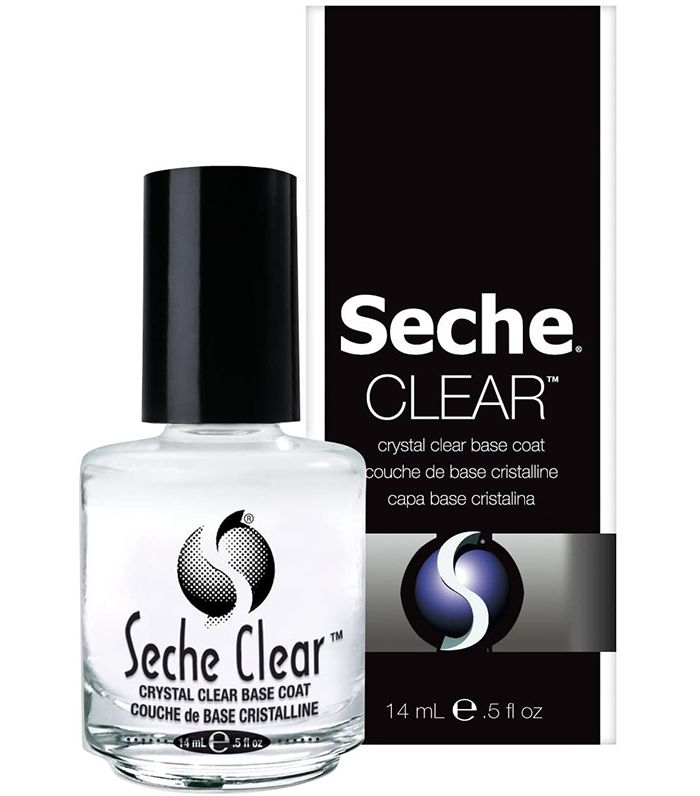
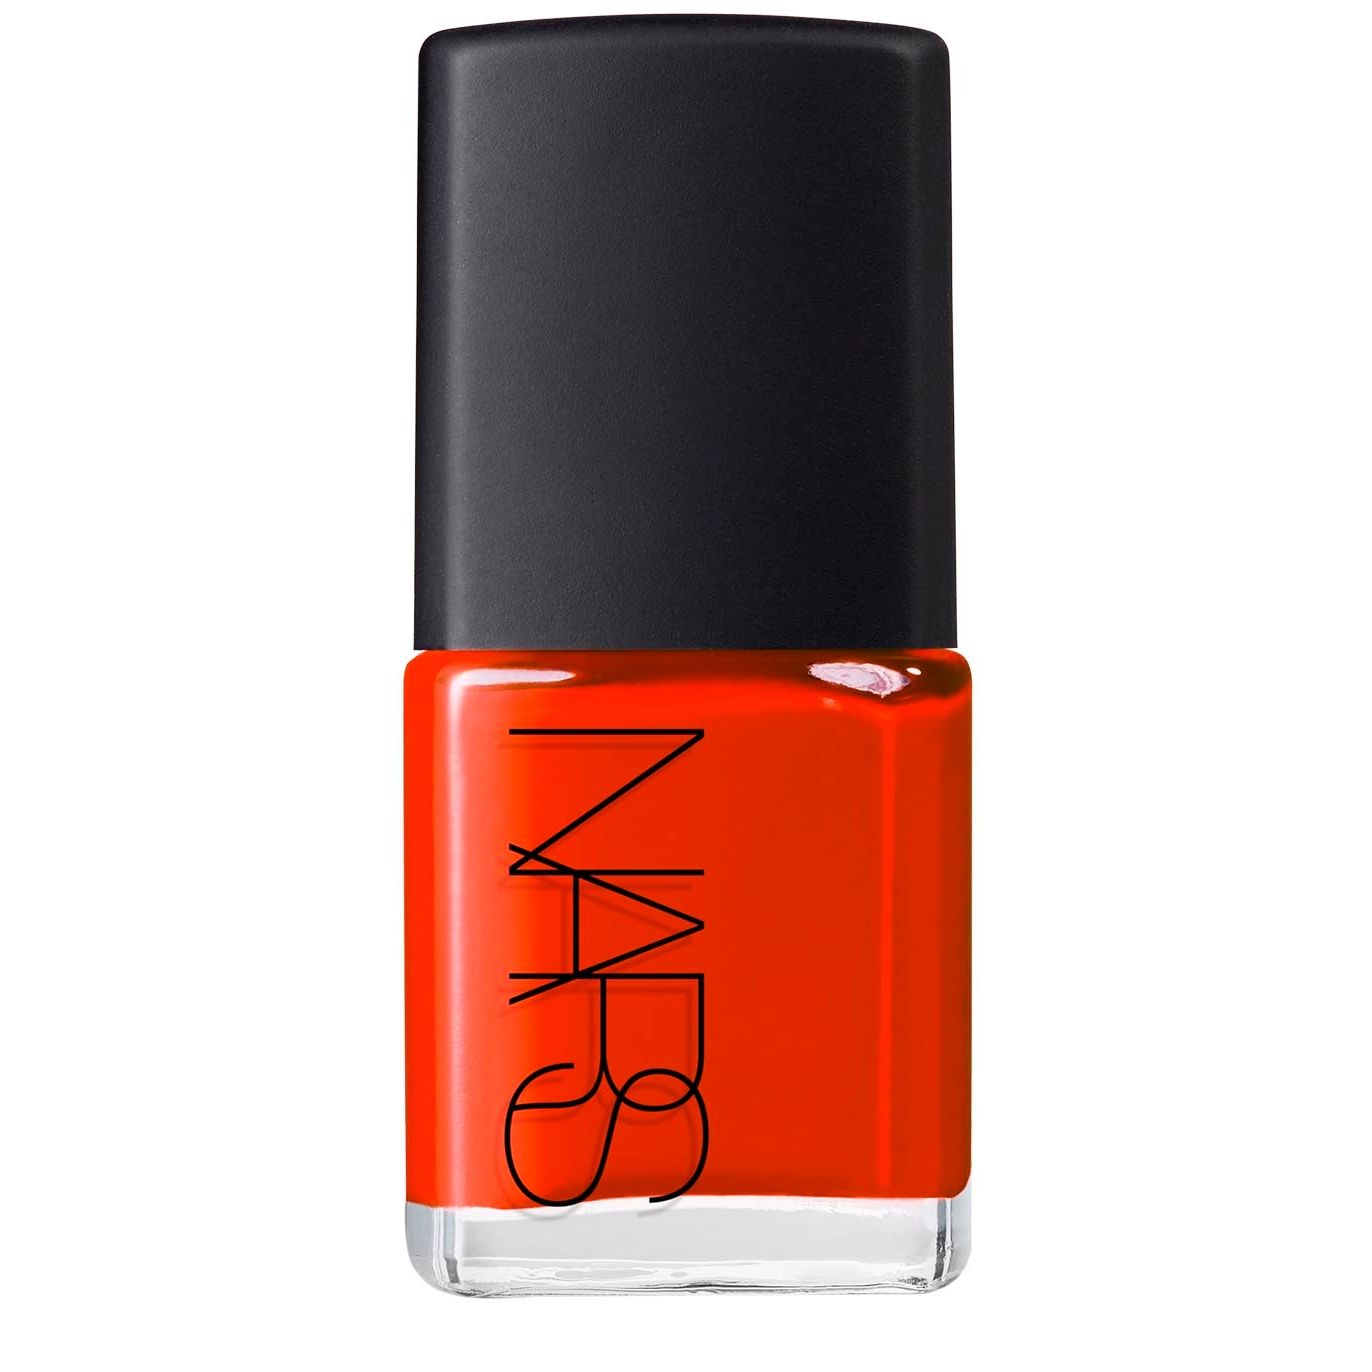
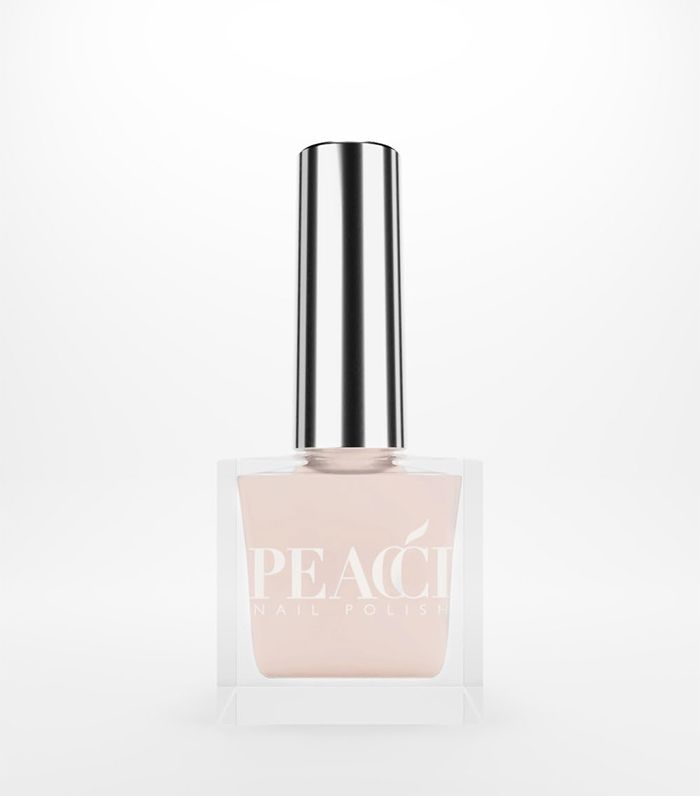
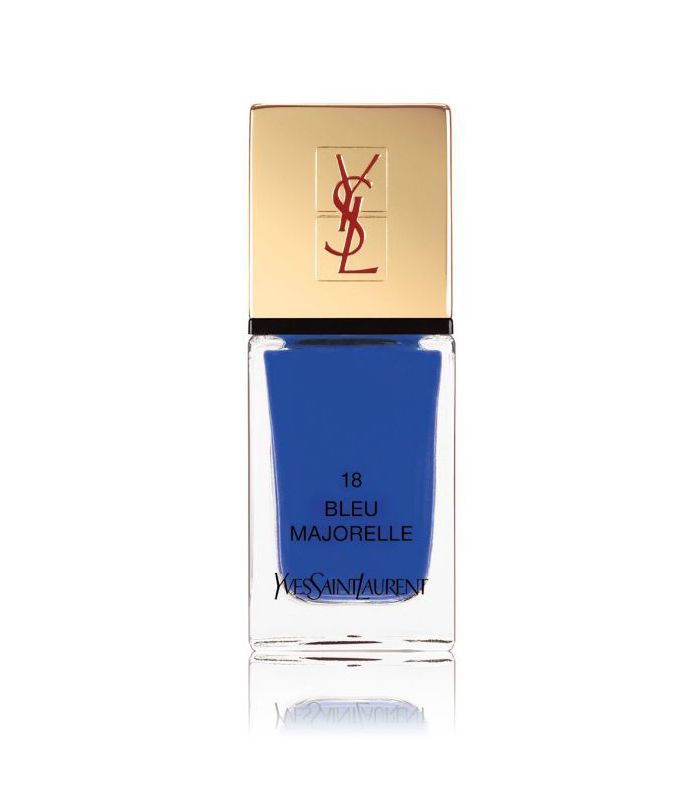
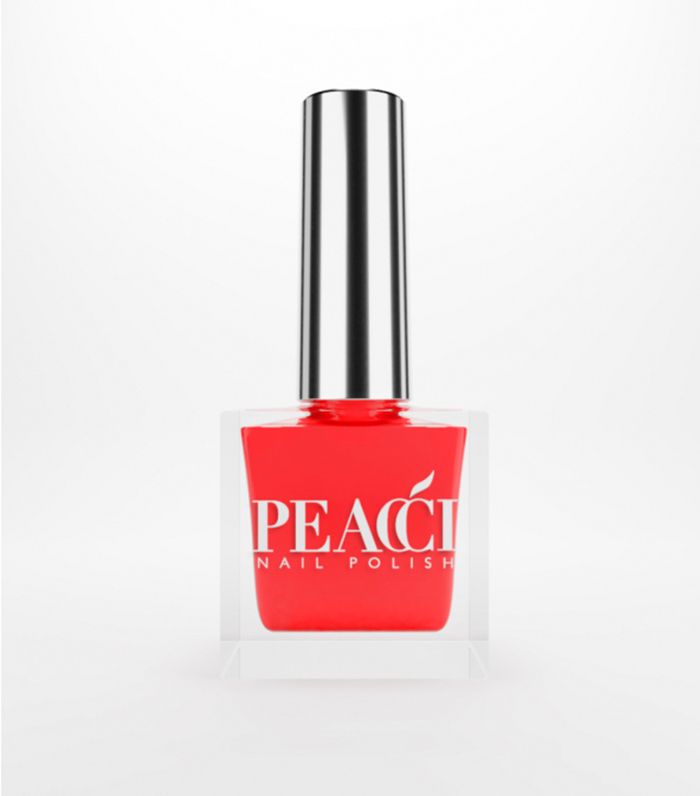
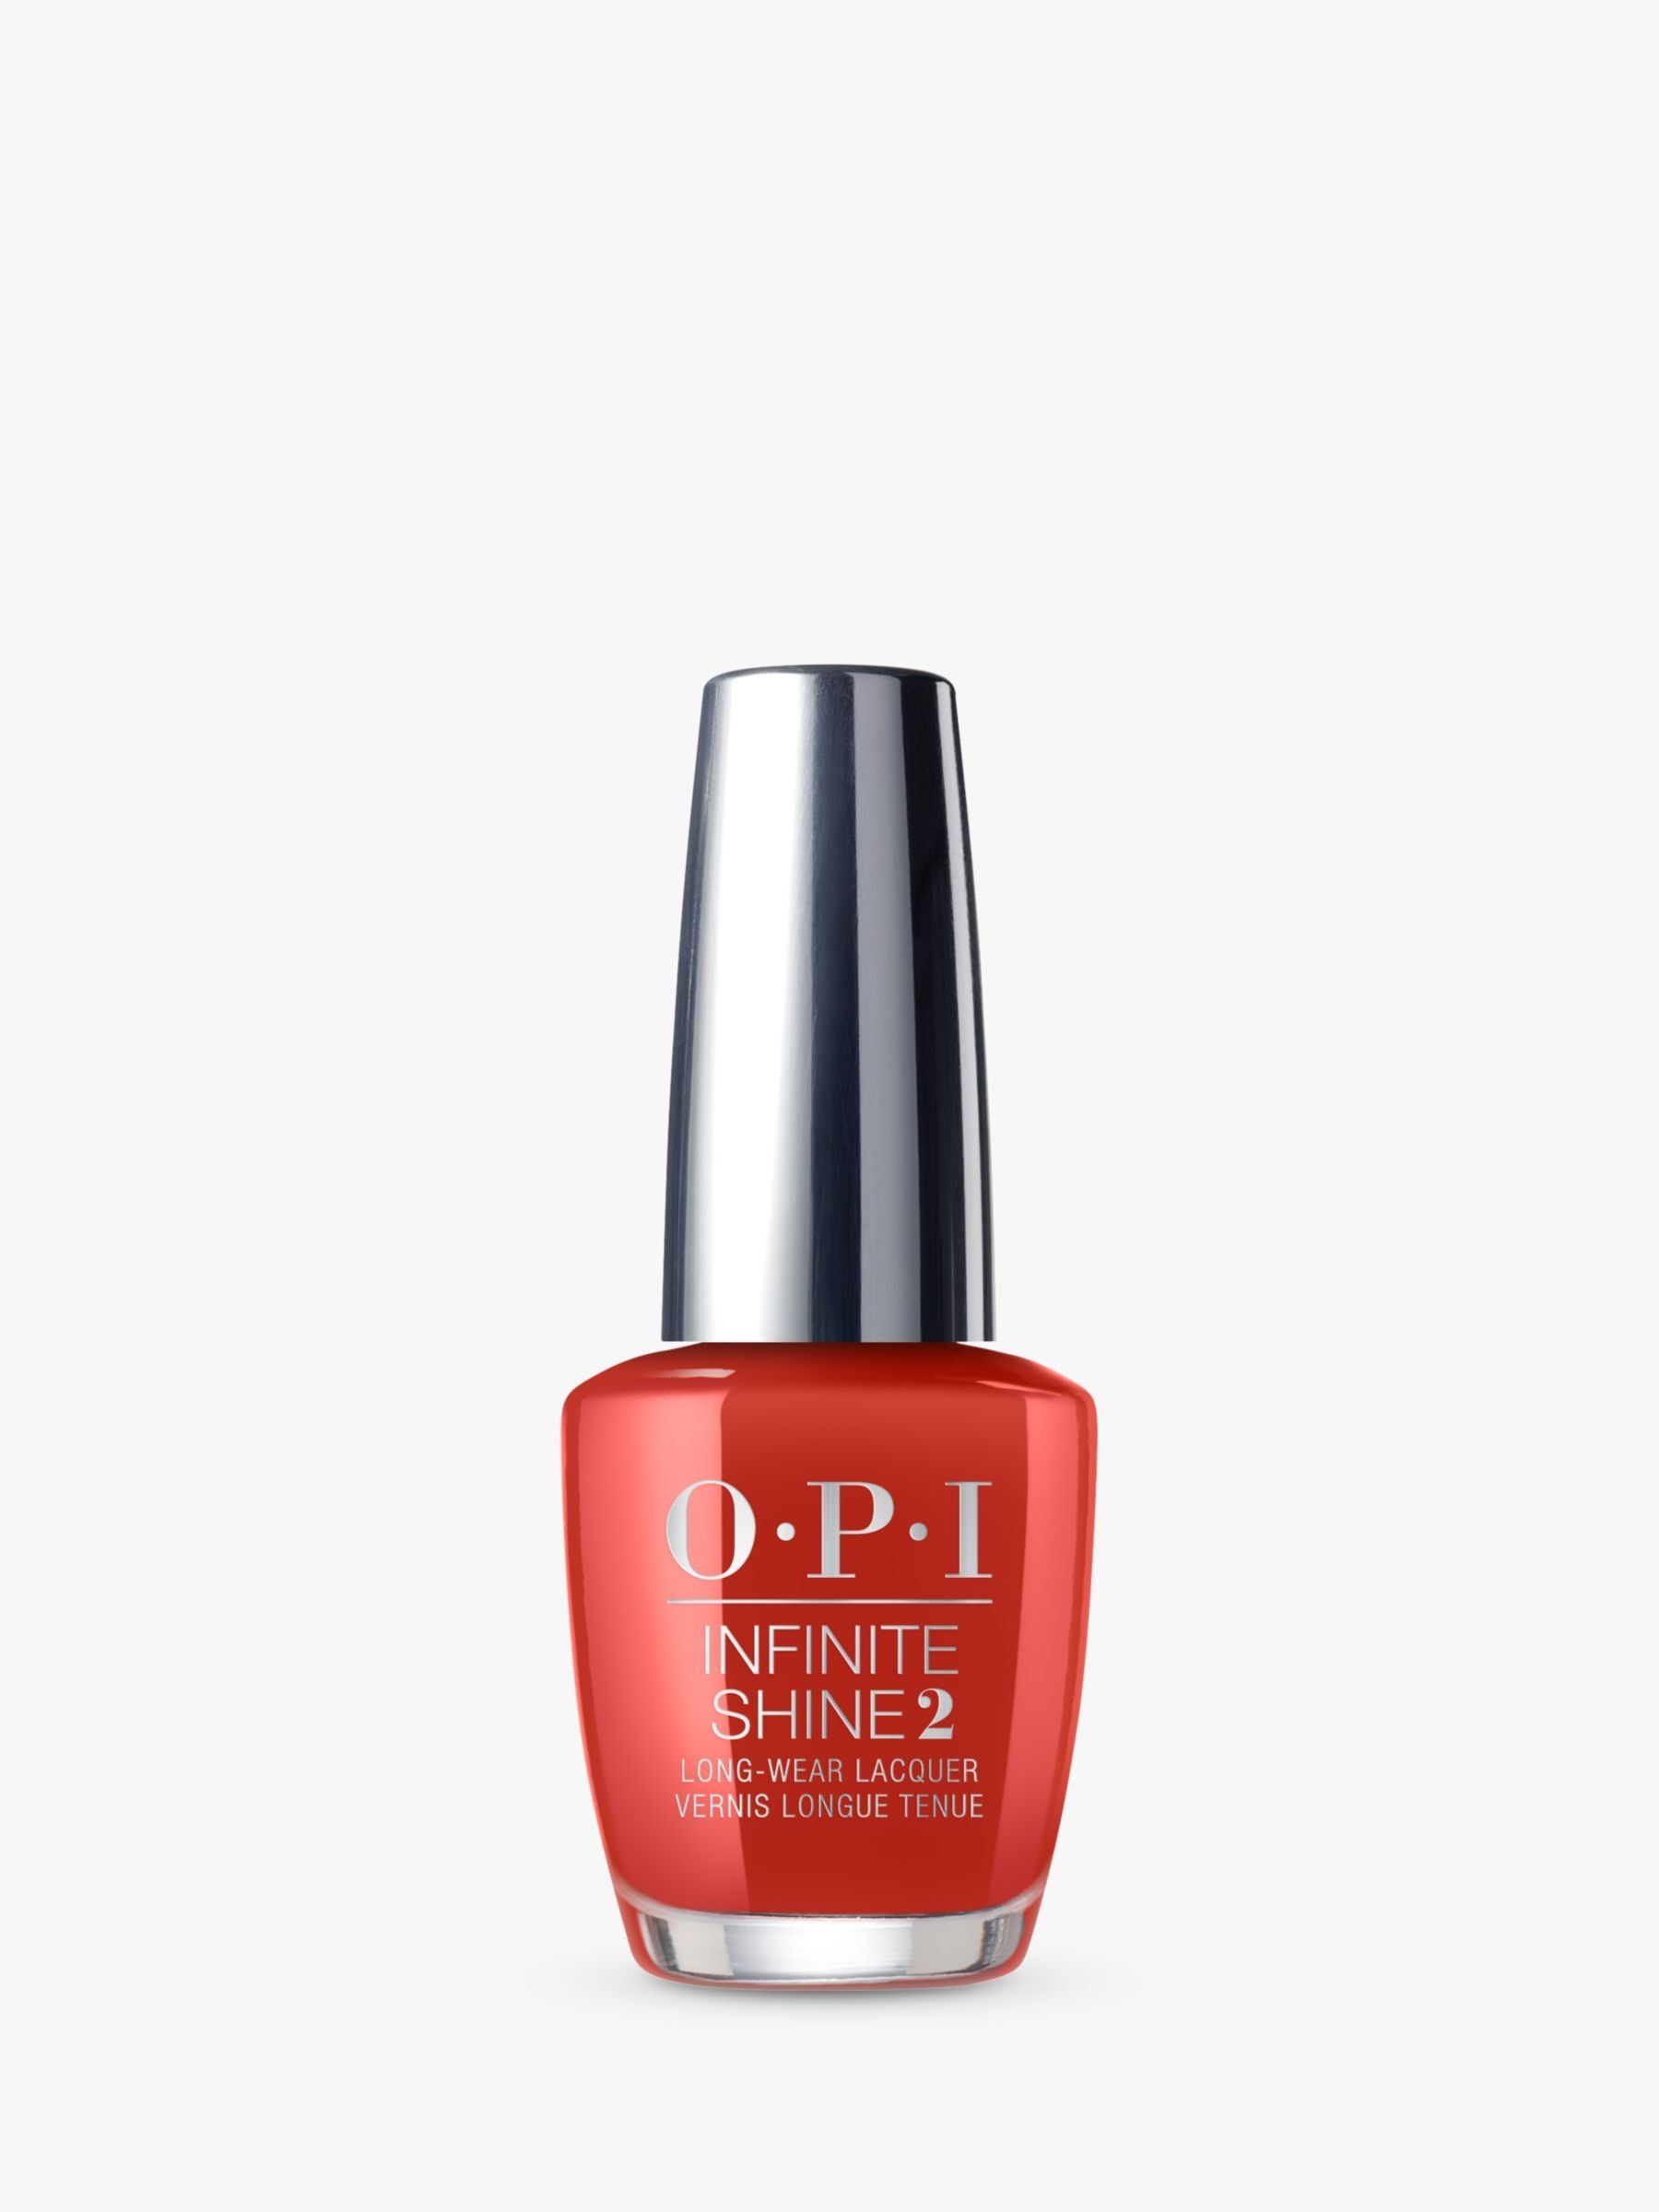
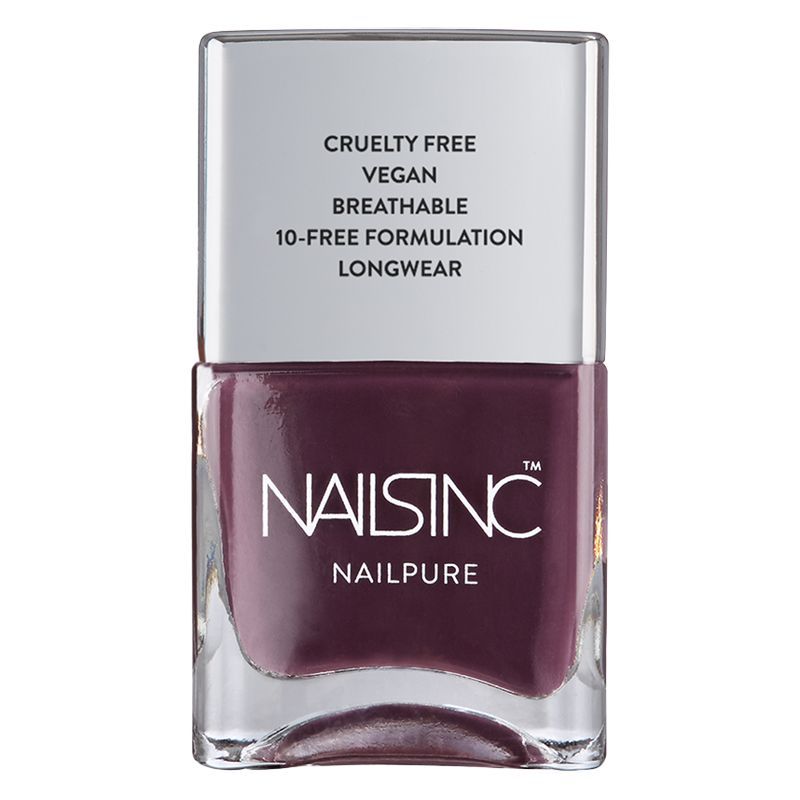
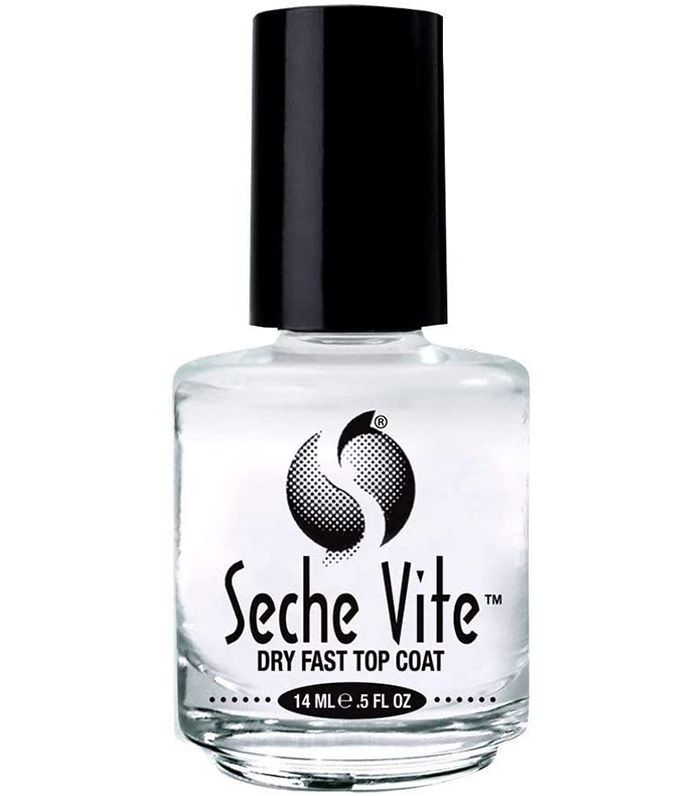
Now for the fun part. Much like painting your fingernails, painting your toenails is much easier and results in a much neater finish if you know some simple application hacks. Keep scrolling for Jenni’s top tips. Step 1: Apply a base coat to help the polish last and prevent staining. Step 2: With your chosen colour apply a line of colour across the cuticle area of the big toenail to give you a neat finish. Then apply the rest of the colour up the nail, from the cuticle to the tip. Less is more when painting toe nails as it’s easy to flood the nail with colour. Paint all the other toes and repeat on the other foot. Step 3: Apply a second coat of colour to all the toenails. Use an old, small makeup brush (concealer size) and dip it into nail polish remover to tidy up around the nails. Step 4: Apply a topcoat to all of the nails. Seche Vite is the best for quick drying and making the colour last for a long time. Finish up by hydrating the cuticles with a drop of cuticle oil. To keep the nails looking their best, reapply your top coat once a week. I also keep hard skin at bay by using a foot file 1-2 times a week on dry skin before getting in the shower.
Next up, the clean beauty brands celebrities swear by for glowing skin.


